Install the software
Use intcpt.msi or intcpt-x64.msi from the \<instance>\addon\transparent-synch\ad\ directory to install the Password Change Notification Module.
The following instructions show you how to install and configure the Password Change Notification Module onto a Microsoft Active Directory domain controller (DC) and use the software module to trigger the transparent synchronization process.
Before you begin:
Note the communication key (or Master Key) used to encrypt communication between Bravura Security components on the network.
The CommKey value is encrypted in Bravura Security Fabric . If you did not record the key in a secure location, copy the
idmsetup.inffile from <instance> \ psconfig \ on the Bravura Security Fabric server to the same location as the installer. The installer will extract the Communication Key value from the file.
This section shows you how to manually install the Password Change Notification Module using the Windows Installer. See Using MSI installers for information about setting MSI properties in a transform file or from the command line.
Click below to view a demonstration:
Manual installation steps
To manually install the Password Change Notification Module:
Copy the
intcpt.msiorintcpt-x64.msiinstaller from the Bravura Pass server to a scratch directory (C:\temp) on the server or DC, or to a publicly accessible share.Launch the Windows Installer package.
Click Next .
Read the Bravura Security Fabric license. Select I accept the terms in the License Agreement if you agree to the terms and click Next.
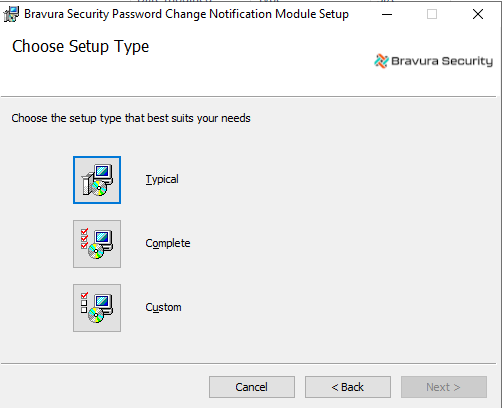
Click Complete to include the Password Change Notification Module and configuration utility programs.
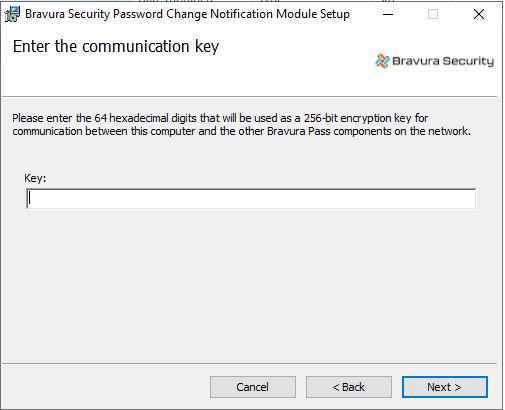
Type the communication key.
Network communication between Bravura Security components is protected using a secret encryption key. Enter the same key here as you did on the main Bravura Pass server (communication key (or Master Key)). If you copied the
idmsetup.inffile from the Bravura Security Fabric server the key is entered automatically.Click Next .

Configure the service by entering the:
Bravura Security Fabric server name or IP address
TCP/IP port the service is listening on
Primary target system ID this machine corresponds to
You must enter the ID of the target system you are installing on as it is configured in the Bravura Pass primary server.
This target must be configured as a Bravura Pass target system on the primary server before Password Change Notification Module will function properly.
Long ID format to send to Password Manager service
The longid must match the longid on the target system. Choose the format based on the target system setting and how the user’s longid is being listed.
Click Next .
Click Install to start the installation.
The installer begins copying files to your computer. The Installation Complete page appears after the software has been successfully installed.
Click Finish to exit.
Click Yes to restart Windows now, or No if you will manually restart later.
After you restart Windows, native password changes will be intercepted by the Password Change Notification Module and forwarded to the Bravura Pass server for transparent synchronization.
Configure the Password Manager service
Log into the Bravura Pass server as a superuser.
Navigate to Manage the system > Maintenance > Services. Select the Password Manager Service.
Enter the IP address of the AD server with the appropriate mask into Comma-delimited list of IP addresses with CIDR bitmask that are allowed to send socket requests . For instance, if the AD server IP is 10.0.23.76 and it is the only server to contact then the entry would be 10.0.23.76/32.
Click Update.
Stop and start the Password manager service (
idpm).At the bottom of the page, locate the Service status section.
Select Stop the service.
Start the
idpmservice by selecting Start the service .
Troubleshooting
If the password change fails to propagate, double check the following:
Ensure that the instance and AD server firewalls have the correct settings. Incorrect firewall settings will block the change password request from reaching the instance server and the password change will not be propagated.
The domain controller has been added to list of IP addresses allowed to send socket requests to the IDPM Password Manager Service. Once again, the password change request will not be propagated with the wrong IP address.
There might be a mismatch on the longid format. As stated before, it must match the longid on the target system.
Setting the longid format
The longid format on the target system must match the longid format used by the Password Change Notification Module. By default, the agtaddn connector’s longid format is set to the NT4 name format.
Complete one or more of the following:
Select the matching longid format during the installation of the Password Change Notification Module,
or
Change the longid format on the target system to use the distinguished name (DN) format. See Selecting the long ID name format in the Connector Pack documentation.
or
Modify the
intcptsvc.cfgconfiguration file, located in:<Program Files path>\Bravura Security\Password Filter\service\
Locate the following lines:
# LongID = "%sAMAccountName%";
# LongID = "DomainName\\%sAMAccountName%";
LongID = "%distinguishedName%";
Comment out the LongID line:
LongID = "%distinguishedName%"
Locate and uncomment the following line:
# LongID = "DomainName\\%sAMAccountName%"
Specify the DomainName of the target.
Save the configuration file.
Restart the
intcptsvcservice.
Testing the connection
Test connectivity and initialize the API by running the diagutil program.
Use the diagutil program for troubleshooting the Bravura Security Password Change Notification Module interceptor. Once executed, it submits real requests to the Password Manager service (idpm ) to process according to the password interceptor service (intcptsvc) configuration file.
This program acts as a real time logging utility to monitor the activities between the interceptor and the Password Manager service (idpm ) on the Bravura Security Fabric server; for example, if an account password is changed, using net user <accountName> <Password> in another command prompt, the activities are displayed in the diagutil prompt until Ctrl+C is used to stop logging.
This program is installed by intcpt.msi or intcpt-64.msi on a Windows transparent password synchronization trigger system and can be found in the following directory:
<Program Files path>\Bravura Security\Password Filter\util\
In order to not affect the password history of a real user, choose a test user to run the password change operation:
diagutil.exe -u test-01 -p doesntmatter
This will check if the password notification DLL is installed, if the interceptor service is running and if there's a successful connection to the configured Bravura Pass server.
It may also report a "license missing" warning which can be ignored.
For best results, ensure that the test user doesn't have a profile created on Bravura Security Fabric y not listing its OU as part of the AD target address or by adding a Profile ID filter in Bravura Pass for that account under Manage the system > Maintenance > Auto discovery > Manage ID Filters . In this case no password history will be updated in Bravura Pass , and it will return code 102 (user not found).
For the list of idpm return codes which Bravura Pass can send back to the interceptor, see the interceptor's config file (service\intcptsvc.cfg).
diagutil.exe [-l <debug level> ] [ -t <timeout> ] -u <userID> -p <userPassword>
Argument | Description |
|---|---|
-l, --level <N> | The debug level 1-6. The default is 4. |
-t, --timeout <N> | The timeout in seconds to receive diagnostic information. The default is 60 seconds. |
-u, --user <userID> | The user to be diagnosed. |
-p, --password | The user’s password. |
diagutil.exe -u qa1000 -p letmein!
returns:
User account name: qa1000
Checking the password filter Dll system registry setting...passed
Checking the password filter Dll if it has been loaded...passed
Checking the password filter service if it is running...passed
Setting password for user [qa1000]:
2010-02-02 11:15:28.561.2903 - [] psintcpt.dll [388,2172] Info: Logging has been enabled, Log level: 4
2010-02-02 11:15:28.576.5698 - [] psintcpt.dll [388,456] Info: User:[qa1000], entered PasswordFilter, sequential number ( SNO ): 1
2010-02-02 11:15:29.675.4688 - [] psintcpt.dll [388,456] Info: User:[qa1000], SNO: 1, PasswordFilter returned [1]
2010-02-02 11:15:29.717.0218 - [] psintcpt.dll [388,456] Info: User:[qa1000], entered PasswordChangeNotify
2010-02-02 11:15:29.720.6418 - [] psintcpt.dll [388,456] Info: User:[qa1000], PasswordChangeNotify finished
2010-02-02 11:15:29.724.6046 - [] diagutil.exe [3244,452] Info: ***** User:[qa1000]'s password has been reset successfully *****
If the debug level is greater than 4 (default), diagutil returns more detail on how the account falls into which categories.