Overriding default account attribute configuration
To override the default configuration for an individual account attribute:
Select an override level .
Select the Defaults tab.
Browse to select the attribute you want to override.
Bravura Security Fabric displays a page containing configuration information for the attribute.
Click Override to display the override configuration page.
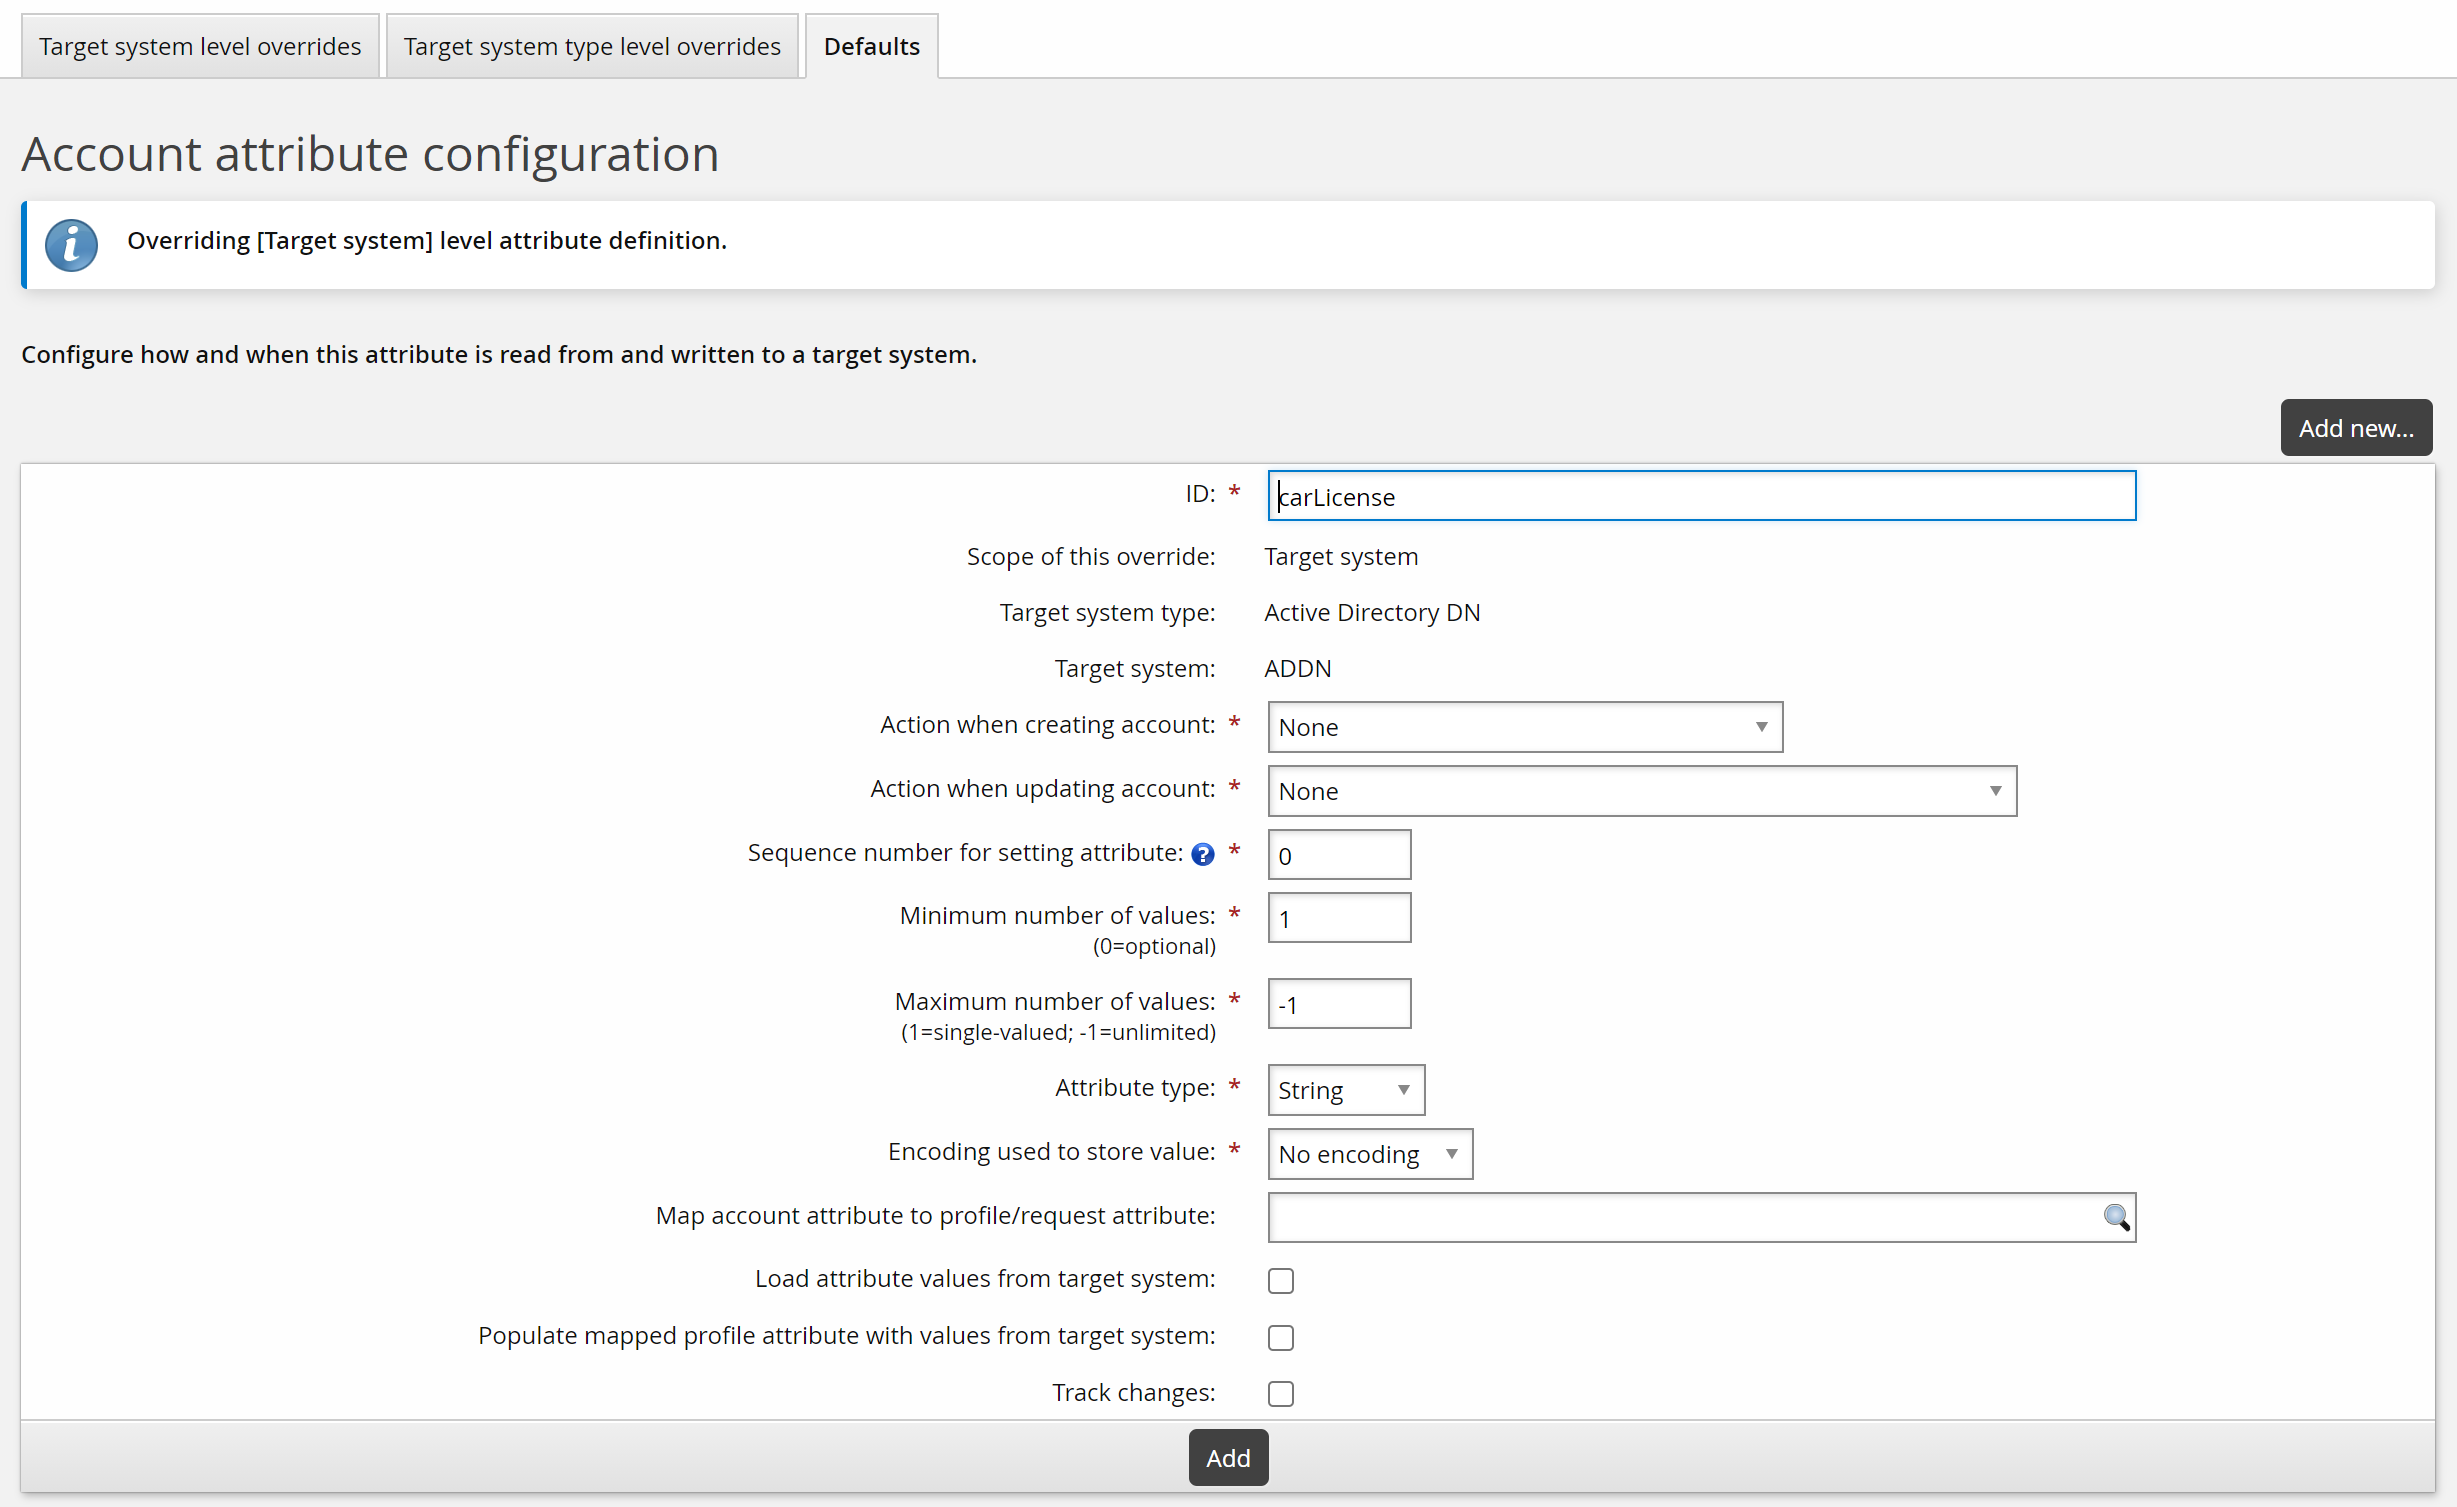
Click Add at the bottom of the form.
Additional configuration options are now available to you.
Proceed to:
Changing the configured action
The configured action determines how Bravura Identity should create the account attribute during the “create account” and “update attributes” operation.
To change the configured action for individual account attributes:
Navigate to the override configuration page.
Select the appropriate action from the Action when creating account drop-down list:
Copy from template – Copy attribute values from the model account to the user’s account.
None – Ignore the attribute when setting up a new account.
Copy from template but replace account – Copy attribute values but replace the account.
Set to specified value – Set the attribute to specific values or according to profile and request attributes.
You cannot select an action that is not supported for the attribute.
Select the appropriate action from the Action when updating account drop-down list:
Set to specified value – Set the attribute to specific values or according to profile and request attributes.
Set to specified value when mapped profile attribute changes – Set the attribute to specific values or according to profile and request attributes only when the profile attribute has changed.
None – Ignore the attribute when updating the account.
You cannot select an action that is not supported for the attribute.
Click Update.
Next:
If the set action for the attribute is Set to specified value, do one of the following:
Modifying attribute creation sequence
In most cases, the default sequence number will not need changing. In some cases, attributes should be set:
In a particular order; for example, if a room number depends on a building location, then the location attribute should be created first.
Upon creation; for example, LDAP target systems require that objectClass is set upon creation.
If a “creation attribute” fails, then the “create account” operation also fails.
You control the relative order in which attributes should be set by assigning an attribute a sequence number.
Note
Only use a sequence number less than 0 for attributes that are necessary to create the base account.
To do this:
Navigate to the override configuration page.
Type a value for the Sequence number :
This value …
Means …
<less than 0>
Required attribute to create the base account. Not used for optional attributes.
0
The sequence is not important for this attribute.
<more than 0>
Set after new account creation.
The attribute with the lowest number is set first. If more than one attribute has the same sequence number, they are set in an arbitrary order relative to each other.
Click Update.
Modifying attribute value constraints
Account attribute value constraints determine rules for attribute-value composition. By default, attributes are loaded as single-valued.
Account attribute value constraints must be compatible with the mapped profile and request attribute or the attribute values you specify. For example, you cannot map a required account attribute to an optional profile and request attribute, or a single-valued account attribute to a multi-valued profile and request attribute.
To modify attribute value constraints:
Navigate to the override configuration page.
Change the following fields as required:
Minimum number of values – determines whether an attribute is required. Type 0 to make this attribute optional or type a number greater than zero to require a minimum number of values.
Maximum number of values – determines whether more than one value is allowed. Type -1 to indicate that there is no maximum or type a number greater than zero to set the maximum number of values.
The maximum number of values must be at least as big as the minimum number of values.
Attribute type – select one of the following types: Binary, Boolean, String, Memo, Integer or File.
Encoding used to store value – select: No encoding, or Base 64.
Click Update.
Loading attribute values from target systems
During auto discovery , Bravura Security Fabric loads a list of users’ accounts on target systems into its internal database. By default, Bravura Security Fabric also loads the most commonly used account attributes, including users’ first names, last names, email addresses, and OrgChart managers.
You can configure Bravura Security Fabric to load account attributes at the target type or target override levels. To do this:
Navigate to the override configuration page.
Enable the Load attribute values from target system checkbox.
Click Update.
Attributes must be listed before they can be loaded. If the List accounts and List attributes options are not enabled for a target system, you must provide a list.
If you want users to be able to view or edit the attribute value, map the account attribute to a profile and request attribute . The Load attribute values from target system option is automatically set when you map to a profile and request attribute.
Mapping an account attribute to a profile and request attribute will enable a user to edit the attribute value, and the value will be updated on the target system. However, only the values from the most commonly used account attributes are loaded from the target system back to Bravura Security Fabric .
Mapping account attributes to profile and request attributes
Profile and request attributes allow any number of account attributes to be mapped to a single value in users’ profile data. Several attributes are mapped by default; for example, the Active Directory mail and Lotus Domino Server InternetAddress account attributes are mapped to the EMAIL profile and request attribute. Attributes that are mapped to profile and request attributes are listed by default when the target system’s List attributes setting is enabled.
To map an account attribute to a profile and request attribute, the attributes’ requirements (number of values, attribute type, encoding) must be compatible.
If a profile attribute is set to not display in reports, the mapped account attribute will also not display in reports.
Click below to view a demonstration:
To map an account attribute to a profile and request attribute:
Select an account attribute.
Choose the profile and request attribute to map to. You can either:
Search for the profile and request attribute.
Type the profile and request attribute ID in the Map account attribute to profile/request attribute field
Create a new profile and request attribute:
Click the search icon
 .
.Click
 Add new ...
Configure the options defined in Getting started .
Close the pop-up window.
The Populate mapped profile attribute with values from target system will automatically be selected when the Map account attribute to profile and request attribute field is filled in and when the Load attribute values from target system has been checked. You can disable the mapping of attributes by deselecting this box.
Click Update.
Mapping target system boolean attribute values
Profile and resource attributes in Bravura Security Fabric represent boolean values internally using T and F for true and false, respectively. However, target systems may use values other than T and F to represent boolean attribute values. Use the configuration settings Target system attribute value that represents [True] and Target system attribute value that represents [False] to ensure that target system boolean attribute values are converted correctly to mapped profile or resource attributes. For example, if a target system attribute uses 1 for true and 0 for false, then set Target system attribute value that represents [True] to 1 and Target system attribute value that represents [False] to 0.
Mapping date-type profile/request attributes
Date type attributes cannot be mapped directly because there is no corresponding account attribute type; however you can use the attribute validation plugin to mirror the attribute to a hidden attribute that can be mapped.
For example, a target system may have an attribute that accepts a value in seconds since the epoch. End users are not expected to understand this format. Instead, they enter a value in a date-type attribute field on their profile page. The attribute validation plugin then runs to convert the value to a numeric value accepted by a hidden attribute, which is mapped to the account attribute.
Specifying attribute values
Specifying fixed values will apply to account creation and update.
The steps to specify attribute values for the "set” action, when not mapping them to profile and request attributes, vary according to the attribute type:
Values set for Map account attribute to profile/request attribute will override specified values.
To specify a character or number value for an account attribute:
Navigate to the override configuration page.
Set the Value type to
Literal valueorPSLang expressionas appropriate.Type a value in the field under the Attribute value header.
For boolean type values, select True, False, or Unset from the drop-down list in the Attribute value column.
For PSLang, you can select an available expression from the auto-completion list.
Click Update.
If more than one value is allowed by the Maximum number of values, Bravura Security Fabric adds more fields below the one you just entered.
If applicable, add more values, and click Update.
Tracking account attribute changes
Changes to account attribute values can be tracked. The tracked changes are viewable as part of each user’s profile history . You can also configure the idtrack program to execute provisioning actions based on the changes. To configure Bravura Security Fabric to track account attribute changes:
Navigate to the override configuration page.
Select the Track changes option.
Click Update.
Deleting specified attribute values
To delete an attribute value that you have specified:
Navigate to the override configuration page.
Select the checkboxes next to the values you want to delete.
Click Delete at the bottom of the ”values” form.
Confirming and testing changes
After you have made changes on the override configuration page:
If required, confirm your changes. Click:
Yes (recommended), if you want to reload attribute values during the next auto discovery.
In this case, Bravura Security Fabric updates the SQLite-based list files that correspond to the affected target systems (for example, WINDOWS1.db) with a full attribute list.
No, if you want to reload attribute values only when the attribute changes on the target system.
This may help to speed up auto discovery ; however, it may also result in empty or out-of-date attributes in the Bravura Security Fabric database.
Click Back to return to the page.
The attribute now appears in one of the level overrides tabs.
If required, run auto discovery to update your system.
Test your changes.
Ensure that attribute information can be listed (if applicable), and that accounts can be created, updated, and deleted successfully.