Demo/Lab start
Prerequisites
Use the target configured in Demo/Lab: Targeting with SQLite example .
Steps
Open the Windows start menu and find the DB Browser (SQLite) program.
Right click on the DB Browser (SQLite) program and select More > Run as administrator.
Click Yes when prompted by the "Do you want to allow this app...changes to your device" warning.
Click Open Database in the top toolbar.
Navigate to the <instance>\psconfig directory.
Select the
MYSQLITEDEMO.dbfile. This was created during the previous lab wheniddiscoverwas executed.Click Open.
Open the discmeta table. Click the Browse Data tab and in the Table field select the "discmeta" table.
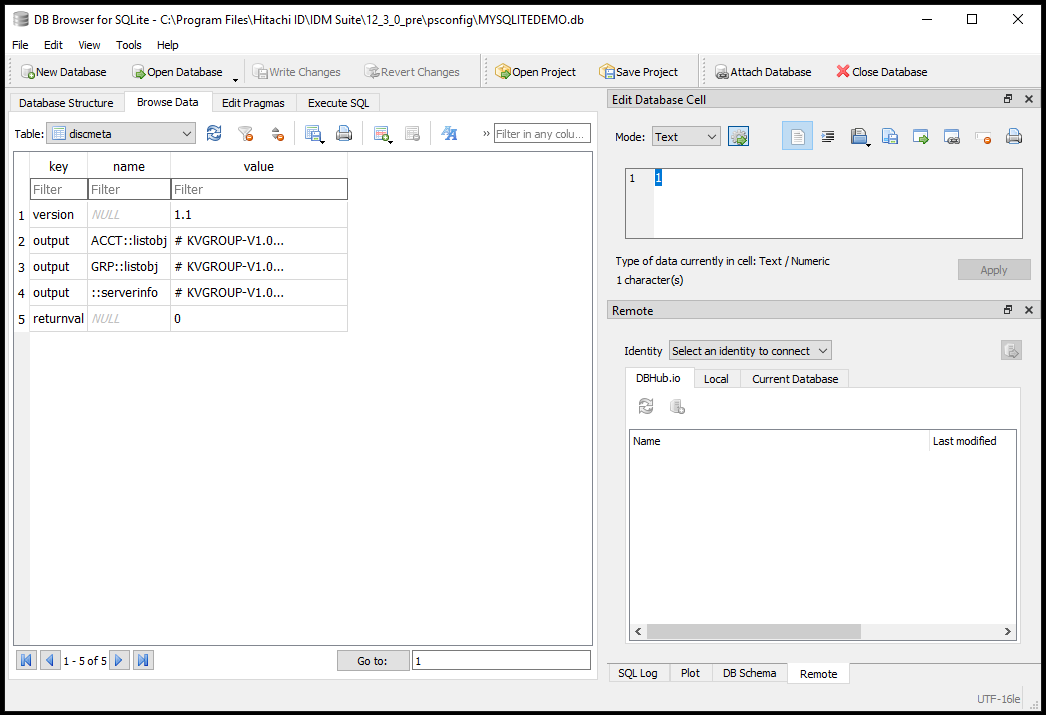
As you can see, the discmeta table shows a quick summary of the operations run, the output KVG of the run and the return value from the list operation execution. This is useful to know if the list operation failed and why it failed.
Open the discobj table. Click the Browse Data tab and in the Table field select the "discobj" table
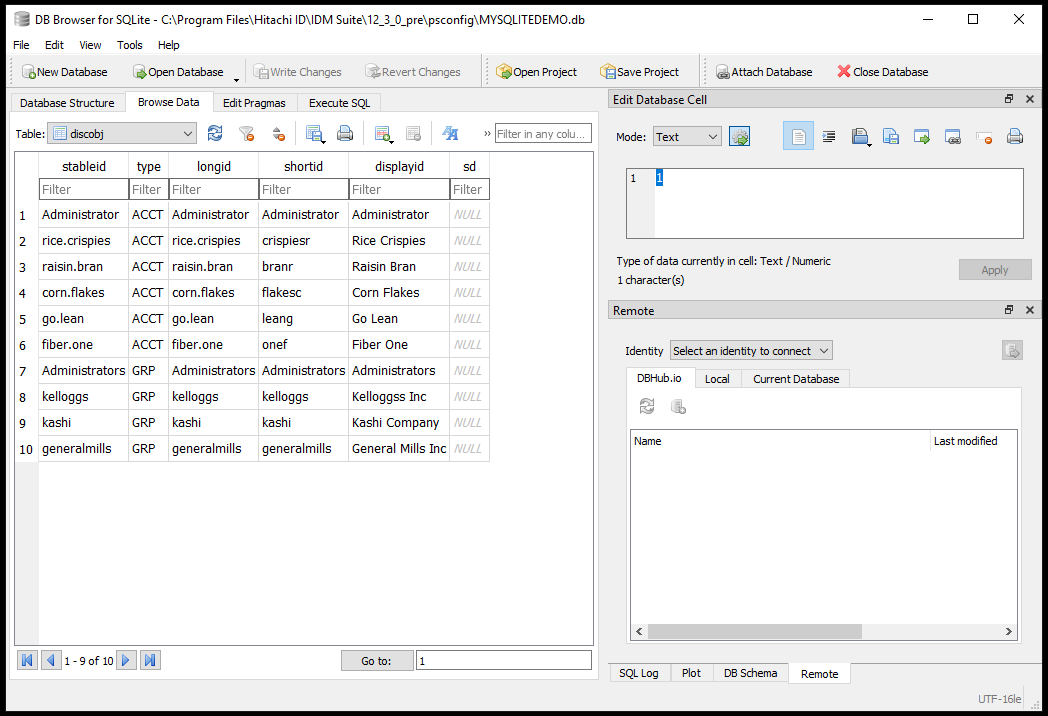
The information stored in the discobj table contains all the primary keys. As you can see, this connector is somewhat simple where the stableid and longid are using the same identifier and the shortid (generally the login identifier) is different. Note the type field and how it distinguishes between object types and also note that both accounts and groups are stored in the same table. If you listed computers, they would also coexist here.
Open
agtsqlitedemo.pyand navigate to the listusers Python definition.groups = [] attrs = {GAttrFullName: account.fullname} if wantAttributes: account.listAttributes(attrs) agent.addAccount( account.id, account.id, account.shortid, attrs, groups)When execution of the agent.addAccount is done, very much like the connector list file, you can see that the stableid and longid pass in the account.id and the shortid passes in account.shortid. Notice that we check the wantAttributes flag, which is passed in by the product by the "List account attributes" checkbox on the target configuration page. In other words, the attributes only get added to the agent.addAccount callback if attributes are desired.
Also notice that we pass in the global attribute GAttrFullName with account.fullname. This is the displayid in the connector list file above. But it’s also the "@fulName" global attribute in the discobjattr table that we will discuss next.
Open the discobjattr table. Click the Browse Data tab and in the Table field select the "discobjattr" table
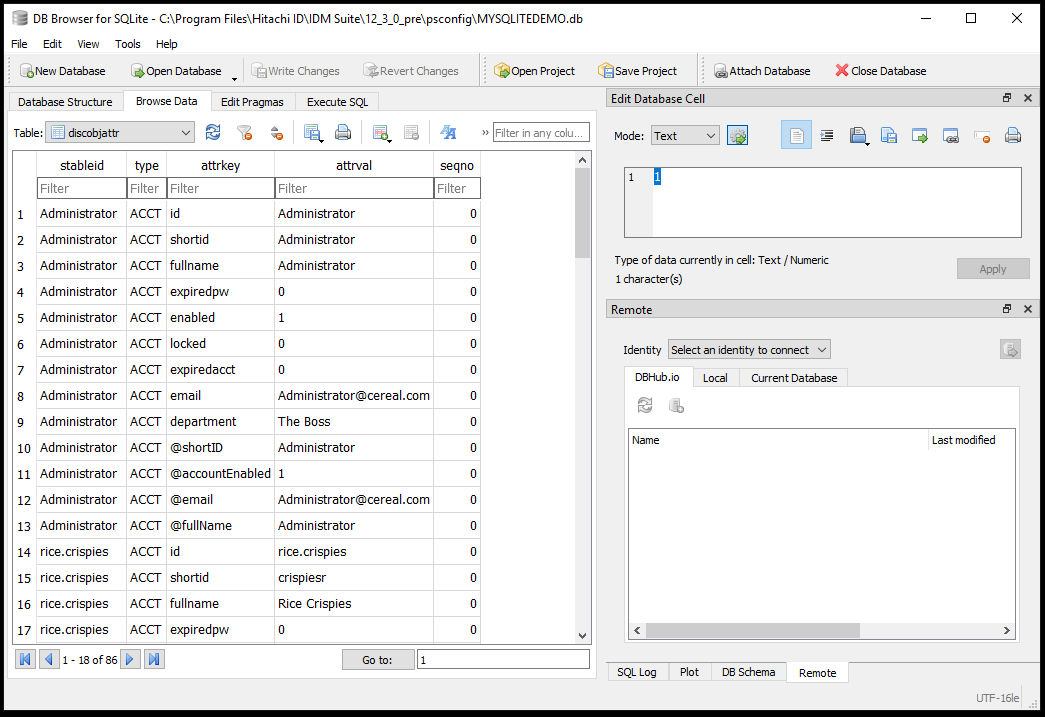
This shows you the attributes for all the objects. The id, shortid, expiredpw, enabled, etc are all attributes we pass into a dictionary. Looking at the listAttributes Python definition, in the
agtsqlitedemo.py, we see the following code:def listAttributes(self, attrs): # list attributes attrs.update({"id": self.id}) attrs.update({"shortid": self.shortid}) attrs.update({"fullname": self.fullname}) attrs.update({"expiredpw": self.expiredpw}) attrs.update({"enabled": self.enabled}) attrs.update({"locked": self.locked}) attrs.update({"expiredacct": self.expiredacct}) if self.department is not None: attrs.update({"email": self.email}) if self.department is not None: attrs.update({"department": self.department}) # list pseudo attributes attrs.update({GAttrShortID: self.shortid}) attrs.update({GAttrFullName: self.fullname}) attrs.update({GAttrAccountEnabled: self.enabled}) if self.email is not None: attrs.update({GAttrEmail: self.email}) return ACSuccessGlobal attributes are prefixed with GAttr and provide consistent attributes names for the product to utilize. For example, the GAttrEmail expands to "@email" in the connector list file and this can be used by the expiry service in conjunction with the "@passwordExpiration" (not listed here.)
Open the discobjrel table. Click the Browse Data tab and in the Table field select the "discobjrel" table
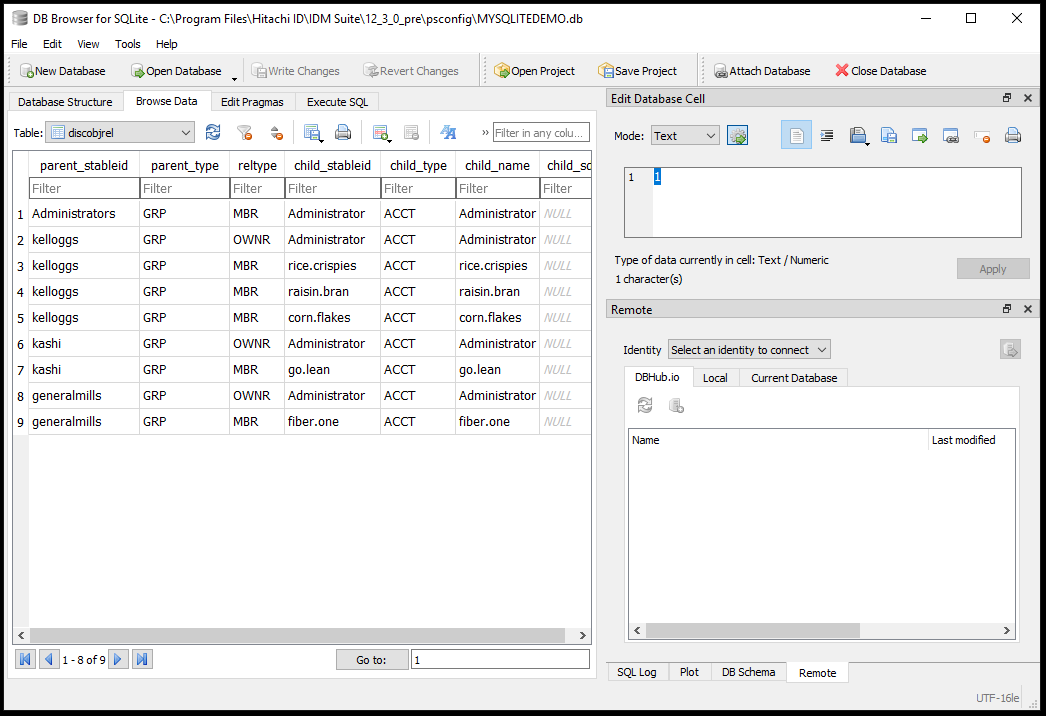
The discobjrel tables shows the relationships between objects. We need the parent object stableid and its type with its corresponding relationship type with the child stableid and its type.
There are two types of relationships: members and owners. This fits within the same paradigm with Active Directory where owners can generally manage properties of groups.
Take a look at the listgroups definition in
agtsqldemo.pyto see how the agent.addGroup callback function works.groupid = group.id shortid = group.shortid attrs = { GAttrDescription: group.desc, GAttrSecurity: 'true', 'grpattr0': group.grpattr0} owners = {} members = {} for manager in group.managers: account = Account(manager) if account.get(): return ACUnknownError owners.update({account.id: {}}) if wantMembers: for member in group.members: account = Account(member) if account.get(): return ACUnknownError members.update({account.id: {}}) agent.addGroup(groupid, shortid, shortid, attrs, owners, members)Like the agent.addAccount callback, the agent.addGroup assigns the stableid, longid and shortid, as well as, attributes, but there is also an owners and members dictionary that assigned the relationships. And memberships are only ever assigned if the wantMembers flag is true. This gets passed in by the product if groups are to be managed. This is exposed in the "Automatically managed groups" configuration option on the target configuration page.