Example: Adding an Active Directory target system as a source of profiles
Click below to view a demonstration of defining an Active Directory target system as the source of profiles (users) for Bravura Security Fabric including the following steps:
Creating a list file with the OUs to list users from
Specifying the target system as a source of profiles
Adding target system administrator credentials
Testing the connectionRunning auto discovery
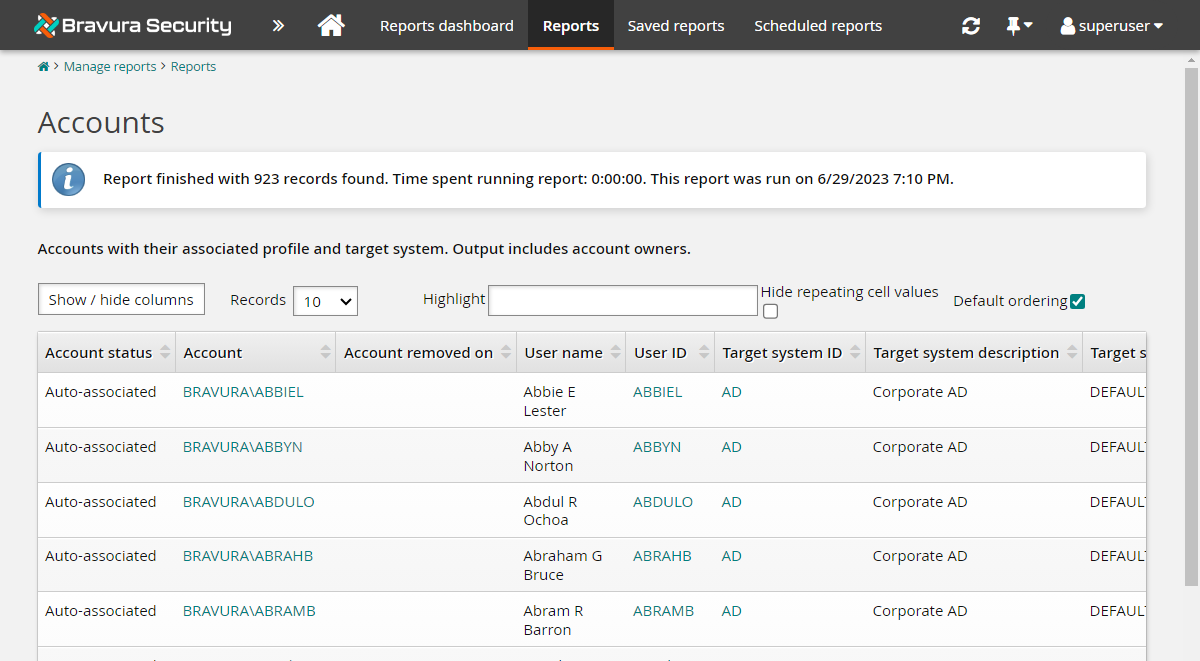
This section shows you the typical procedure for adding an Active Directory target. For this demonstration, this target will be set up so that it becomes the source of Bravura Security Fabric profiles. This means that users with accounts in Active Directory will have profiles, including full user name, created for them in Bravura Security Fabric .
Click Manage the System > Resources > Target systems > Manually defined.
Click Add new... to add a new target system.
Enter a unique identifier for the new target system. The target ID can contain only letters (A-Za-z), digits (0-9), and underscores (_).
Select the target system’s Type; for example, Active Directory DN.
Type a Description for the target system.
Click Change next to the Address field to enter values for the target system address. For Active Directory, there are three primary methods for specifying the Active Directory target address:
globaldomain.example.com
\\mydomaincontroller.example.com
\\mydomaincontroller
You can restrict user listing by container or group membership.
Enable Automatically create a Bravura Privilege managed system if you want to manage privileged access to this system.
Select the Source of profile IDs checkbox.
If you want Bravura Security Fabric to generate a list of attributes for each account during auto discovery, select List attributes. You must select this checkbox if you want Bravura Security Fabric to import OrgChart data from the target system.
Select the Allowed in the certification process checkbox.
For this demonstration installation, leave other parameters with default values.
Click Add.
The Administrator credentials page displays so you can add a target system administrator for the target.
Type the target system administrator’s login ID in the Administrator ID field.
Type the account password in the Password and Confirm password fields.
For this demonstration, the Workstation ID and Account ID do not apply.
Click Update.
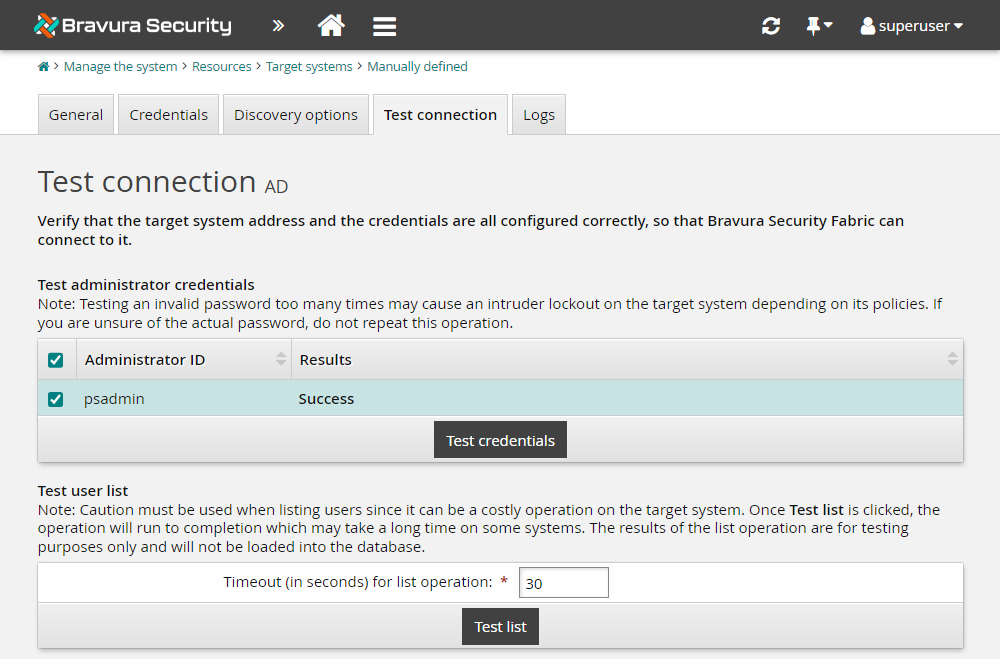
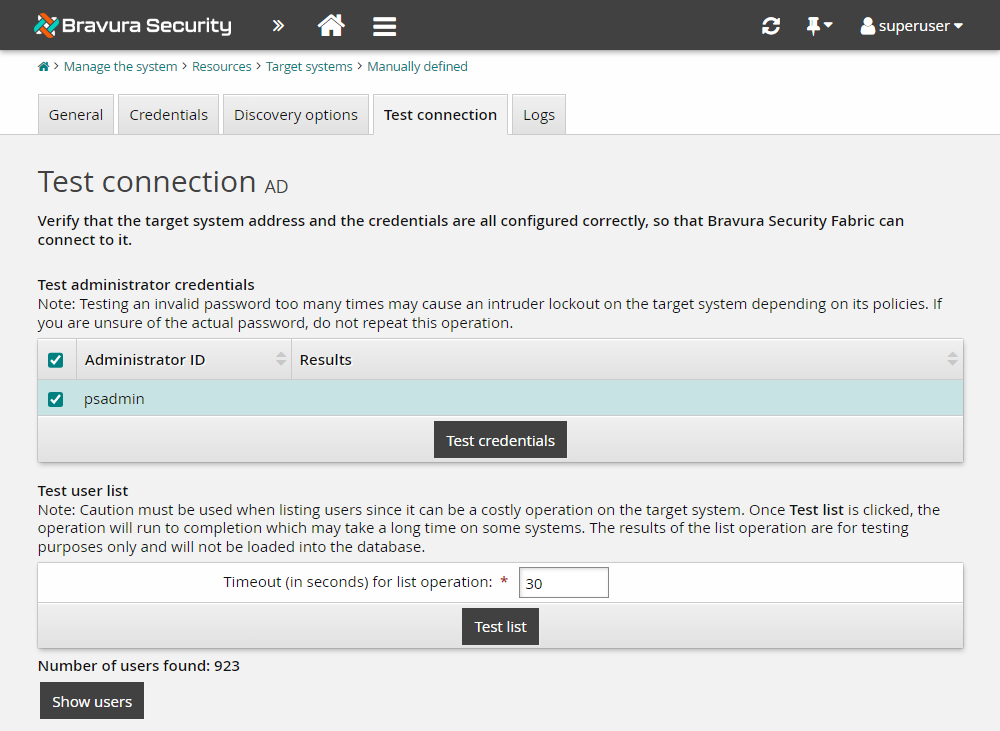
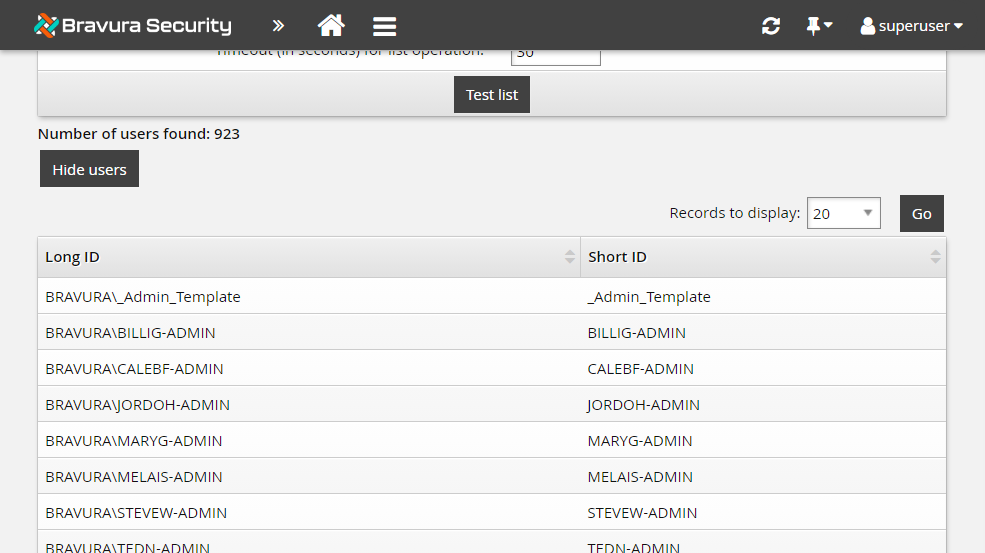
Test the connection
To test that your target system is configured correctly:
Run auto discovery
Once a target system has been added and is flagged as a source of profile IDs, you need to run psupdate to list accounts and create user profiles:
