Hello World: Start on writing your own script
Prerequisites
Bravura Security Fabric is installed.
Steps
Find the
agtpython-simple.pysample script in <instance>/samples folder.Copy
agtpython-simple.pyand paste it into your <instance>/agent folder. Later on when we package the script as a component, it is moved elsewhere.Rename
agtpython-simple.pytoagthelloworld.py.With PyCharm or the editor of your choice, open up your agthelloworld.py script so you can follow along with the code that matches this walkthrough.
In the agent folder, create a connector file named
agthelloworld.conin the <instance>/agent folder with the following content:# KVGROUP-V2.0 agthelloworld = { agent = agtpython.exe; script =.py; category = SCRIPT; platform = HELLOWORLD; description = "Hello World Python Agent"; system = true; }Execute
loadplatformfrom the utils directory to load your connector file into Bravura Security Fabric .loadplatform.exe -a agthelloworld
Log into Bravura Security Fabric as an administrator and navigate to Manage the System -> Resources -> Target Systems and click Add new…
For the target type, select your "Hello World" Python agent:
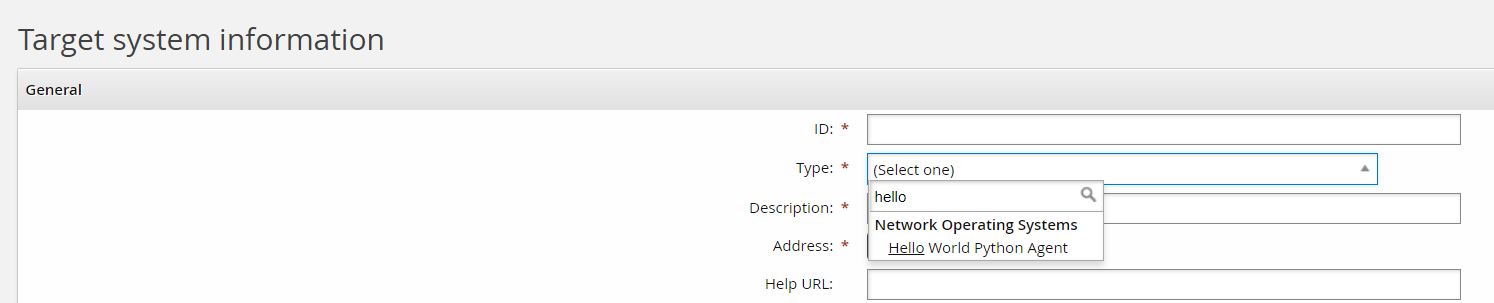
Add an appropriate ID and Description. For example:
ID: MYWORLDROCKS
Description: My World Rocks
Click Change next to the Address field. Note the address attribute options match the
addressattrsPython definition in your agthelloworld.py file. View the file to get a better understanding of the power of exposing functionality to the target address configuration UI.def addressattrs(cinfo): agent.addAddressAttr("verbose", "Log extra information", "boolean", "false", False) agent.addAddressAttr("host", "Host name", "string", "", False) ...The matching address configuration might look something like this:

Since these options are for illustration purposes only, none of these options actually do anything. Click Continue.
Set Automatically manage groups to "All groups, approval required"
Set Groups whose membership will be listed to "Managed groups"
Click Add on the target main page.
On the credential page enter in placeholder credentials. Since this connector does not actually target any actual target end point, these credentials can be anything. For this example:
Administrator ID: placeholder
Password: North*1
Confirm password: North*1
Click Update.
Select the Test connection tab.
Click Test credentials .
Results should return success.
The Test connection tab executes the server info operation, which implicitly calls the connect operation first. This corresponds with both the
connectand theserverinfoPython definitions. In your sample navigate to these respective definitions for a better idea how these work. Keep in mind that these are samples and do not actually connect to any end target:def connect(cinfo): agentinput = cinfo['agentinput'] instance = agentinput['instance']['VALUE'][0] hostid = agentinput['hostid']['VALUE'][0] log.info("agent python with instance name [{0}] hostid [{1}]". format(instance, hostid))And
def serverinfo(cinfo):
  # The serverinfo operation must be defined and return ACSuccess
  # for a successful list (discovery) operation.
  opinput = cinfo['opinput']
  lastModifiedTime = ''
  if 'lastModifiedTime' in opinput:
    lastModifiedTime = opinput['lastModifiedTime']
  log.info("lastModifiedTime [{0}]".format(lastModifiedTime))
…
Click Test list.
Results should return the two users in the script.
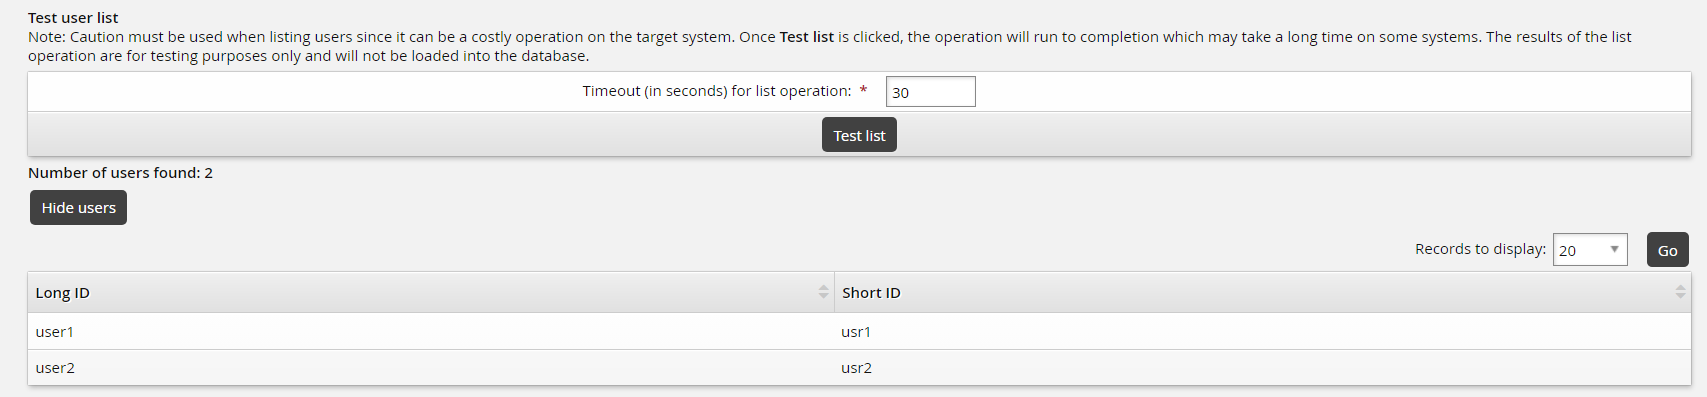
This corresponds with your
agthelloworld.pylistusersdefinition which adds two users:def listusers(cinfo, wantGroups, wantAttributes): log.info("listing users") listattributes = cinfo['listattributes'] log.info("agent python listattributes [{0}]".format(listattributes)) …Go back to the General tab and click Run discovery.
Click the Home icon and navigate to Manage Reports > Reports > Users > Accounts. Select your Target System ID "MYWORLDROCKS" and click Run.
You should see the two accounts from the target.
Navigate to Manage Reports > Reports > Roles and Groups > Groups. Select your Target System ID "MYWORLDROCKS" and click Run.
You should see the two groups from the target.