Adding and removing connectors
To add or remove connectors from an installed instance of Connector Pack :
Run
setupfrom the main software installation package.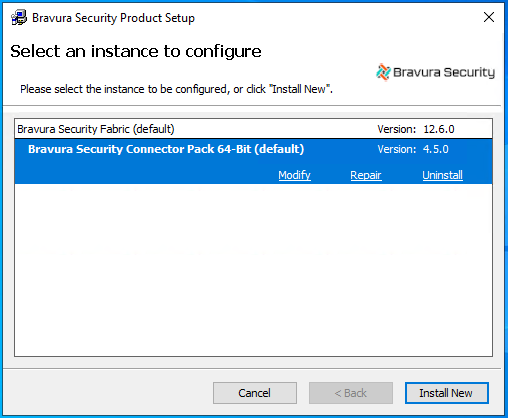
Click the Connector Pack instance you want to modify, then click Modify.
A pop-up window opens warning you of the adverse effects of modifying the instance. For example – You could remove a connector which is being used, or you could replace a connector with an incompatible version.
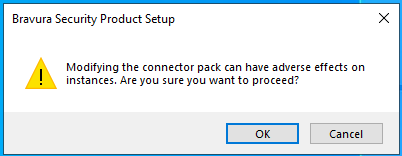
Click OK if you are sure you want to proceed.
The
setupprogram displays the page.Select the Backup files if you want files backed up prior to changes. See Understanding backup logic for more information.
Click Next.
The setup program displays the page.
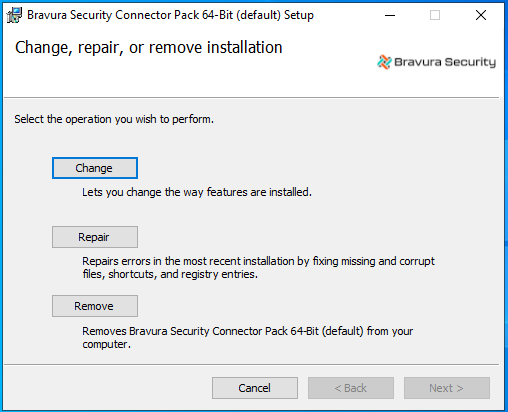
Click Change.
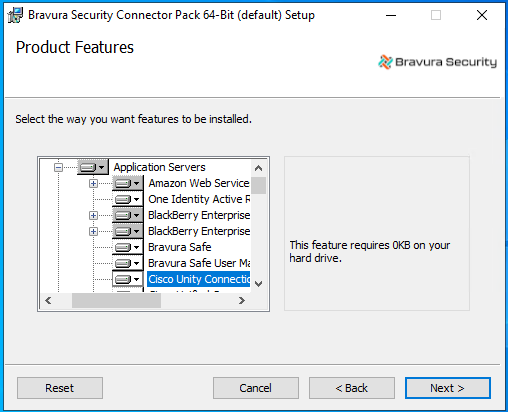
Select the (install) icons buttons to the left of the connector names to display options to add or remove them from the instance.
Click Next.
Click Change to start processing the modification requests.
You can also click Back to make any changes before continuing.
Click Finish once you receive the message that the changes are complete.
The post-modification tasks begin.

Caution
Do not stop the post-modification tasks. The installer is modifying connectors. Wait until the status changes to success, then click Finish. If you stop this process, or if it is unsuccessful, see Manually loading the connectors.
The installer automatically generates and installs new skins.