Examples: Testing and troubleshooting user listing
One way of checking whether the users were successfully listed during auto discovery; is to view the Reports > Users > Accounts report . If auto discovery was successful you should see a number of accounts listed as auto-associated.
The following examples demonstrate two other ways of configuring and testing user listing:
Running auto discovery from the web interface
Click below to view a demonstration of testing that a target is listing users correctly by running auto-discovery from the Manage the system (PSA) module and then confirming that users have been listed by looking at the generated data file.
To test that your target is listing users correctly, you can run auto discovery from the (PSA) module and confirm that users have been listed by looking at the generated file:
Log in to the Front-end (PSF) as
superuser.Click Manage the system > Resources > Target systems > Manually defined.
Select the AD target to update the target settings.
On the tab, deselect List accounts.
Click Update.
Navigate to the \<instance>\psconfig\ directory.
Delete all files named AD.*.
From the Manage the system (PSA) module, click Maintenance > Auto discovery > Execute auto discovery.
Click Continue.
Click Maintenance > Auto discovery > Last log, and refresh the page until the log shows "done
psupdate."Check the \<instance>\psconfig\ directory.
There will not be a file named AD.db in \<instance>\psconfig\ , because the old one was deleted and user listing was turned off for the Active Directory target.
Click Manage the system > Resources > Target systems > Manually defined.
Select the AD target.
Select List accounts, List account attributes, List groups, List group attributes, and Create profile IDs from enabled accounts only.
Click Update.
Execute auto discovery: Maintenance > Auto discovery > Execute auto discovery > Continue.
Once the process is complete, check the \<instance>\psconfig\ directory.
The
AD.dbfile should now exist in \<instance>\psconfig\ because you turned on user listing for the Active Directory target again.Confirm the auto discovery successfully listed users by opening the file using the instructions below.
If auto discovery is successful, this file lists users with accounts on the Active Directory target system. A file is added for each target system on which listing is enabled.
Select the AD.db file in \<instance>\psconfig\ and press Enter or double-click to open.
You will see a prompt saying, "You are attempting to open a file of type ’System file’ (.db)."
Click Show apps.
Check the box at bottom saying Always use this app to open .db files.
Scroll to the bottom of the list and click Look for another app on this PC.
Browse for and open the DB Browser for SQLite directory.
Select the DB Browser for SQLite.exe program.
Click Open. The File will open within DB Browser for SQLite.
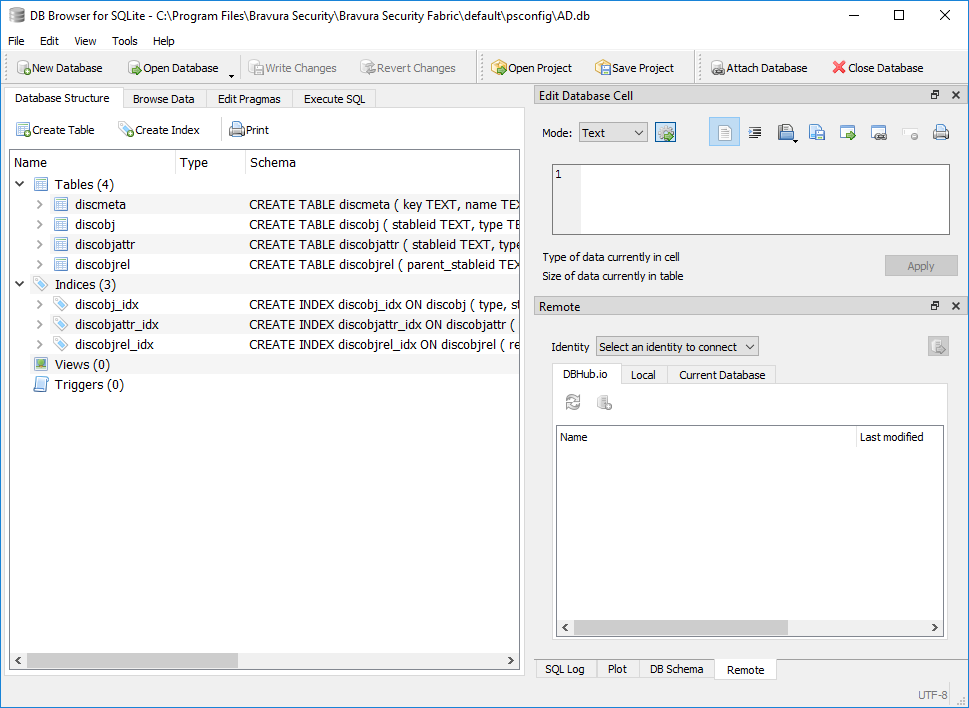
Click the Browse Data tab and use the Table: drop-down menu to select the discobj table.
Confirm that you now see a table of discovered groups and accounts from the AD target.
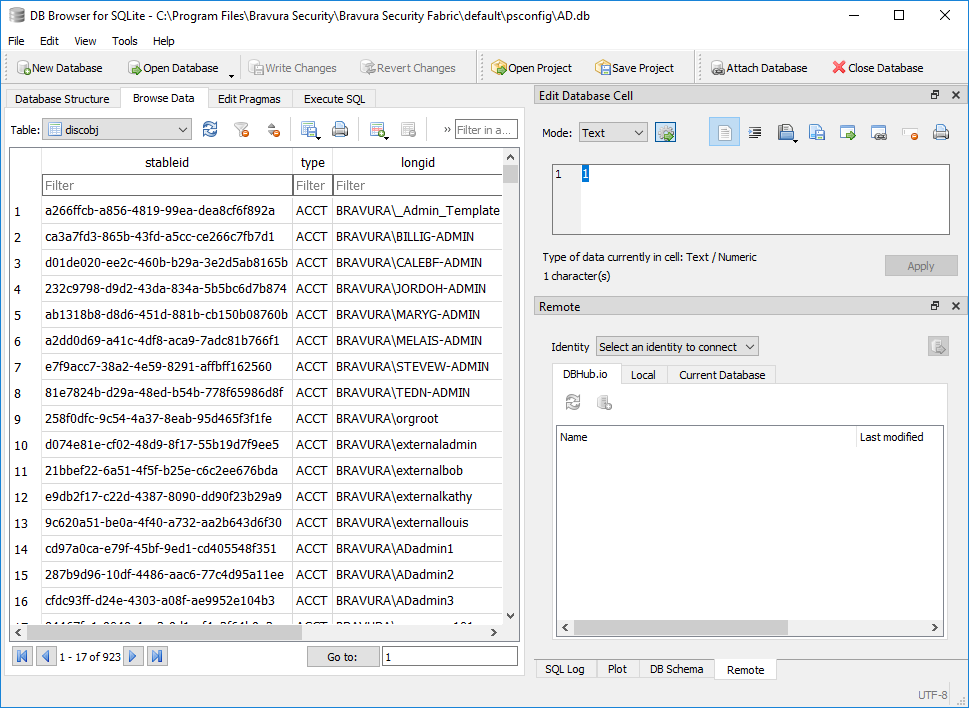
Close the file once you have confirmed the table contains the discovered data.
Confirm that auto discovery listed users successfully from your target systems by searching the
idmsuite.logfor the line in which the agent listed items from your target.Open: C:\Program Files\Bravura Security\Bravura Security Fabric\Logs\<instance>\
idmsuite.logYou should see lines in the
psupdatesection for each agent indicating list succeeded. The lines will look something like this:_2023-06-29 22:51:58.936.4644 - [psupdate7020_7208] agtaddn.exe [2164,992] Info: [listobj] for Object [GRP] succeeded _2023-06-29 22:51:59.453.9875 - [psupdate7020_7208] agtaddn.exe [2164,4708] Perf: PerfConnector. Address: {[server=bravura.corp;listOUs=include:UserOUs.kvg; listGroupOUs=["*,ou=Demo,dc=bravura,dc=corp";];listDeleted=NODELETED; nameFormat=NT4;groupNameFormat=DN;grpowner_attr=managedBy;persistentSearchWait=7200;]} | AdminID: {psadmin} | Duration: {1038} | Event: {connector-operation} | Message: {} | Operation: {listobj} | Result: {0} | SysID: {} | TargetID: {AD} _2023-06-29 22:51:59.454.0327 - [psupdate7020_7208] agtaddn.exe [2164,4708] Info: PerfConnectorExt. AcctID: {} | Duration: {1038} | Event: {connector-extended} | ObjChildID: {} | ObjChildType: {} | ObjCount: {923} | ObjRelType: {} | ObjectID:{} | ObjectType: {ACCT} | Operation: {listobj} | TargetID: {AD} _2023-06-29 22:51:59.454.0392 - [psupdate7020_7208] agtaddn.exe [2164,4708] Info: [listobj] for Object [ACCT] succeededTip
There is also a Run discovery button in the Manage the system > Resources > Target systems > Manually defined section for running auto-discovery against individual targets.
Running auto discovery from the command line
An alternative way to test auto discovery is to run the psupdate program from the <instance>\util\ directory. You can use arguments with this command to specify part of the auto-discovery process.
Click below to view a demonstration.
To use the -list argument to list users on a single target:
Delete all files named
AD.*from the \<instance>\psconfig\ directory.From a Windows Administrator Command Prompt, navigate to:
C:\Program Files\Bravura Security\Bravura Security Fabric\<instance>\util\
Type:
psupdate-list -target ADCheck the \<instance>\psconfig\ directory.
There should now be an updated file named
AD.dbin \<instance>\psconfig\ because you executedpsupdate