Segregation of duties rules
In Bravura Security Fabric , Segregation of duties (SoD) rules provide a way of identifying exceptions to roles or possible access conflicts. They are a component of a role-based access control system, along with roles.
Information regarding the rule is defined in four tabs:
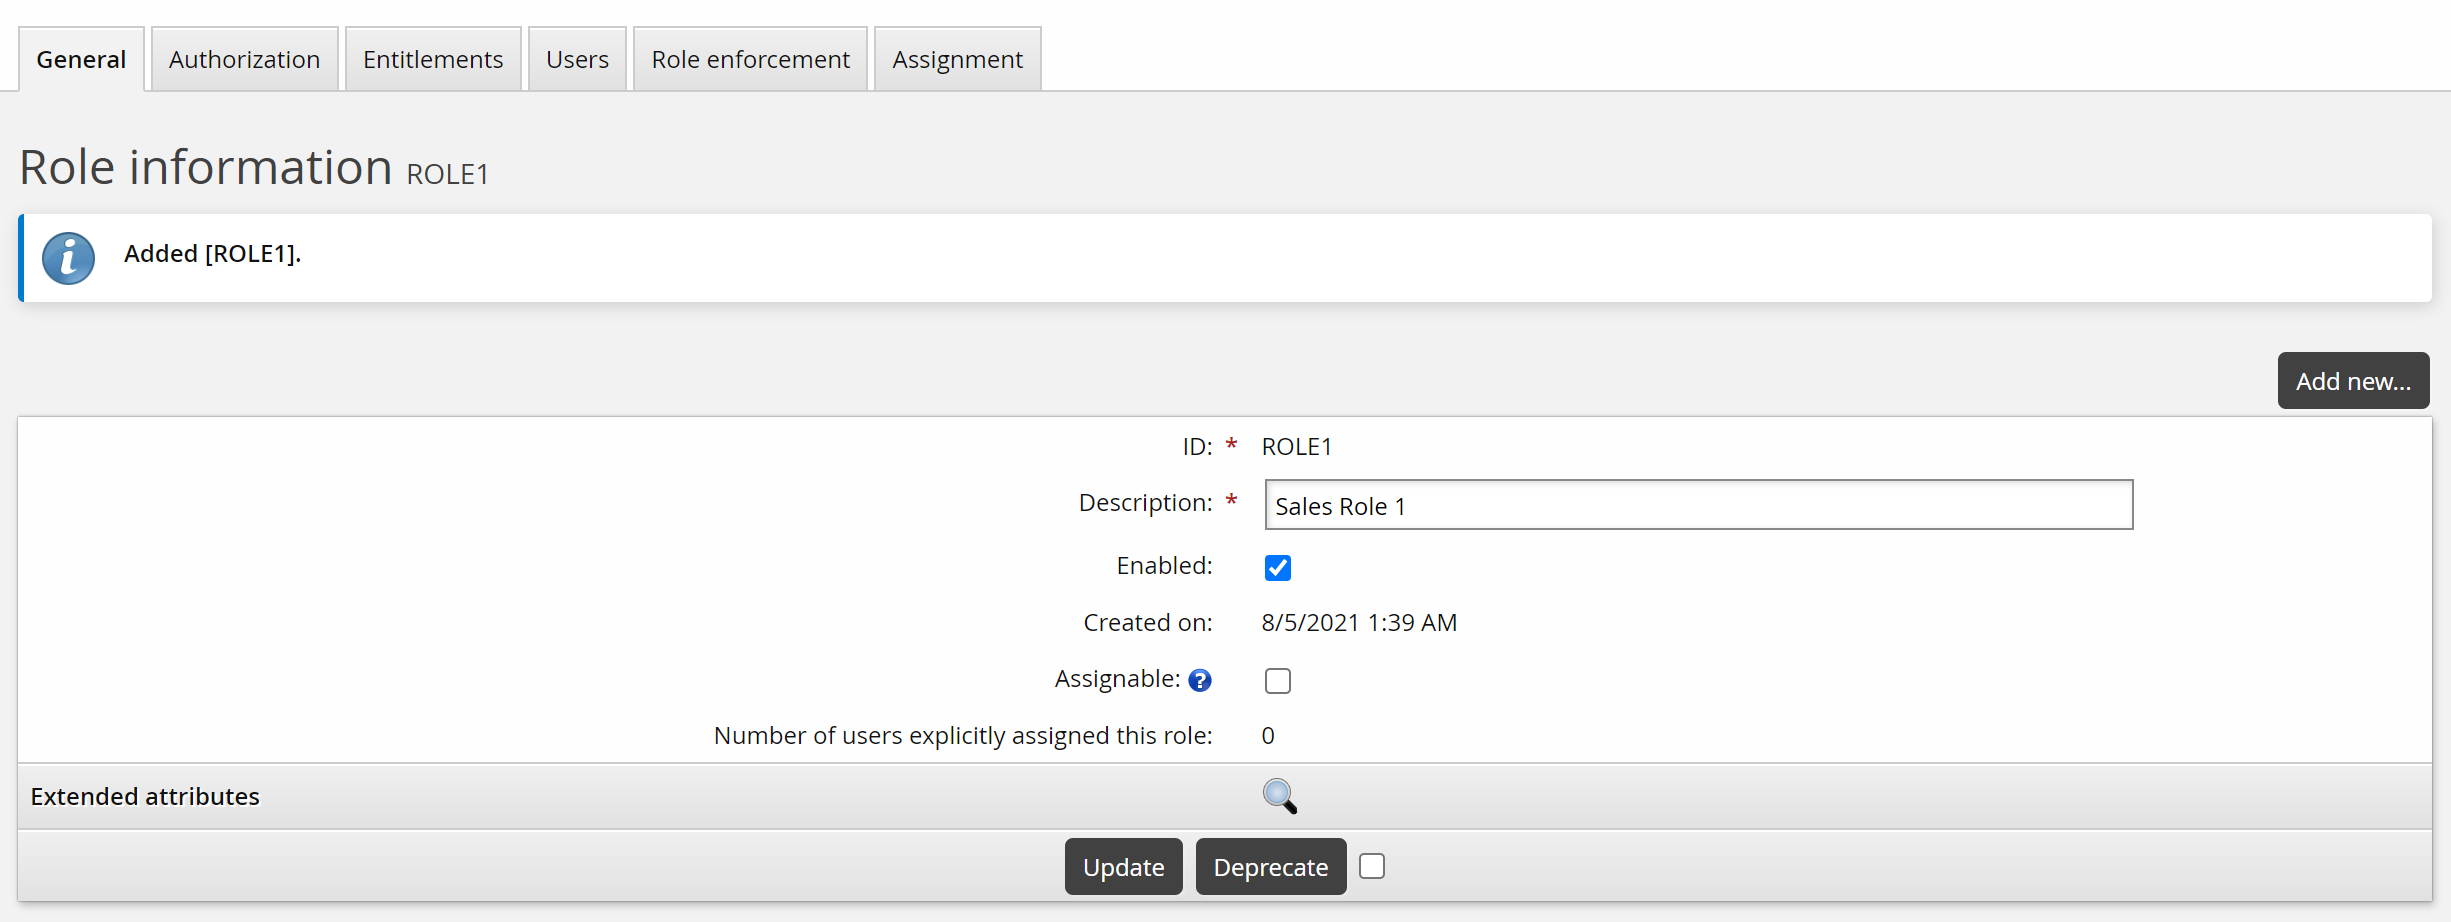
General | Define rule ID, description, status of the rule, the number of entitlements needed to be considered in violation, total number of users in violation of the rule, and the number of users in violation without approved exception. The values for the number of users in violation are auto-generated. |
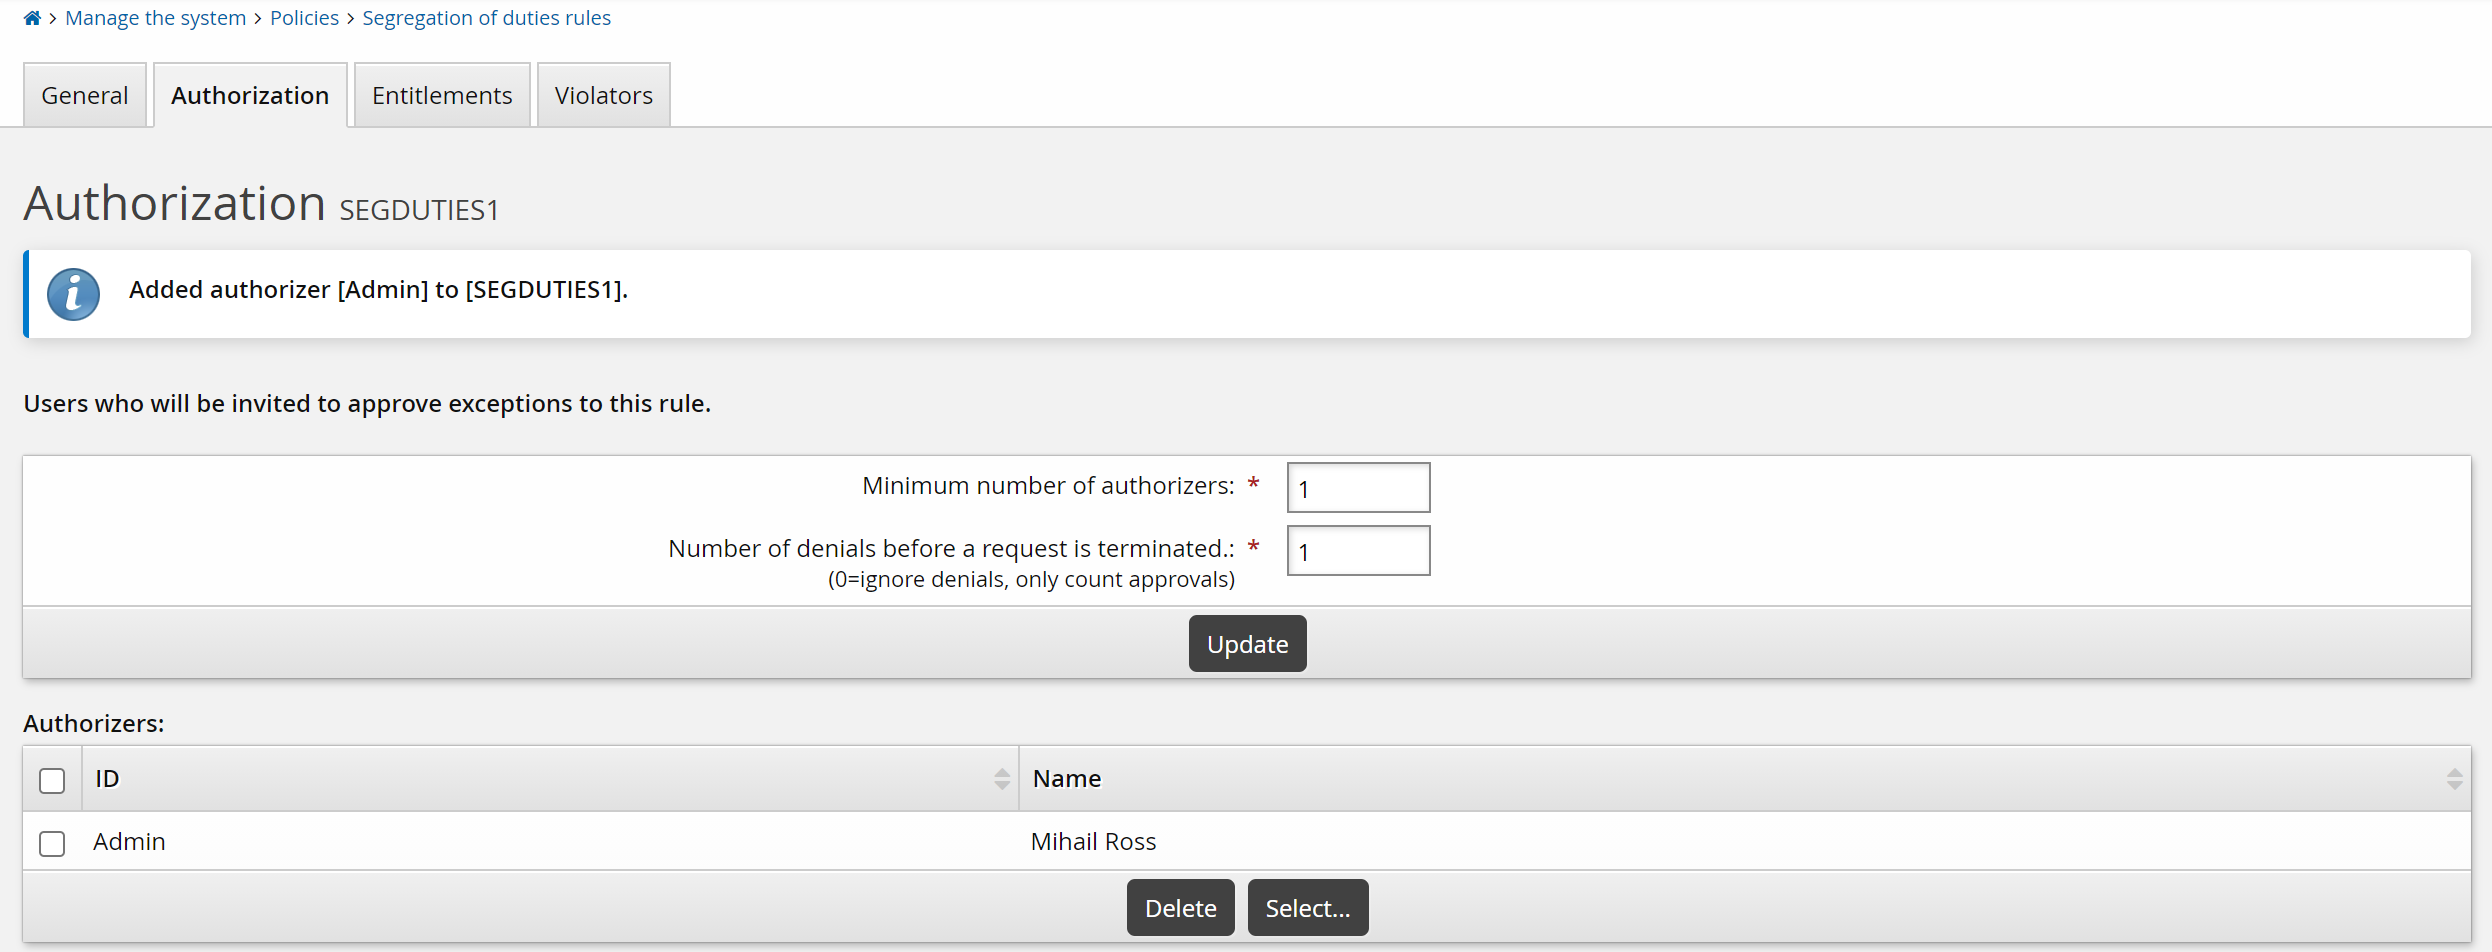
Authorization | Define whether requests for exceptions to the rule require authorization, how many authorizers, and which authorizers. You can also define how many authorizers must deny the request for it to be denied. |
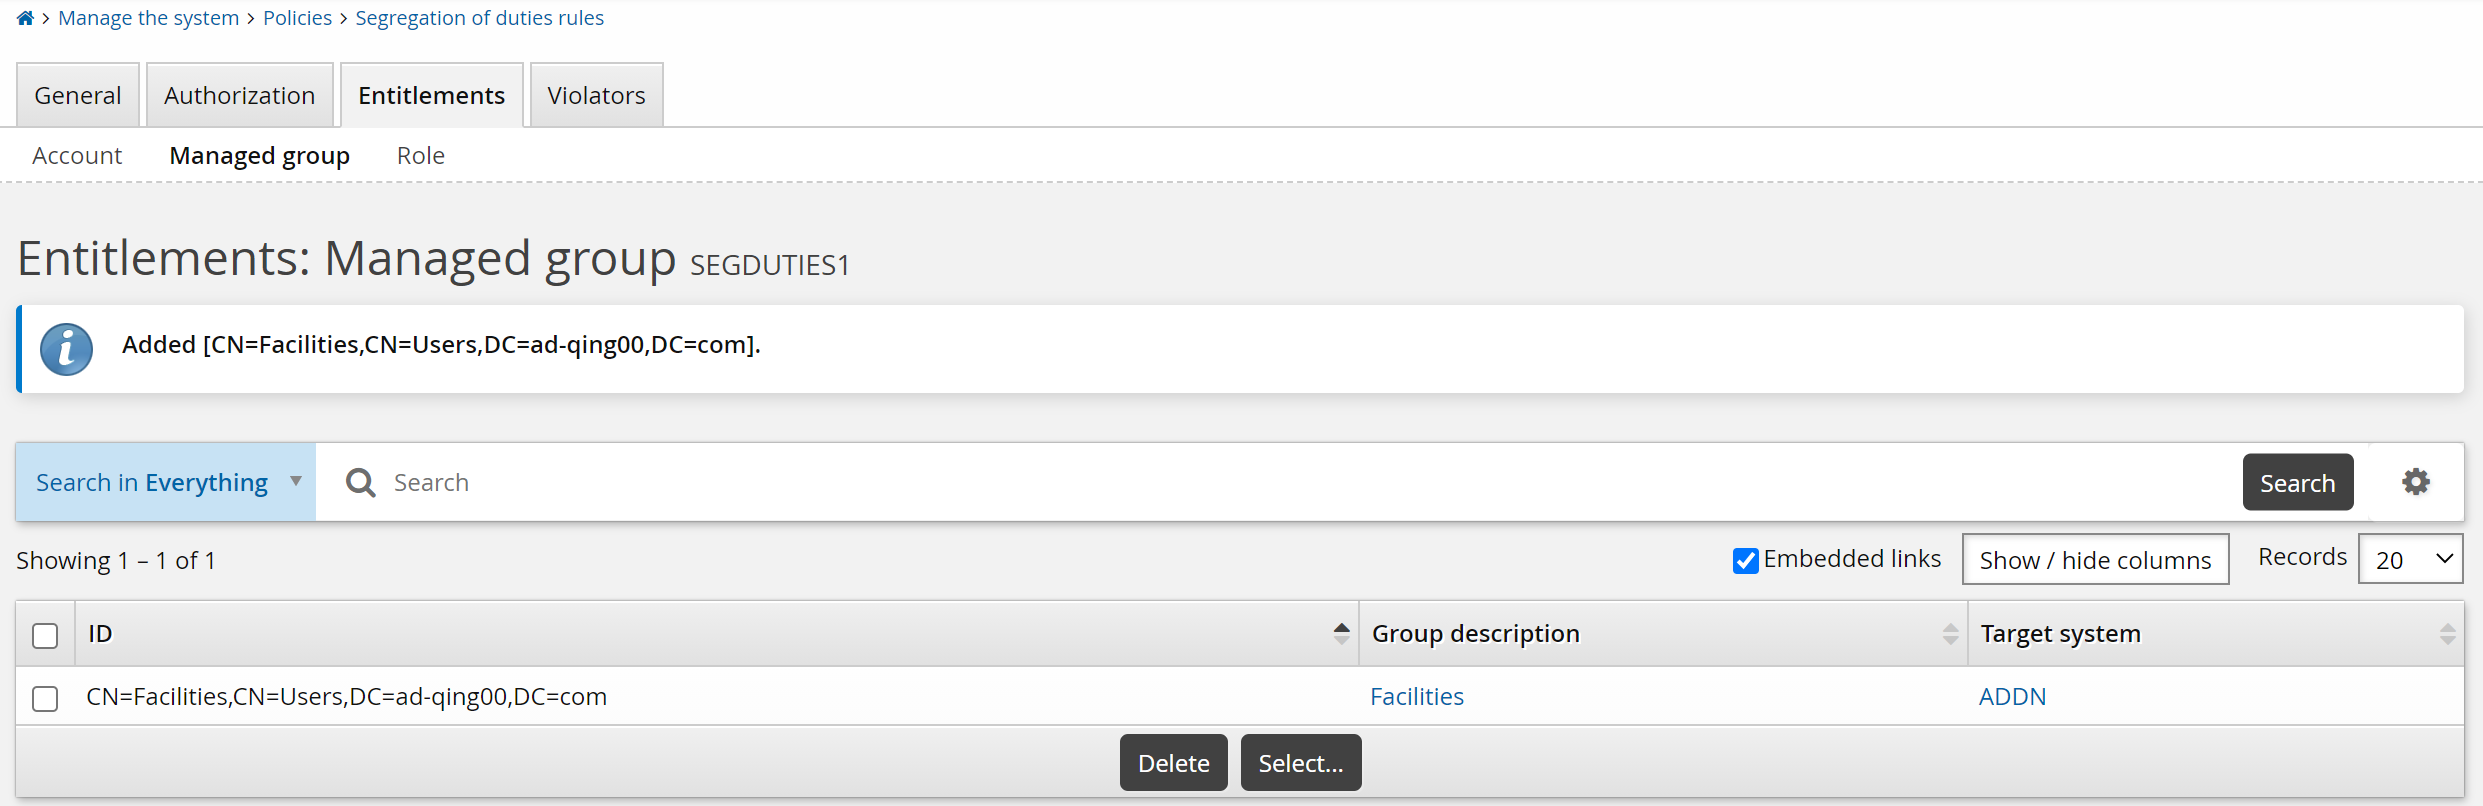
Entitlements | Define which resources are considered part of the rule; this can include template accounts, managed groups, and sub-roles. |
Violators | Lists all users currently in violation of the SoD rule, users without approved exceptions, and users with approved exceptions. The content is auto-generated. Violators are calculated recursively. For example, if an SoD rule’s entitlements contain two roles, and each role has managed groups as their entitlements, then the violators include both common users in the roles as well as the common members in the managed groups. |
Rule status
When creating a rule you must set its status. For a rule to be active it must be enabled.
An enabled rule can be deprecated once it is used.
Getting started
Use the page to configure general rule information, and to access additional configuration settings.
To navigate to this page:
Click Manage the system > Policies > Segregation of duties rules.
To define:
A new rule – click Add new….
An existing rule –search for or select the rule you want to view or modify.
Note
You cannot modify a deprecated rule. You must restore it first.
Creating segregation of duties rules
To create a segregation of duties rule:
Navigate to the page for a new rule.
Type a unique ID and Description .
Determine whether the rule is Enabled.
Select Exceptions not allowed if you do not want users or reviewers to be able to request exceptions to the rule.
If you selected Exceptions not allowed, and you want to allow exceptions under certain circumstances, type the name of the plugin Program to enable exception.
A sample plugin,
plugin-sod-exception.psl, is included in the <instance>\samples\. See Plugin to enable exception for more information about writing an exceptions plugin.Type the minimum Number of entitlements a user must have to violate a rule.
This means that if a user has at least this many of the rule’s configured resources, then they are in violation of the rule.
If set to 1, then all of the users for each of the rule’s resource members are in violation of the rule.
If set to 2, then users who are a part of two of the configured resource members are in violation.
If you want to vary the time that an exception will be allowed, type the Default number of days before expiry.
The default expiry is 60 days, as determined by EXPIRY FOR EXCEPTIONS TO SOD RULES (Manage the system > Policies > Options). Requesters can change this value when requesting an exception. After this time, a user granted an exception will be in violation again.
Click Add.
Next:
Plugin to enable exception
A segregation of duties (SoD) rule is generally put in place for most users; however, there are times where exceptions are required for specific individuals. Rules can be configured to allow or disallow exceptions. Once an exception request is approved, the resources being applied for the exception are assigned to the user, overriding the segregation of duties rule.
To disallow exceptions, you enable the Exceptions not allowed option on the page. You can also write a plugin to override this setting, to allow exceptions in certain circumstances. You enable the plugin in the Program to enable exception field.
Requirements
See Writing plugins for general requirements.
Shipped plugins
A sample plugin script, plugin-sod-exception.psl, is provided in the samples\ directory. The sample always returns success, to override the Exceptions not allowed setting. You must edit the script and move it to the \<instance>\plugin\ directory.
Execution points
The exceptions plugin is run when a user views SoDs on a self-service request page or certification page.
Input
The plugin receives the ID of the SoD and the requester:
"" "" = {
  "sodid" "" = {
    "sodid" = "<SoD ID>"
        # indicates the ID of the SoD rule that is in violation
  }
  "user" "" = {
    "user" = "<userid>"
        # indicates the userid of the user that is in violation of
        # the SoD rule.  This value will be blank for new user
        # requests that violate the rule since it is not yet known
        # until after the request is submitted.
  }
}
When a request for new users results in an SoD violation being triggered, the value for the user ID for the "user" section will be blank since it is not known at this point of the request (it is determined after the request is submitted).
Output
The plugin returns standard output where retval=0 means that the Exceptions not allowed setting is overruled; for example:
"" "" = {
     "errmsg" = "<text message>"
         # The message to indicate why an exception may be allowed or
         # disallowed.
     "exception" = "<true|false>"
         # Mandatory; true indicates that exceptions may be allowed.
         # Anything else (such as false for example) will not allow
         # exceptions to be requested.
     "retval" = "0"
         # Mandatory; non-zero indicates that exceptions may not be
         # allowed.
   }
Defining segregation of duties rule authorization
Define authorization information for SoD rules to:
Set the number of approvals or denials required for requests for exceptions to the rule.
Assign static authorizers to define who can approve requests for exceptions to the rule.
Users must be loaded into the Bravura Security Fabric database before you can define them as authorizers.
You must assign enough authorizers to meet the minimum number of authorizer requirements. If you do not do this, requests involving the resource are automatically denied unless a workflow plug-in assigns authorizers.
Configuring phased authorization
If phased authorization is enabled, click the Authorization tab, then:
Click Add new… if you want to add a phase.
To change the order of phases, change the numbers in the Authorization phase column and click Update.
Select a phase to define authorizers and settings.
Parallel Authorization
A parallel authorization process is one where multiple authorizers are invited to comment concurrently – i.e., the identity management system does not wait for one authorizer to respond before inviting the next.
Parallel authorization has the advantage of completing more quickly, as the time required to finish an authorization process is the single longest response time, rather than the sum of all response times.
Click below to view a demonstration of creating a LINUX-APPROVERS user class to be used as a secondary set of authorizers for parallel authorization.
Click below to view a demonstration including the following steps:
Enabling parallel authorization in Bravura Privilege
Configuring parallel authorization for a managed system policy
Adding rules to the authorization
extdbtable to include a secondary authorizer user classModifying rule actions in the team management
extdbtableRequesting to check out an account, viewing authorizers and approving the request
Determining number of required approvals
To define the authorization requirements for a rule:
Select the Authorization tab.
Select a phase if phased authorization is enabled.
Type a value for the:
Minimum number of authorizers – A value of 0 means requests for the resource are auto-approved.
The default value is set by the MIN AUTHORIZERS policy.
Number of denials before a change request is terminated – A resource request is canceled when this number of authorizers deny it, as long as the Minimum number of authorizers has not been reached.
The default value is set by the MAX REJECTIONS policy.
Click Update.
Assigning static authorizers
To assign static authorizers to a rule:
Select the Authorization tab.
Select a phase if phased authorization is enabled.
Click Select… at the bottom of the Authorizers table.
Search for or enable the checkboxes next to the authorizers that you want to assign.
Click Select at the bottom of the page.
Assigning authorizers by user class
To assign authorizers by user class:
Navigate to the Segregation of duties rule information page.
Select the Authorization tab.
To define membership criteria:
Select existing user classes: Click Select… and enable the checkboxes for the user classes you want to add, then click Select.
Create new user classes: Click
 Add new… . See Adding user classes for full details on how to create a new user class.
Configure Participant mapping for each user class that you add.
Select and create user classes until you have defined membership.
If your membership criteria includes multiple user classes, define whether users must match All of the user classes or Any of the user classes .
Removing users from membership
To remove users from membership, you can:
Edit user classes to change the participants.
Delete user classes from the membership criteria.
Navigate to the membership criteria page where user classes are listed.
Enable the checkbox next to the user classes you want to delete.
Click Delete.
Adding entitlements to segregation of duties rules
Once you have added a rule, you can add entitlements to it:
To add entitlements to a rule:
Select Entitlements, then the sub-tab link for:
Account
Managed group
Role
Click Select… .
Select the resources you want to include then click Select.
When an SoD rule includes a role, it checks users that are assigned the role in Bravura Security Fabric , and users who have all of the role’s member resources. The set of users who have all the resources that define a role count as one segregation of duties resource member.
Configuring resource attributes
You can use resource attributes to create and set attribute values for individual resources. Before you can do this, you must add the resource attributes to at least one resource attribute group, and configure access to resource attributes.
Deprecating segregation of duties rules
Once a rule has been used, you can deprecate it if you want to render it unusable, while preserving it for auditing purposes. While it is deprecated, it is not taken into account during a request, and cannot be deleted. A deprecated rule can be restored at a later date.
To deprecate a rule:
Select the checkbox next to the deprecate button.
Optionally, enter a Reason for deprecation.
Click Deprecate.
Restoring a rule
To restore a rule, click Restore on the page.
Deleting segregation of duties rules
You can delete rules that are disabled. You cannot delete a rule if it is enabled or deprecated.
To delete a rule:
Click Manage the system > Policies > Segregation of duties rules .
Select the checkboxes next to the rules you want to delete.
If a checkbox is not available next to a rule you want to delete, then the rule is not disabled. Select the rule, and restore and/or disable the rule as necessary, then return to the Segregation of duties rules page.
Click Delete and confirm the deletion.
Alternately, you can delete a disabled rule from its page.
When you delete a rule in the Manage the system (PSA) module, it is flagged as deleted in the Bravura Security Fabric database. It is maintained for auditing purposes.