Managing Access to Network Resources
As a group owner, you can add and remove users from groups that manage network resources, effectively controlling access to those resources. You can also control ownership of those groups, allowing other users to manage network resources as well.
The following sections show you how users, who are designated as group owners, use Bravura Identity to:
Browse network resources
Control access to network resources
Manage or transfer group ownership
Browse network resources
To browse network resources:
Log into the main menu.
Click Request access to network resources in the My profile section.
Bravura Identity displays a table that allows you to browse network resources. Available resource types are listed in the Select: Resource Type (left) column:
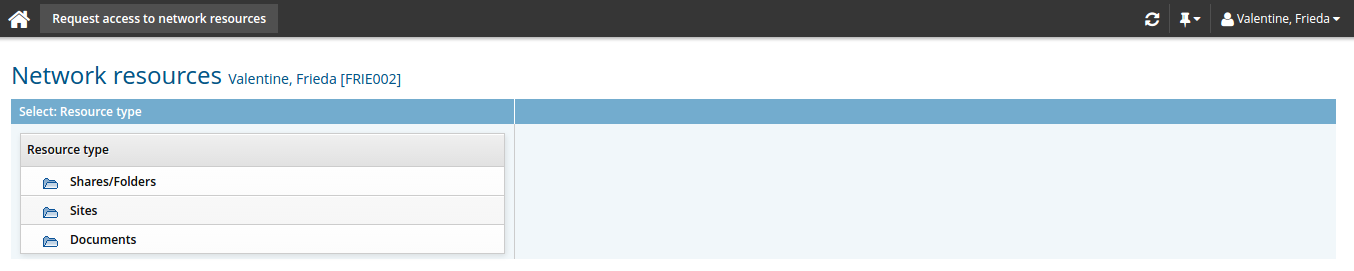
Select the appropriate resource type.
Bravura Identity displays individual resources in the Browse: <Selected Type> (right) column:
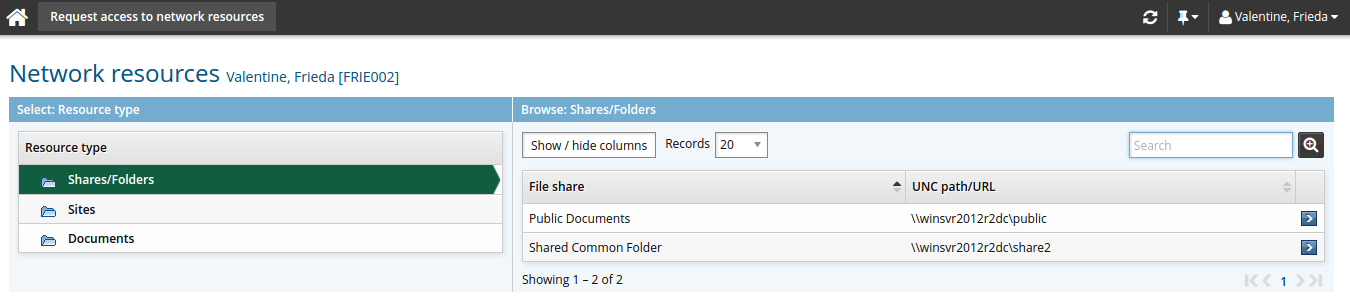
Alternatively, you can search for the resource.
Select the resource you want to browse.
If you have multiple accounts on the target system managing the resource, you are prompted to select which account to use.
Resource type
Bravura Identity displays …
Share/folder
A tree-view of the folder including any subfolders.
Printer
A list of printer names written in the format:
<server name>-<printer name>.
Sites
A tree-view of SharePoint site including any sub-sites.
Documents
A tree-view of SharePoint documents including any sub-documents.
Click the
 or
or  icon to expand or collapse folders or directory containers. Depending on how Bravura Identity is configured, you may not be able to browse subfolders of a resource unless you are already a member of a group with read access.
Click the privileges icon
 next to the resource you want to view.
Bravura Identity displays information about the resource in the Select desired privileges for: <Resource name> (right) column:
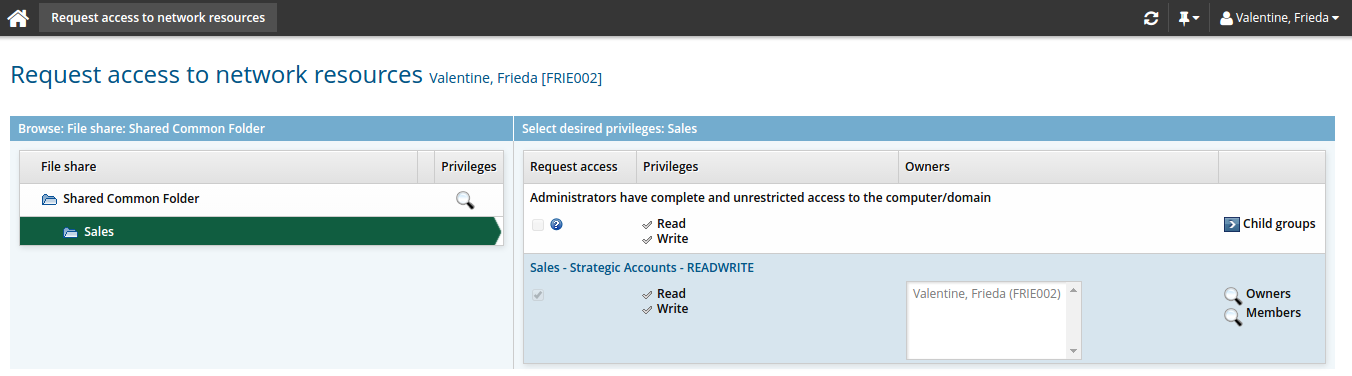
If applicable, this column contains:
A list of groups with privileges on the resource
A Request access checkbox for each group that you can request access to.
The checkbox is grayed-out if you are already an owner or a member of the group.
The read / write Privileges assigned to each group
The Authorizers for each group
A Child groups icon for groups that have member groups
If you want to view or request access to a member group, select Child groups next to the parent group (if applicable).
A display owners icon
and a members icon for groups where you are a group owner
Click the display icon
next to:
Managing group members
When you add a user to a group, you also grant the user privileges to the selected resource. Likewise, when you remove a user from a group, you revoke the user’s privileges.
Changes to group membership are entered into a workflow. If pass-thru authorization is enabled and if no other authorizations are required, your request is automatically approved.
Add group members
To add members to a group:
Browse network resources and navigate to the Members page .
Bravura Security Fabric displays a list of users with accounts on the target system associated with the resource.
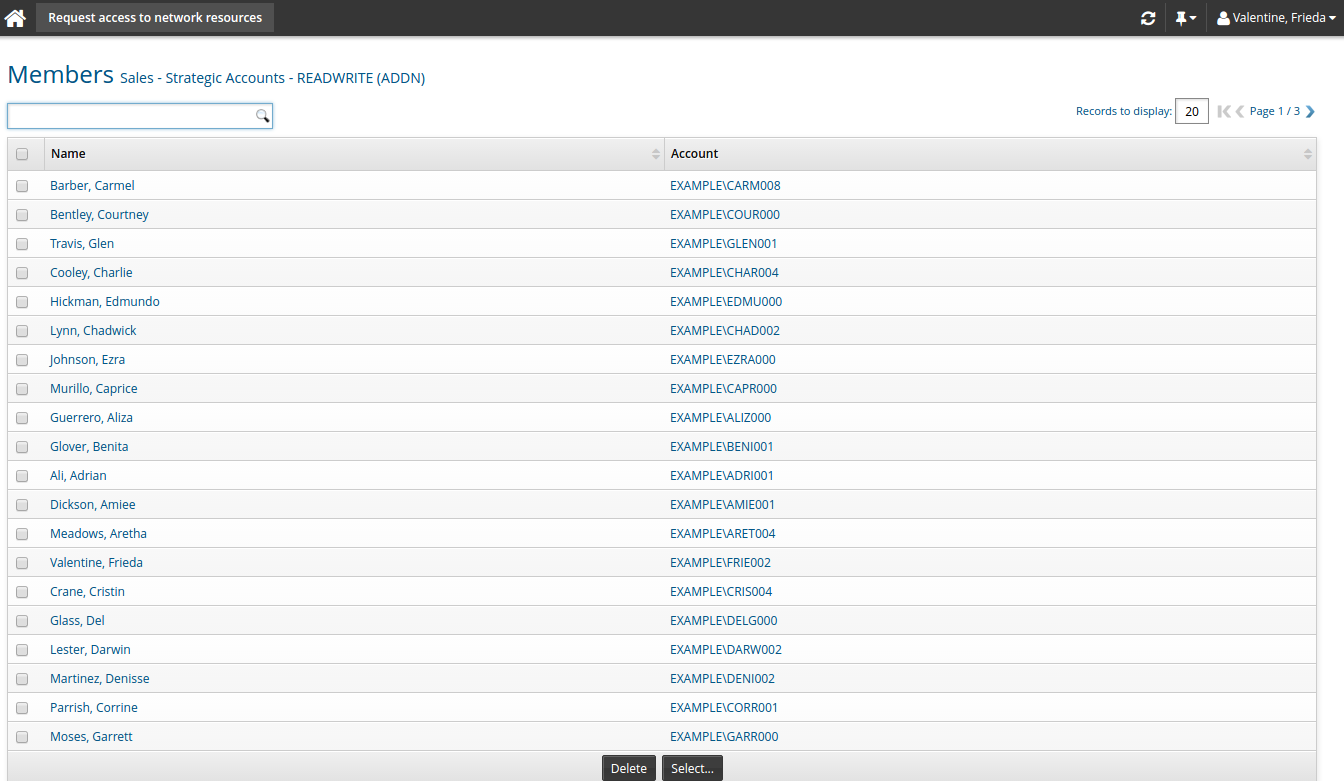
Click Select… to display a list of potential members.
Select the checkboxes next to the users you want to add to the group, then click Select.
Complete the details for the request:
Select an email address for notification.
Type any notes you have for the authorizers who will review the request.
If required, modify additional attributes for the request.
Click Submit.
Remove group members
To remove members from a group:
Browse network resources and navigate to the Members page .
Bravura Security Fabric displays a list of users with accounts on the target system associated with the resource.
Select the checkboxes next to the accounts you want to remove from the group.
Click Delete.
Complete the details for the request:
Select an email address for notification.
Type any notes you have for the authorizers who will review the request.
If required, modify additional attributes for the request.
Click Continue.
Review the request summary.
Click Submit.
Provide a user with access to a folder
This use case demonstrates the process an owner would follow to provide user access to a shared Sales folder:
Log into the main menu .
Click Request access to network resources in the My profile section.
Select the Shares/Folder resource.
Select the Shared Common Folder.
Click the privileges icon
next to the Sales folder.Bravura Identity displays information about the resource in the Select desired privileges for:Sales (right) column:
Click the display icon
next to Members.Bravura Identity displays a list of users with accounts on the target system associated with the resource.
Click Select….
Select the checkboxes next to the users you want to add to the group, then click Select.
Complete the details for the request:
Select an email address for notification.
Type any notes you have for the authorizers who will review the request.
If required, modify additional attributes for the request.
Click Submit.
Managing owners
Depending on how Bravura Identity is configured and whether a resource supports multiple owners, you can add, delete, or change group owners.
Add group owners
You can only add group owners if your resource supports multiple owners.
To add group owners:
Click Add new… to see a list of accounts.
Bravura Security Fabric automatically narrows down the list of accounts to those on the target system associated with the resource.
Select the checkboxes next to the accounts you want to add as group owners, then click Add.
Complete the details for the request:
Select an email address for notification.
Type any notes you have for the authorizers who will review the request.
If required, modify additional attributes for the request.
Click Submit.
Delete group owners
You can delete group owners if your resource supports multiple owners and if Bravura Identity is configured to allow owners to delete other owners. Resources must have at least one owner.
To remove group owners:
Select the checkboxes next to the owners you want to remove, then click Delete.
Complete the details for the request:
Select an email address for notification.
Type any notes you have for the authorizers who will review the request.
If required, modify additional attributes for the request.
Click Submit.
Change group ownership
Changing group ownership removes accounts from the owners list and adds others in a single operation. It also automatically makes the new group owner an authorizer for the group.
To change group ownership, from one or more owners to others:
Click Change owner.
Bravura Identity displays the list of users who can become owners.
If the resource supports multiple owners, select the checkboxes next to users you want to add as owners, then click Add.
If the resource does not support multiple owners, select the user you want to add as the owner.
Complete the details for the request:
Select an email address for notification.
Type any notes you have for the authorizers who will review the request.
If required, modify additional attributes for the request.
Click Submit.
Configuration notes
Product administrators can allow owners to delete other owners by enabling the ENABLE DELETE OTHER OWNER setting on the Workflow > Options > General page of the Manage the system (psa) module. This setting is off by default.