Implementing mass password reset
Once Bravura Security Fabric is installed, configure the Mass Password Reset feature so that administrators can initiate MPR actions through predefined workflows in the Bravura Pass web UI.
The setup steps are broken down into the following stages:
Install the Scenario.mass_password_reset component to create the user class, database tables, and other configuration required for mass password reset.
Log in as a product administrator.
Click Manage components on the Home Dashboard to view components.
Select the checkbox for
Scenario.mass_password_reset.Click Install component(s) in the right panel, and confirm the action.
The component management program installs the components along with any dependencies. This may take some time depending on configuration requirements and dependencies. You should see ”Completed install for component” messages for each selected component in the Task Status panel.
Note
To use this component, you must install aiohttp:
pip install aiohttp
When you install the component, the component management program creates the database tables, framework, and configurations required for the MPR feature to function.
See Installing components for more information on component installation.
Set up systems on which you want to reset passwords as target systems in Bravura Security Fabric. You must include at least one directory system as a source of profiles.
Add at least one directory system (such as Active Directory) as a source of profiles.
See Example: Adding an Active Directory target system as a source of profiles. You could also use Azure Active Directory, eDirectory, or LDAP Directories.
Set the Account attribute to automatically attach accounts to user profiles to
mail. Email addresses set in the Bravura Safe User Management target system must match the ones in the directory system; otherwise, they will not associate with the profile.Add any other target systems you want to reset passwords for.
See Target systems for general information about adding target systems. See the Connector Pack documentation for details on target system types.
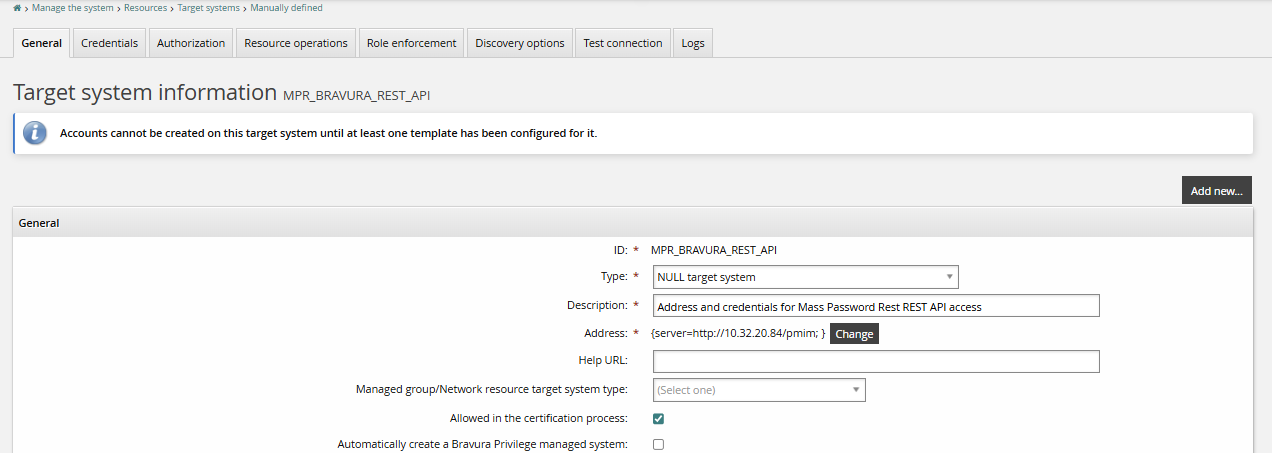
Configure the MPR_BRAVURA_REST_API target system, which was added when you installed the mass password reset component:
Configure the Address to point to the Bravura Security Fabric instance server.
This should be
<BASE IDSYNCH URL>/<inst>.Configure the MPR administrator credentials.
Define a product administrator who can configure other users and settings for Mass Password Reset.
Set up any number of product administrators with the required privileges to trigger Mass Password Resets. These users may be managers, IT or help desk staff, for example. Review Defining product administrators from the web interface for more information about users and administrative permissions.
To set up administrative users for MPR:
Create an MPR administrator with superuser privileges.
Set Allowed privileges to
All.
Add the MPR administrator to the following built-in user classes:
_HELP_DESK_MANAGERS or _GLOBAL_HELP_DESK
_EXPLICIT_REST_API_USERS
Important
Recalculate user class membership caches. This can be done per user class or all user classes.
Configure the MPR_Admin user class for users who should have access to mass password onboard and reset options:
Add users to the MPR_ADMINS user class.
Recalculate the user class membership cache.
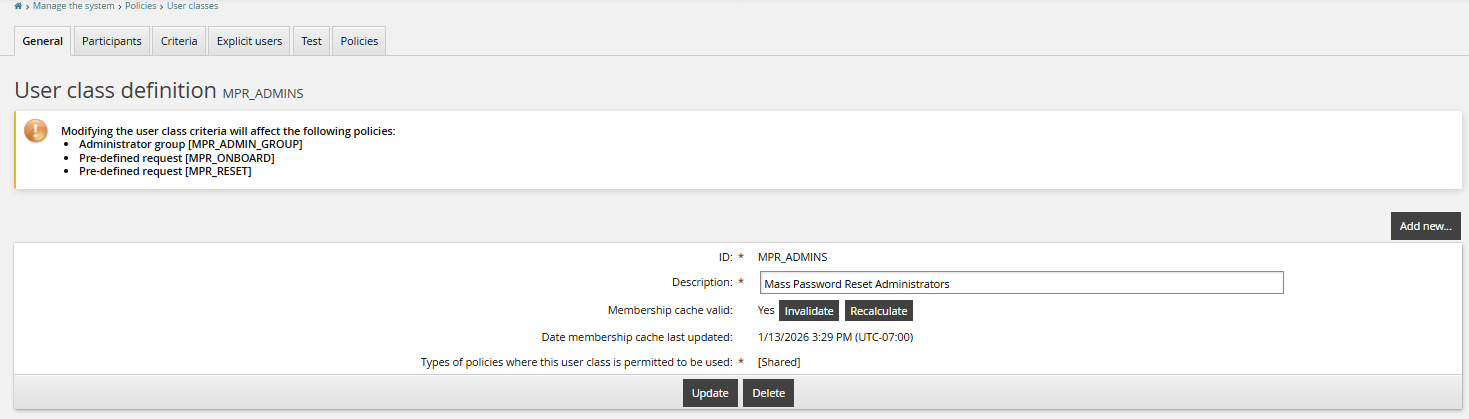
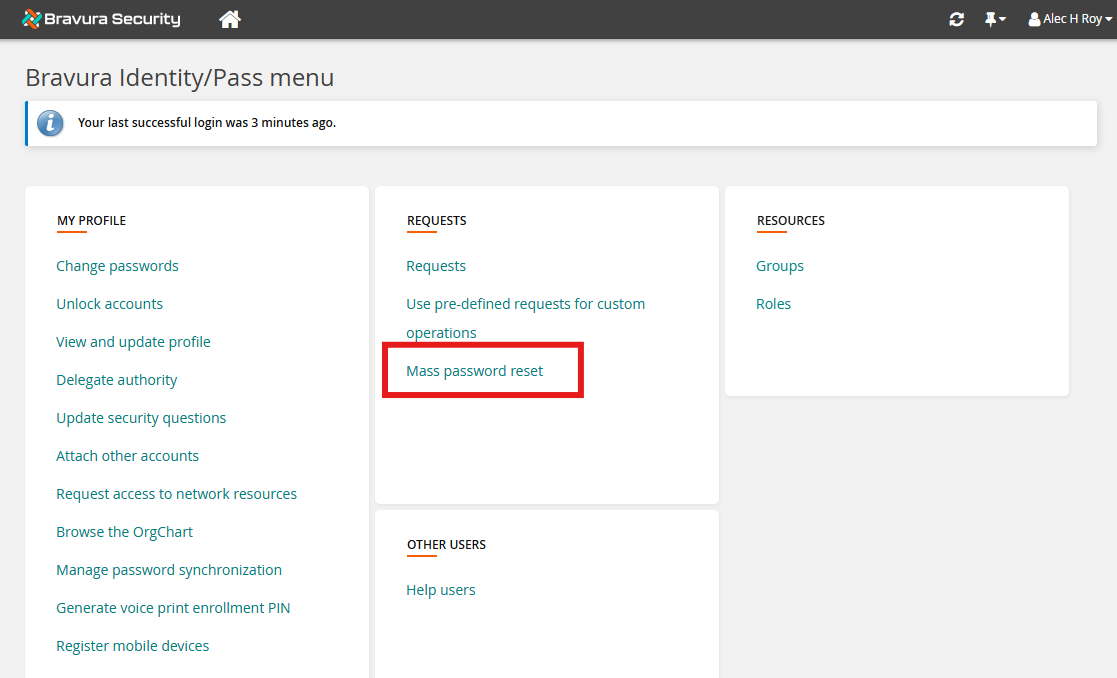
Once configured, the MPR_ADMINS will have the Mass password reset option:
Configure mass password reset events
See Event Actions for more information about configuring email sending and program execution.
The Mass Password Reset feature requires integration with Bravura Safe for onboarding and to serve as a credentials vault.
The following are required for the mass password reset feature:
Bravura Safe Server configured
Create a Bravura Safe team for users affected by MPR requests. Note the exact name of your team.
See Create a Team via the web interface in the Bravura Safe documentation for more information on creating a team. We cover user onboarding and template definition in the next section.
Bravura Safe connectors installed
Application Servers > Bravura Safe User Management (2025+)
Use
agtbsafe25_user_requirements.txtto install the Python requirements, as noted in the connector's documentation.Vaulting Platforms > Bravura Safe (2025+)
The Bravura Safe CLI is required for use with the Bravura Safe (2025+) and Bravura Safe User Management (2025+) connectors.
Create the following two target systems:
Bravura Safe User Management (2025+)
Bravura Safe (2025+)
Bravura Safe user target system
Add a new manually defined target
ID: <id> (for example,
SAFE-USER)Description: <description>
Address:
Bravura Safe Server: <Bravura Safe server> (for example,
https://internal.safe.test.bravurasecurityfabric.com)Organization Name: <Bravura Safe team> (for example,
MPR AWS Safe Team)Default Access Level: Can view
Account attribute to automatically attach accounts to user profiles:
email
Under the Auto discovery section, enable group discovery:
Automatically manage groups: All groups, approval required
Automatically add group owners as authorizers: checked
Groups whose membership will be listed: All groups
Configure the Administrator credentials:
Bravura Safe team - Owner of <Bravura Safe team>.
Administrator ID: <email of Bravura Safe team owner>
Password: <Bravura Safe team owner's password>
System password?: <checked>
In Bravura Safe, look in the team's Members tab:
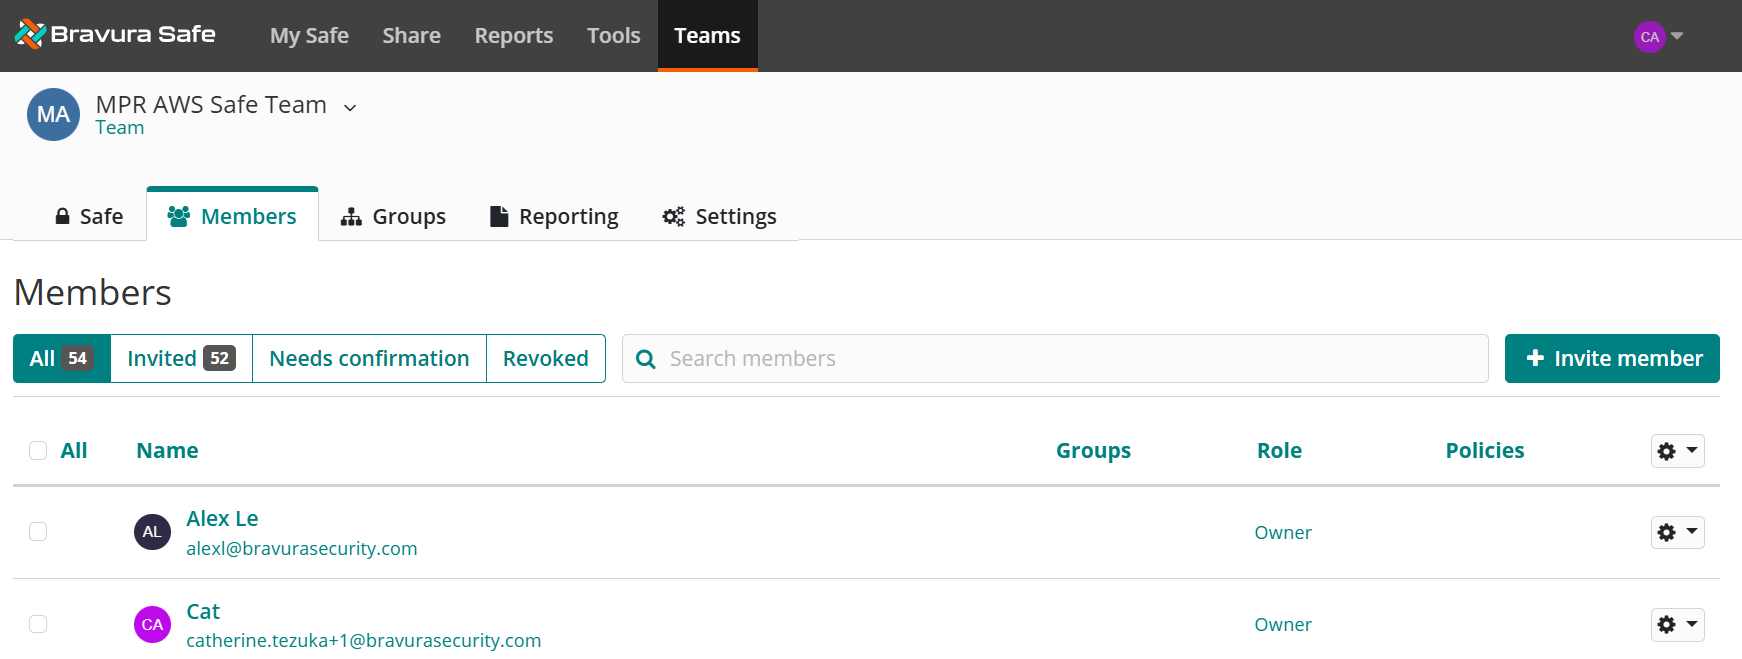
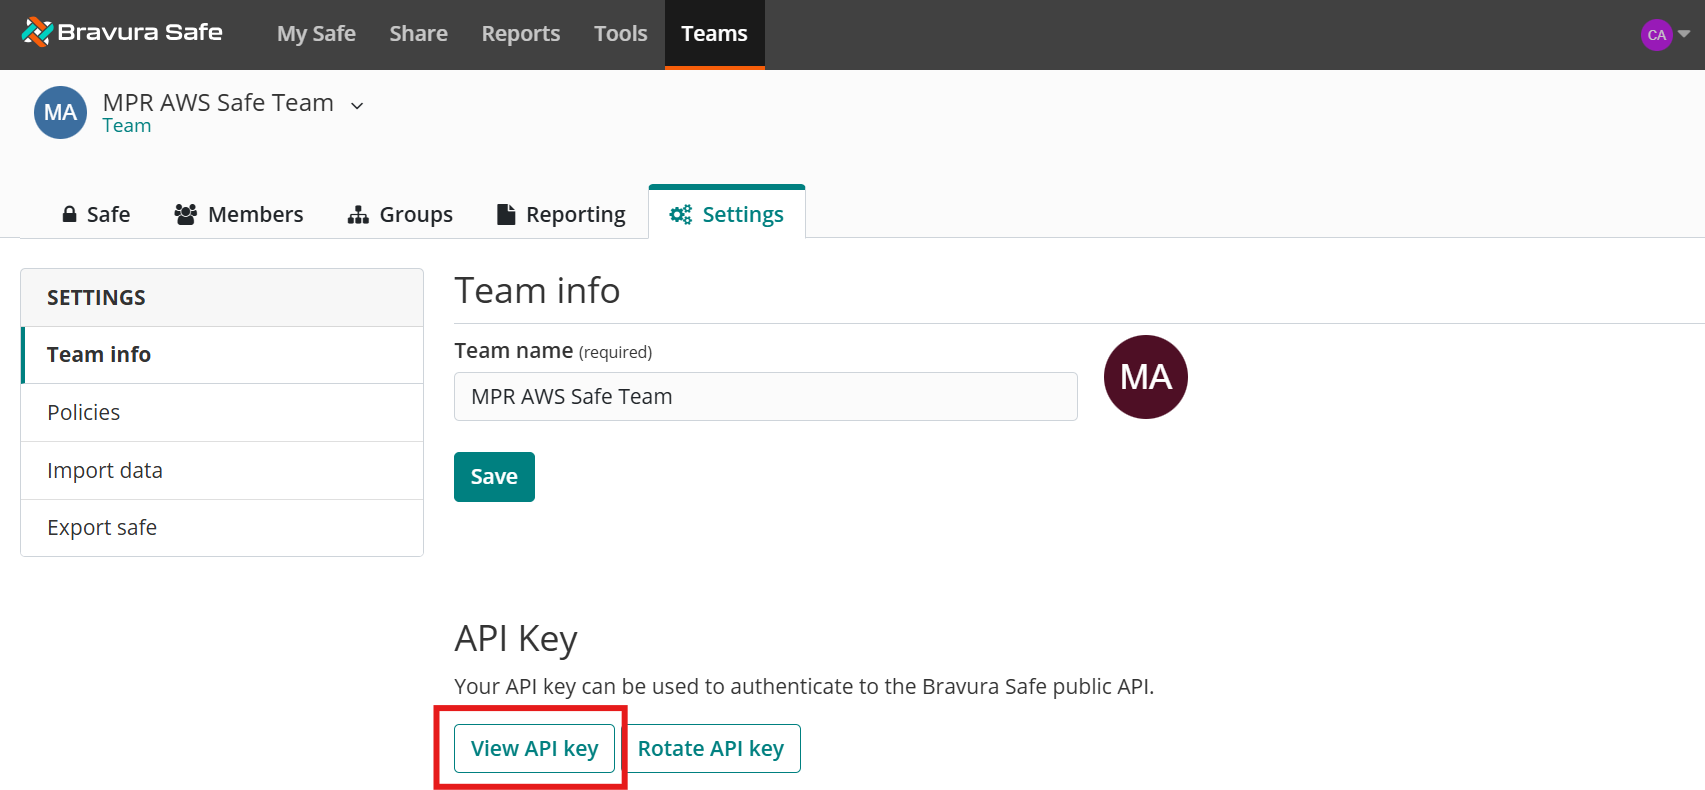
Bravura Safe team API key.
Administrator ID: <client_id>
Password: <client_secret>
In Bravura Safe, look in the team's Settings tab:
Configure an account attribute for the target system:
Navigate to Resources > Account attributes > Target system.
Select the Bravura Safe User Management 2025+ target system you just added (example SAFE-USER).
Select Target system level overrides.
Add a new target systems account attribute
ID:
assocIDLoad attribute values from target system: checked
Bravura Safe vault target system
Add a new manually defined target system:
ID: <id> (for example,
SAFE-VAULT)Type: Bravura Safe (2025+)
Description: <description>
Address:
Server: <Bravura Safe server> (for example,
https://internal.safe.test.bravurasecurityfabric.com)Organization name: <Bravura Safe team> (for example,
MPR AWS Safe Team)
Account attribute to automatically attach accounts to user profiles:
assocID
Under Auto discovery enable group discovery:
Automatically manage groups: All groups, approval required
Automatically add group owners as authorizers: checked
Groups whose membership will be listed: All groups
Configure Administrator credentials:
Bravura Safe team - Owner of <Bravura Safe team>.
Administrator ID: <email of Bravura Safe team owner>
Password: <Bravura Safe team owner's password>
Configure attributes for the target system:
Navigate to Resources > Account attributes > Target system.
Select the Bravura Safe vault system you just added (example SAFE-VAULT).
Select Target system level overrides.
Add new target systems account attributes:
AccountLink
ID: AccountLink
Load attribute values from target system: <checked>
assocID
ID: assocID
Load attribute values from target system: <checked>
collectionsIds
ID: collectionsIds
Load attribute values from target system: <checked>
username
ID: username
Load attribute values from target system: <checked>
Map account attributes to user profiles:
Navigate to Resources > Target systems > Manually defined.
Select the Bravura Safe vault system (example SAFE-VAULT).
Set Account attribute to automatically attach accounts to user profiles to
assocID.Click Update.
Bravura Safe Configuration
Add users and define a template account in Bravura Safe:
Log in to Bravura Safe as a team owner.
Add users to your team in Bravura Safe for discovery and loading into the Bravura Safe User Management target system.
See Add users to your Team in Bravura Safe documentation.
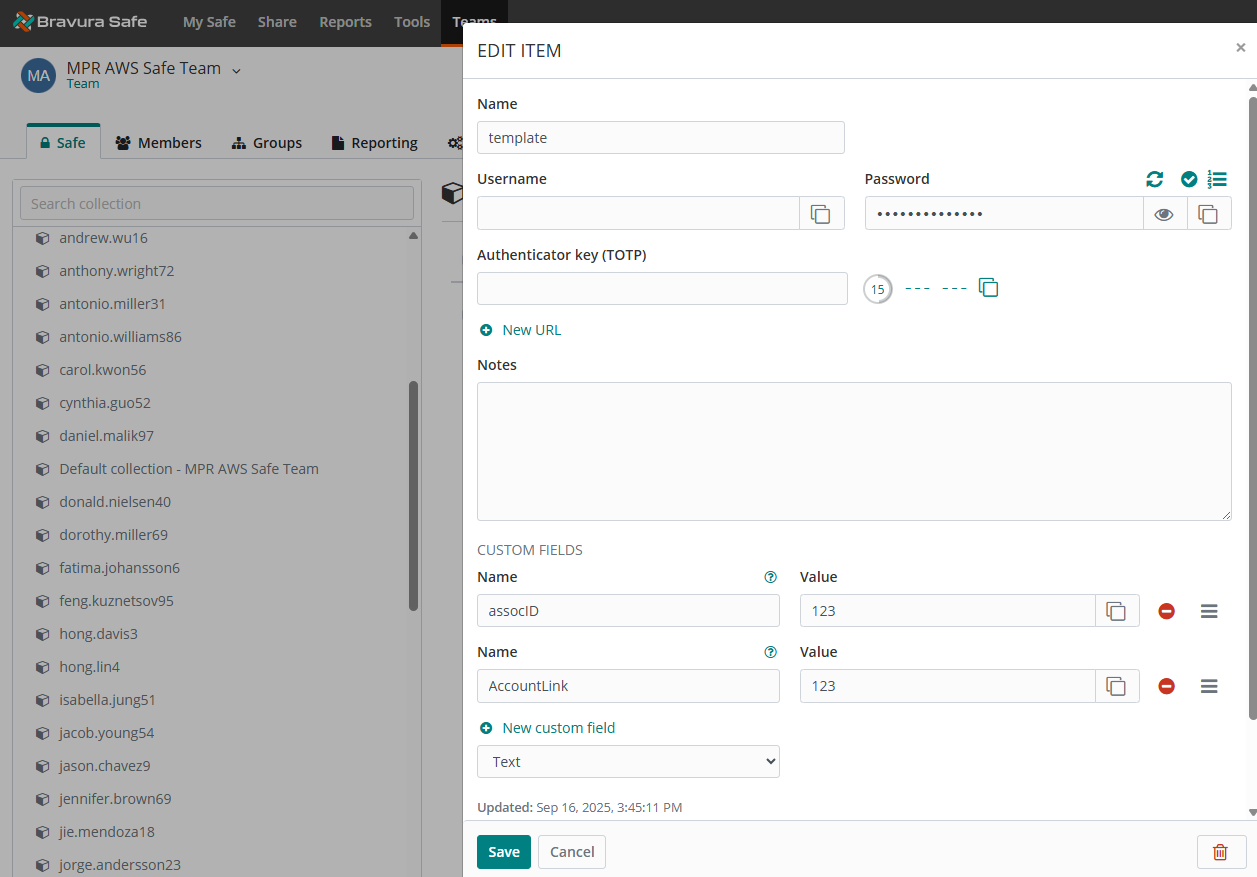
Create a template account for your Bravura Safe team.
It should be part of your default collection (for example,
Default collection - MPR AWS Safe Team).Name: template
Custom fields:
Name: assocID
Name: AccountLink
Bravura Pass Configuration
Load users from Bravura Safe, and create a template account in Bravura Pass:
Log in to Bravura Pass as a product administrator.
Run auto discovery to load Bravura Safe users into Bravura Pass.
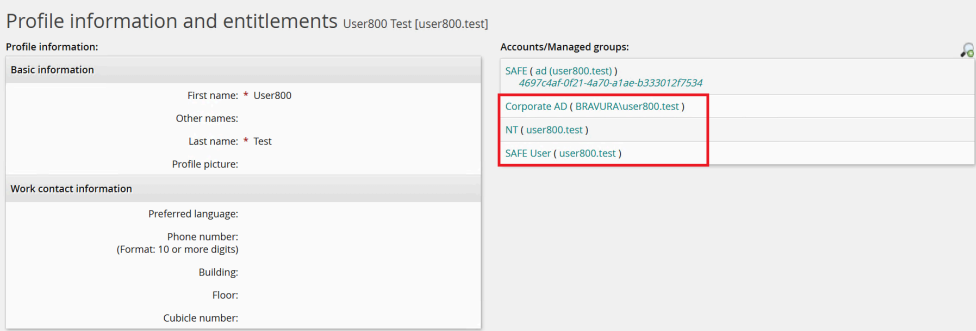
Confirm that the accounts have been associated with user profiles by viewing a user's profile information and entitlements.
Create a template account called SAFE_TEMPLATE, based on an existing Bravura SAFE template user.
ID: SAFE-TEMPLATE
Description: <description> (example: Template to create Safe Secrets for MPR)
Target system: <SAFE-VAULT>
Account to clone when creating accounts: <template account>
Password required: <checked>
Used as profile comparison template: <checked>
Override implementation configuration: Add to inherited configuration
Configure external data store parameters to store configuration values necessary for mass password reset.
Log in to Bravura Pass as a product administrator.
Click Manage external data store.
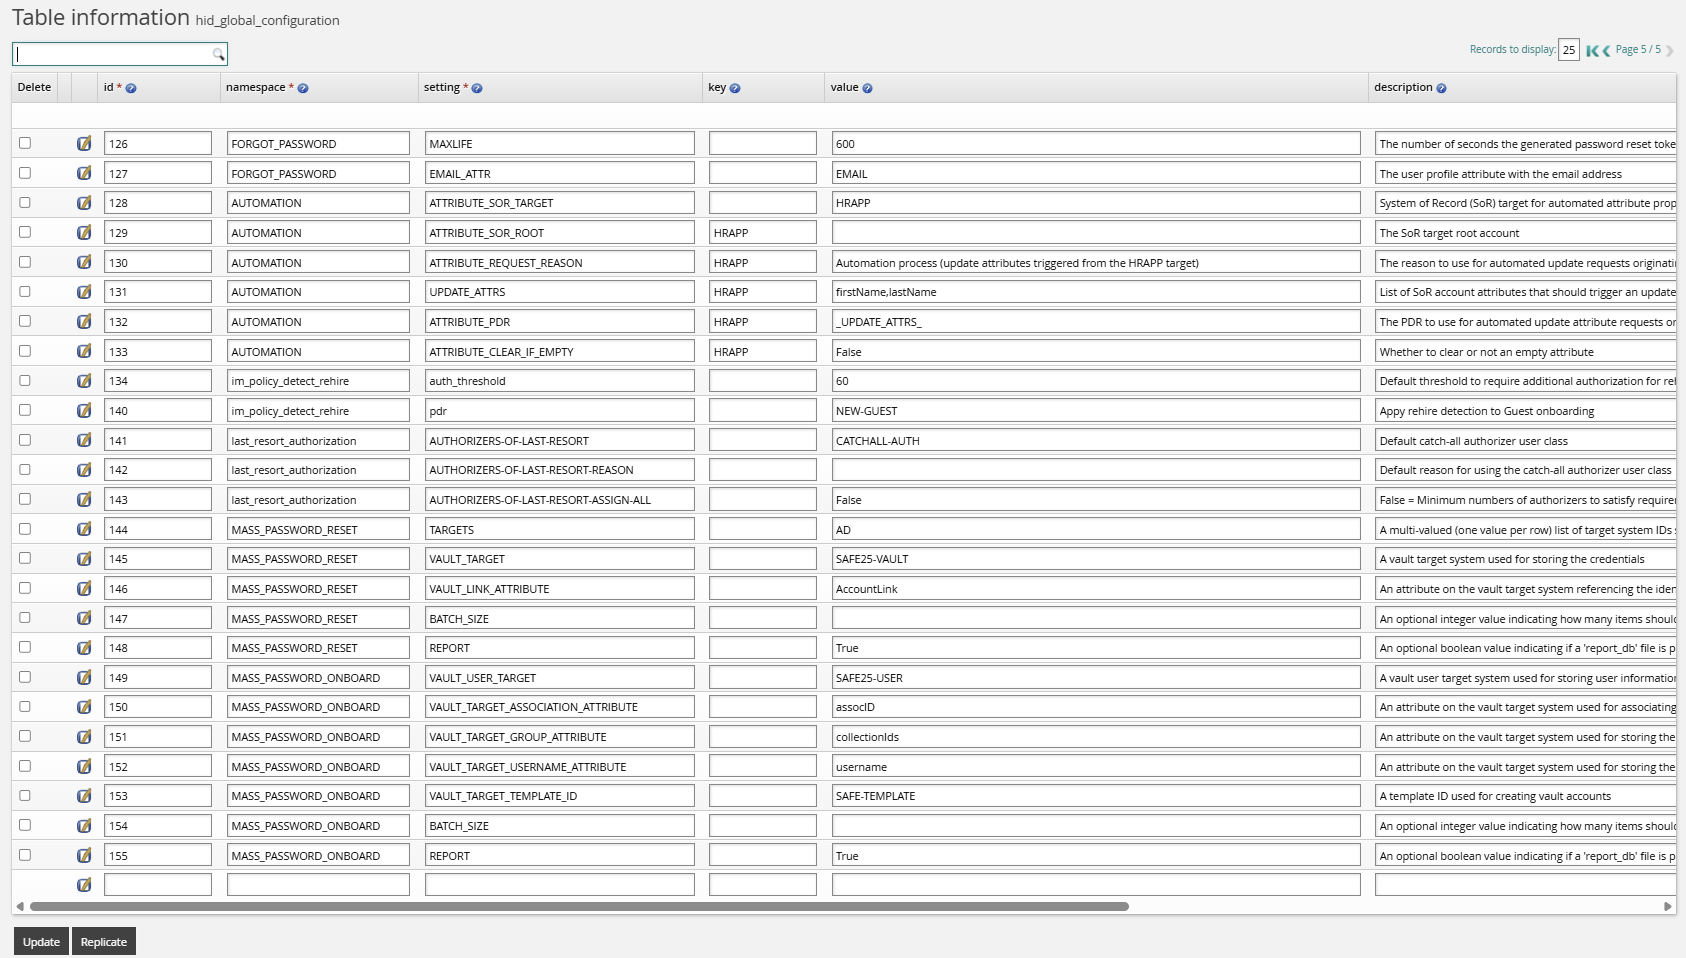
Navigate to the
hid_global_configurationdata table.Add the rules listed in the tables below.
Namespace | Setting | Value |
|---|---|---|
MASS_PASSWORD_ONBOARD | VAULT_USER_TARGET | SAFE-USER |
MASS_PASSWORD_ONBOARD | VAULT_TARGET_ASSOCIATION_ATTRIBUTE | assocID |
MASS_PASSWORD_ONBOARD | VAULT_TARGET_GROUP_ATTRIBUTE | collectionIds |
MASS_PASSWORD_ONBOARD | VAULT_TARGET_TEMPLATE_ID | SAFE_TEMPLATE |
MASS_PASSWORD_ONBOARD | BATCH_SIZE | 10 |
MASS_PASSWORD_ONBOARD | REPORT | [True|False] |
MASS_PASSWORD_ONBOARD | VAULT_TARGET_USERNAME_ATTRIBUTE | username |
Namespace | Setting | Value |
|---|---|---|
MASS_PASSWORD_RESET | TARGETS | AD |
MASS_PASSWORD_RESET | TARGETS | NT |
MASS_PASSWORD_RESET | VAULT_TARGET | SAFE-VAULT |
MASS_PASSWORD_RESET | VAULT_LINK_ATTRIBUTE | AccountLink |
MASS_PASSWORD_RESET | BATCH_SIZE | 10 |
MASS_PASSWORD_RESET | REPORT | [True|False] |
MASS_PASSWORD_RESET | UCP_ID | (Optional) The identifier of a userclass point used to scope MPR operations. A userclass point groups one or more userclasses, each of which resolves to a set of users. When UCP_ID is set, only users who are members of the userclasses associated with the specified userclass point are included in onboard and reset operations. If not set, no scope restriction is applied (all users are processed). The referenced userclass point must be cache-able; if its cache is invalid or stale at execution time, the operation is aborted and a warning is logged. |
Test onboarding for mass password reset
To test onboarding for mass password reset:
Log in as a user in the MPR_ADMINS user class.
Verify that the user can see the Mass password reset option.
Click the link to view the Mass Password Onboard pre-defined request.

Click Mass Password Onboard .
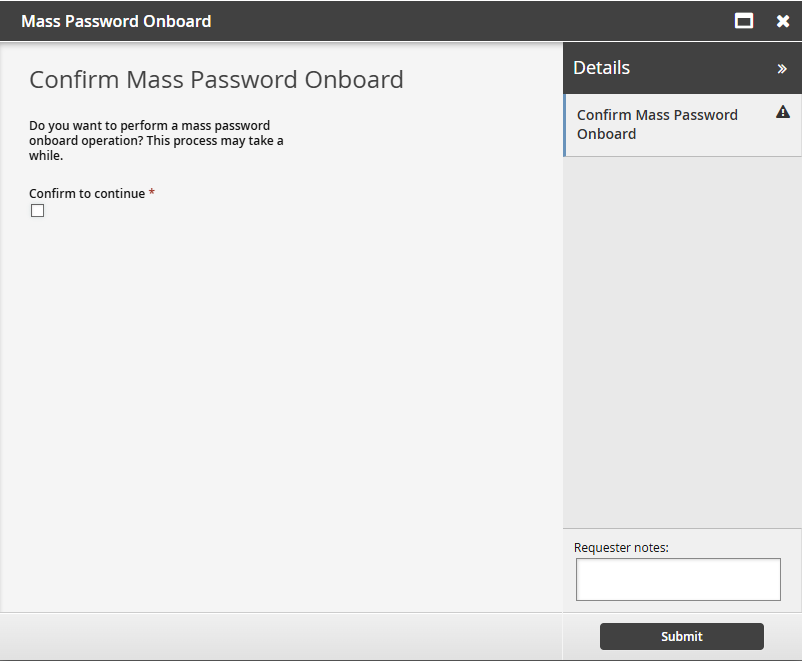
Select Confirm to continue and submit the request.
Wait for the mass password onboard completion. The process will take several minutes, depending on the number of users.
Verify that Bravura Safe secrets are associated with target accounts.
Test mass password reset
To test mass password reset:
Log in as a user in the MPR_ADMINS user class.
Verify that the user can see the Mass password reset option.
Click the link to view the Mass Password Reset pre-defined request.
Click Mass Password Reset.
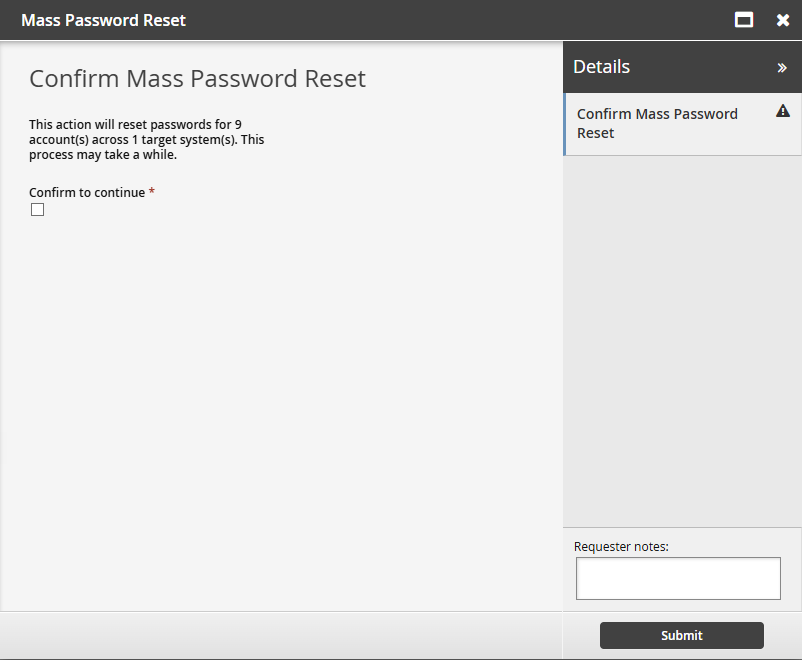
Select Confirm to continue.
Wait for the mass password reset completion.
As an end user, access the Bravura Safe vault and view the secret to an account that should have been reset.
Confirm that the password change time has been updated.
Attempt to log into the target system with the updated secret.
Verify that the user successfully authenticates,
See also
See end-user instructions on how to onboard users and trigger a mass password reset.