Example: Integrate with a Microsoft Azure IdP
Requirement
Organizations that use Microsoft Azure Single Sign-On solution to leverage federated authentication require Bravura Security Fabric to authenticate with their current IdP solution.
Solution
Bravura Security Fabric can be configured to operate as a SAML v2 Service Provider, allowing it to integrate with a Microsoft Azure Single Sign-On Identity Provider (IdP) to authenticate its users. Once authenticated at the IdP, or even before authenticating with the IdP, additional authentication chains may or may not be run.
Bravura Security Fabric can be configured to authenticate users directly against Azure by redirecting them to the Azure Sign-In page. When this method is used, the authentication requirements for the authenticating application are configured within Azure.
Prepare Bravura Security Fabric as a service provider
Install Scenario.hid_authchain_saml_sp component to prepare Bravura Security Fabric as an SP.
Prepare Azure
Steps are subject to change; please refer to the official Azure documentation if there are any discrepancies.
Sign in to Azure Portal as a system administrator.
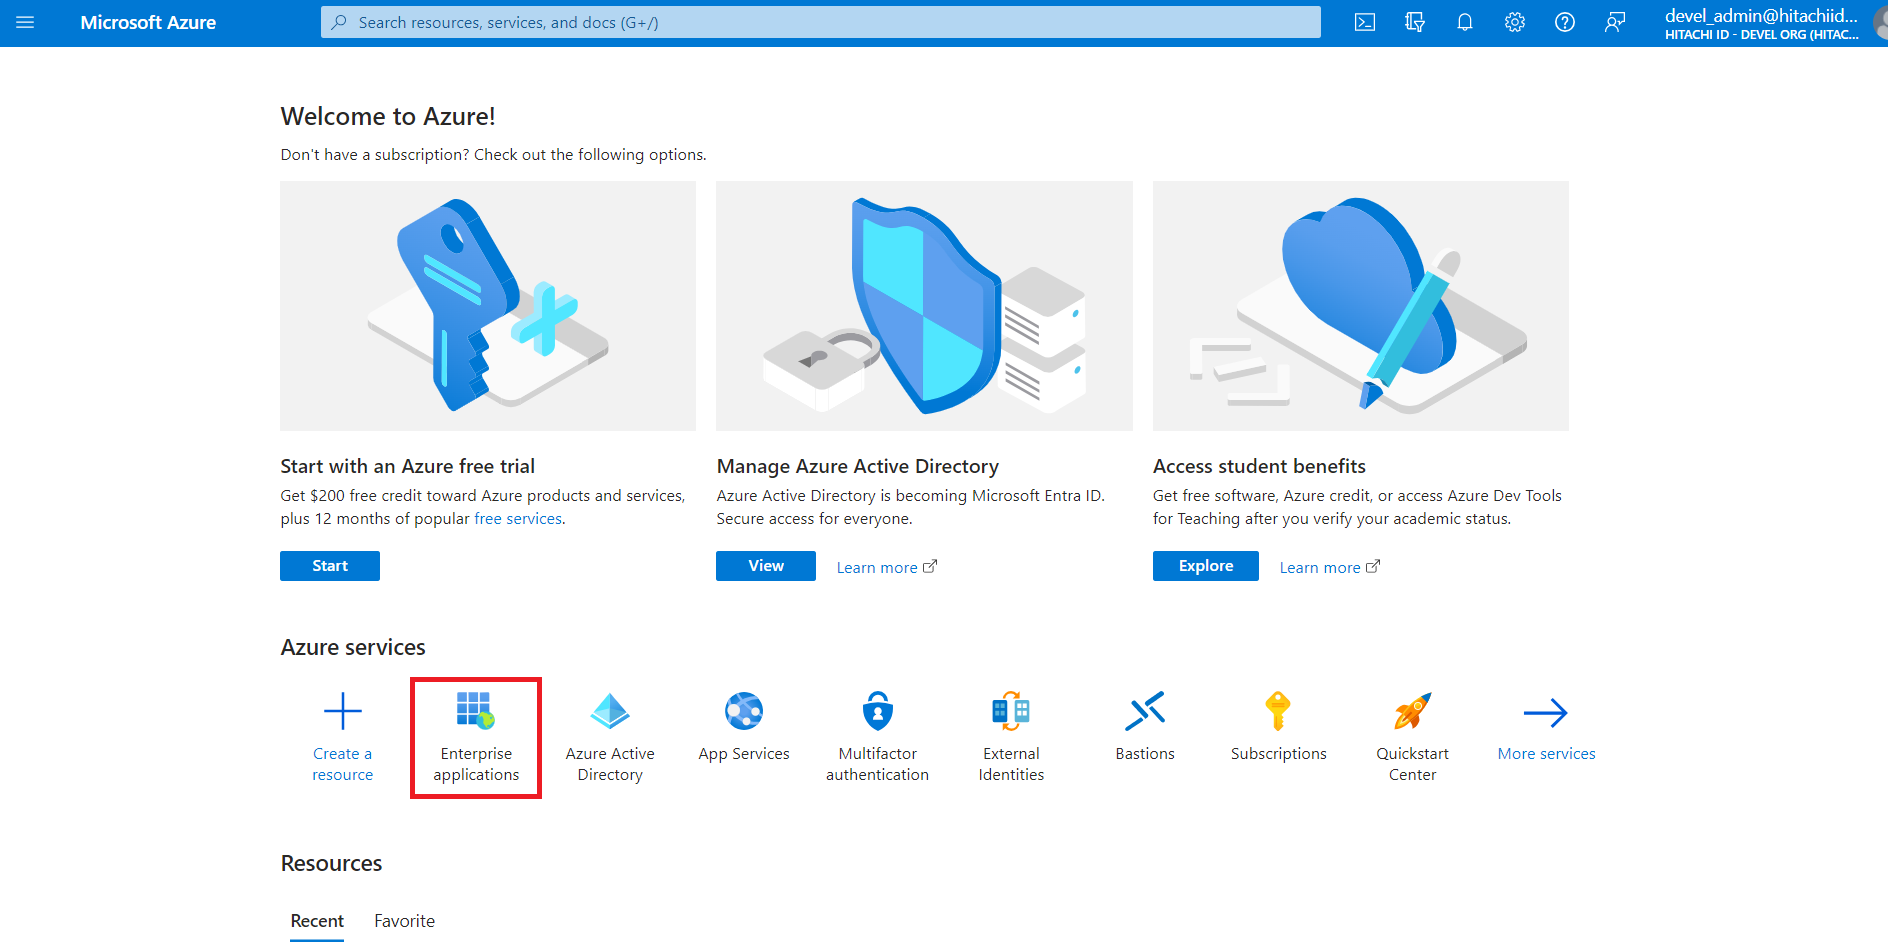
Under Azure services, click Enterprise applications.
Alternatively, you can search for "Enterprise applications" using the search bar.
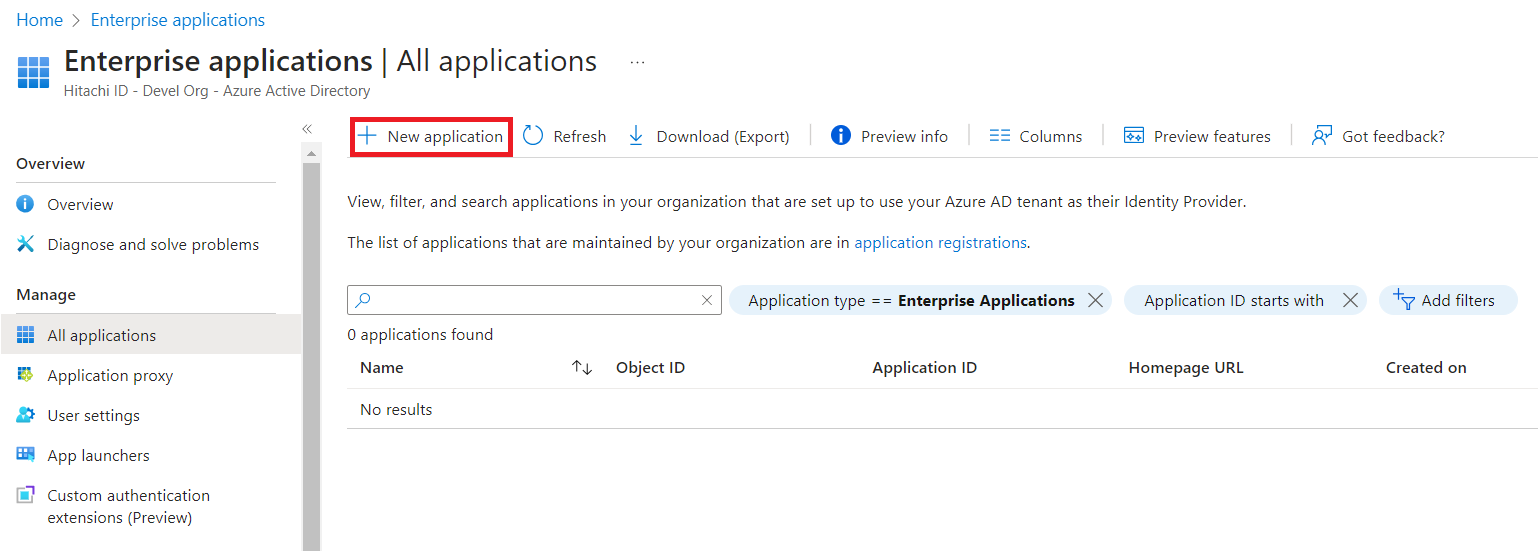
Click New application.
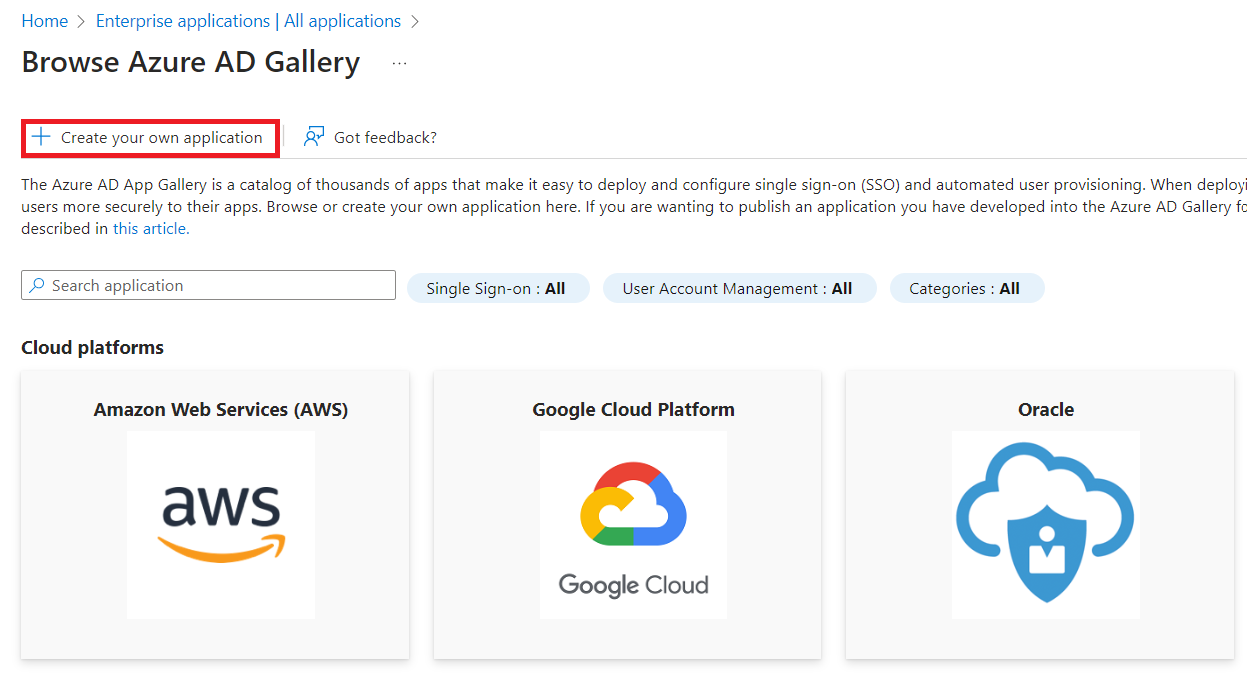
Click Create your own application.
In the action pane on the right:
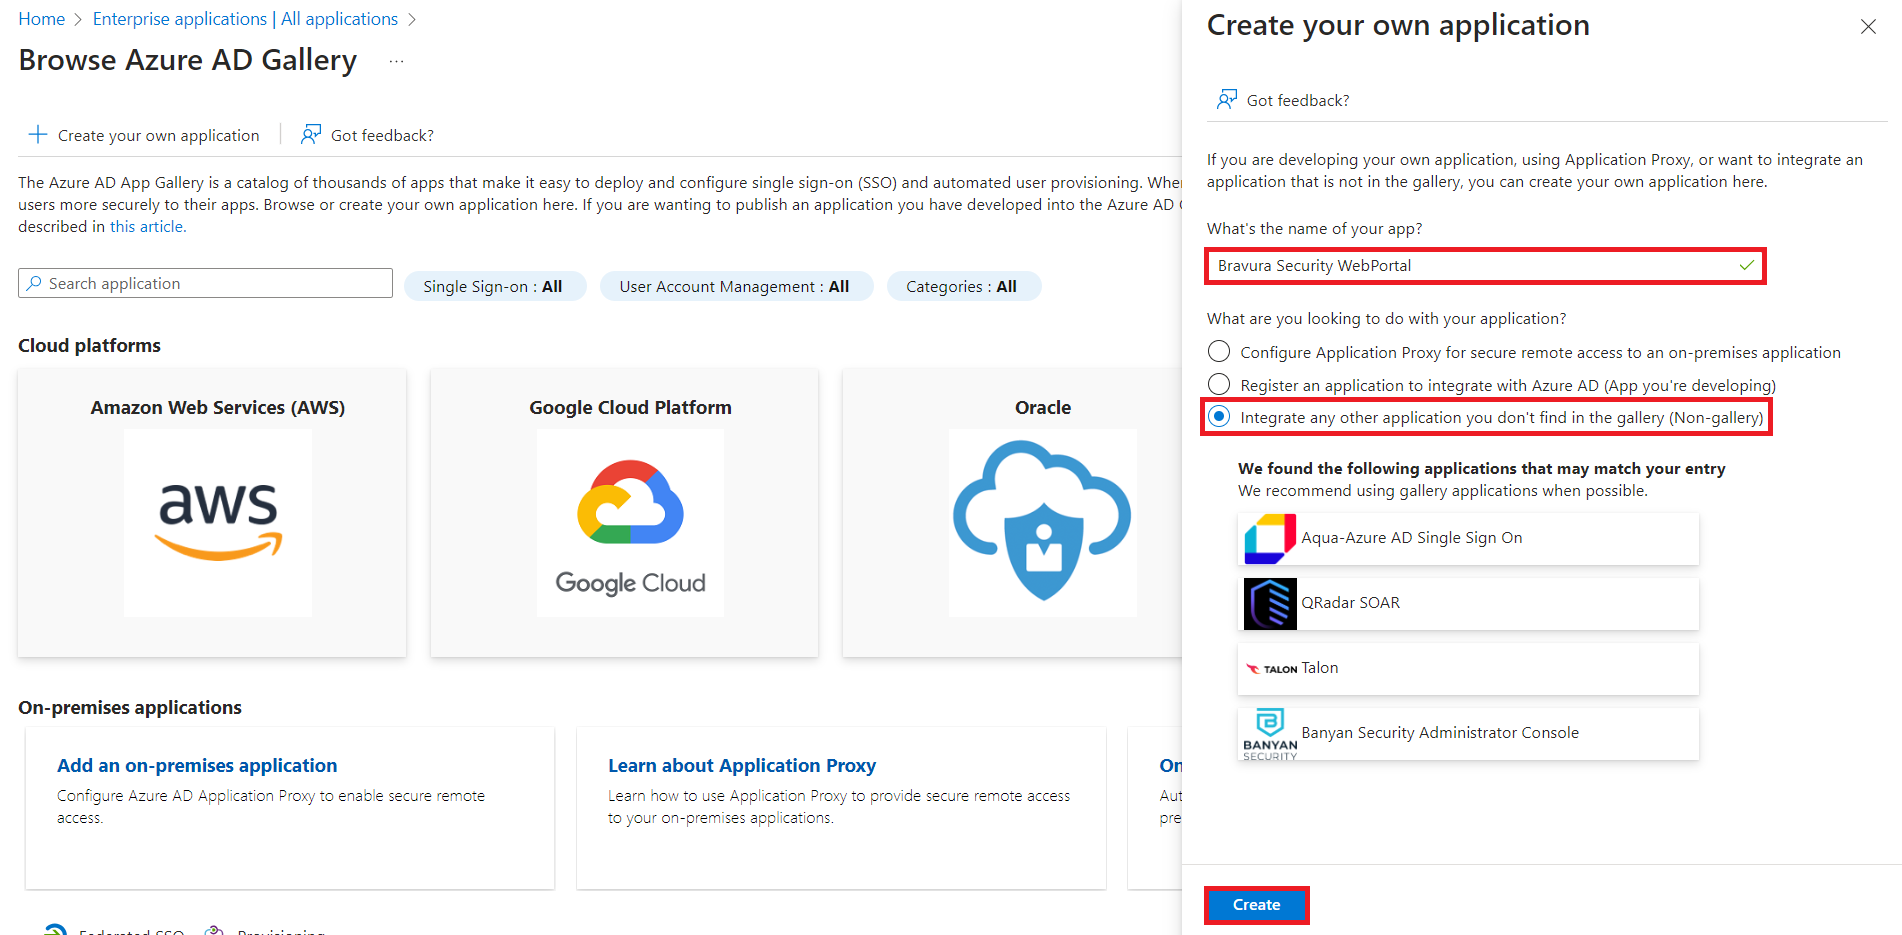
Specify the name of the app, for example Bravura Security WebPortal.
The Integrate any other application you don't find in the gallery (Non-gallery) should already be selected for you. If not, please select it.
Click Create.
The creation process may take a few moments. The Overview page for the application should be displayed upon successful creation.
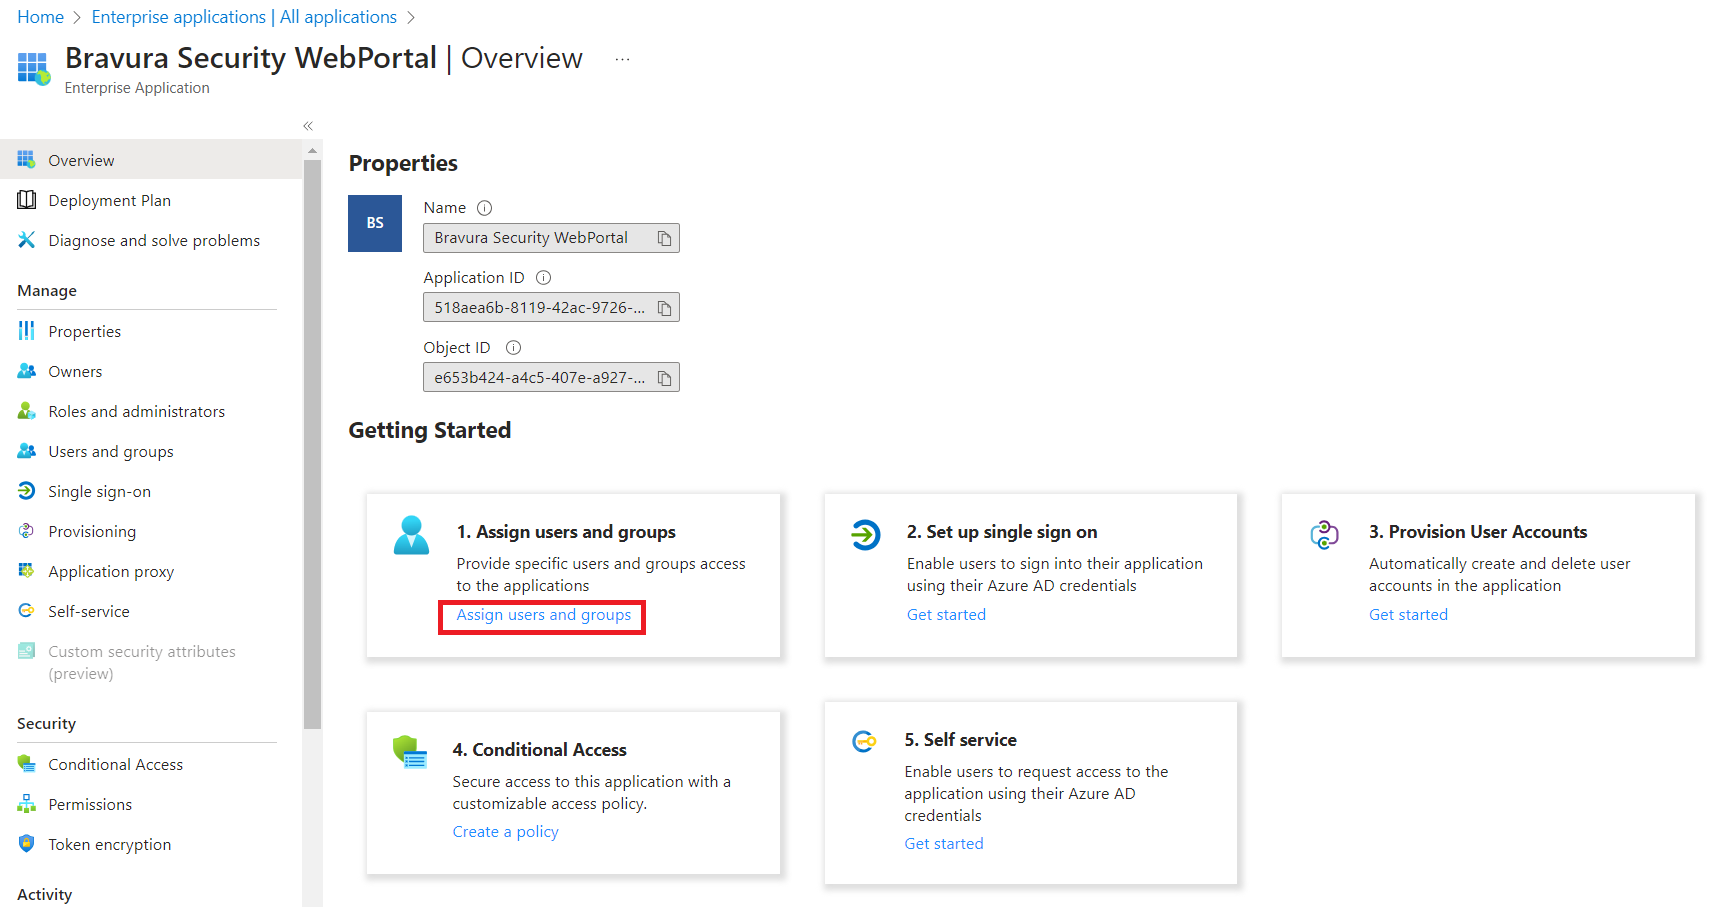
Click Assign users and groups.
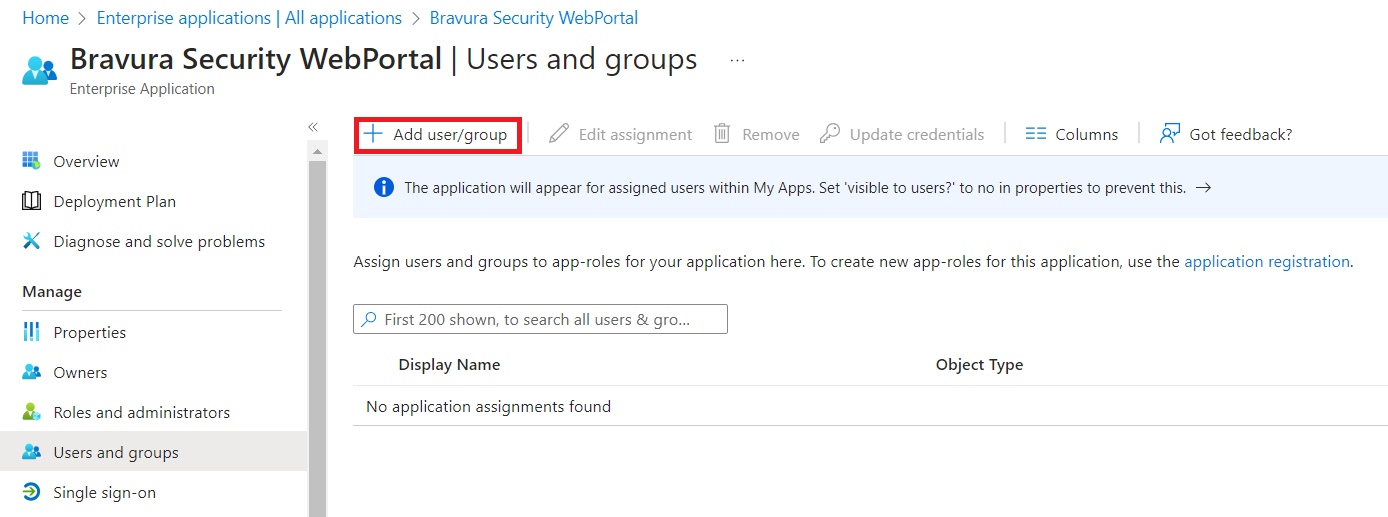
Click Add user/group.
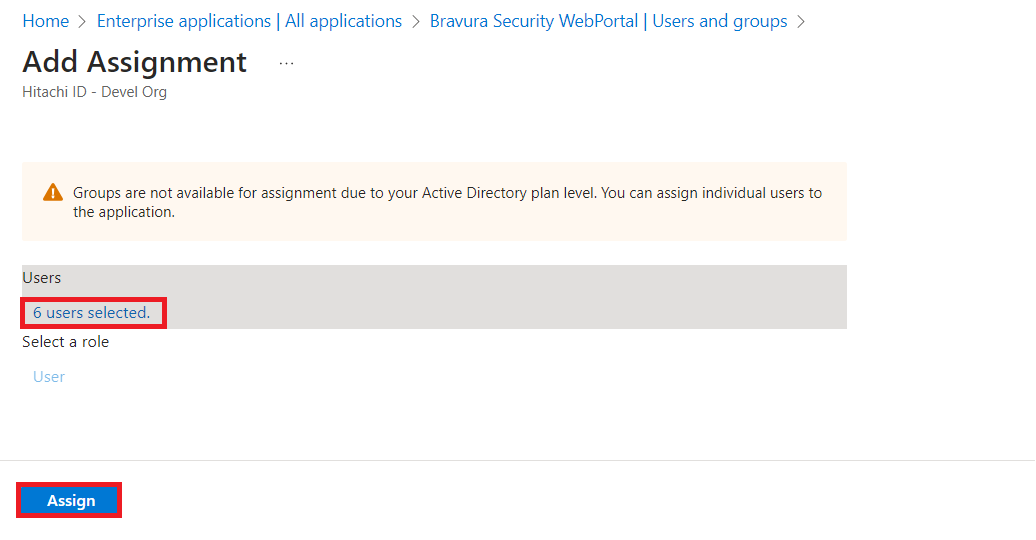
Specify the users and/or groups that will access this application. When complete, click Assign on the bottom left.
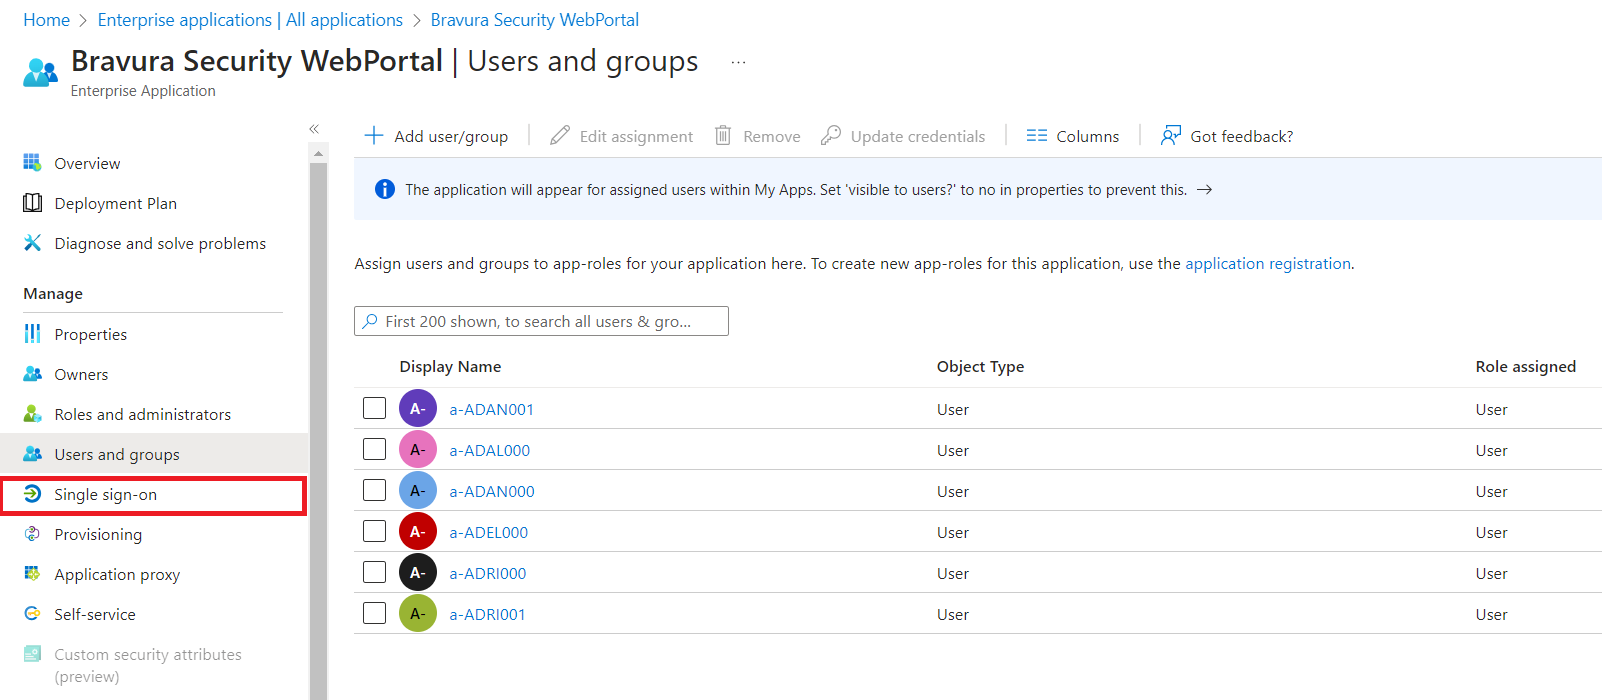
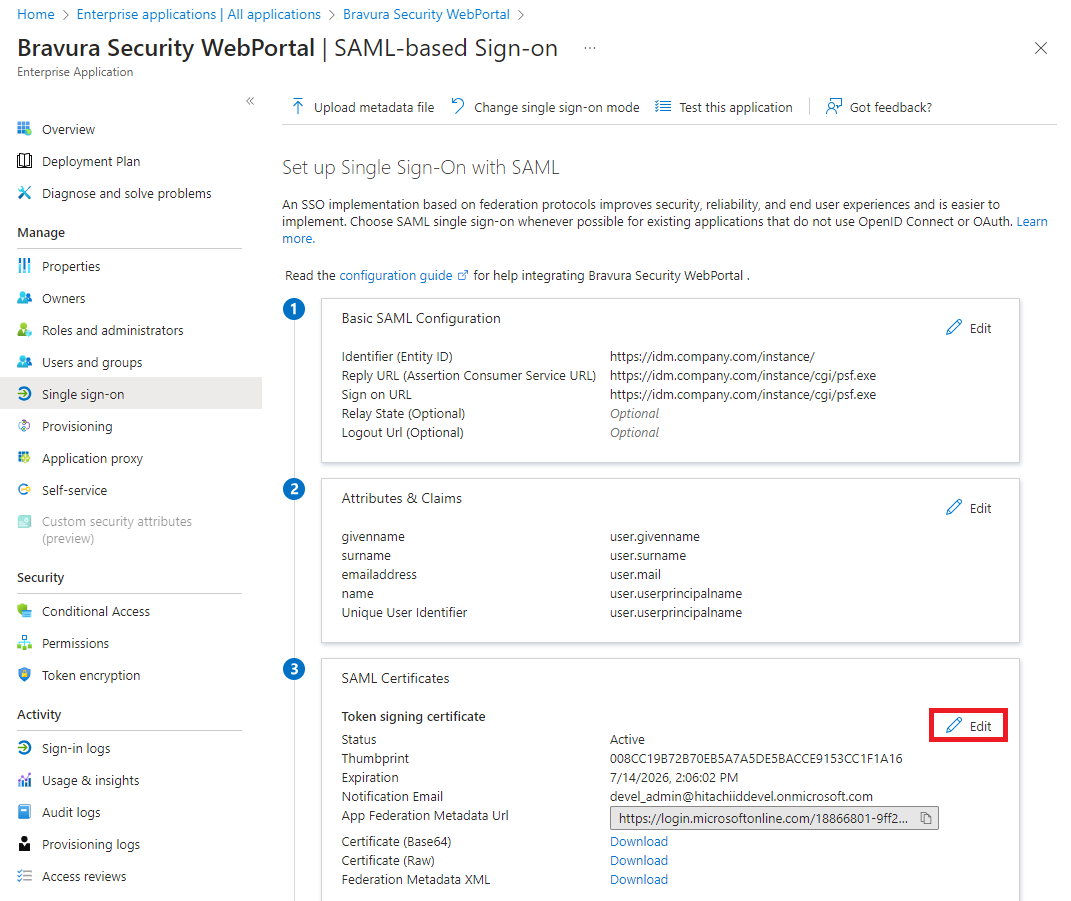
On the left menu, click Single sign-on.
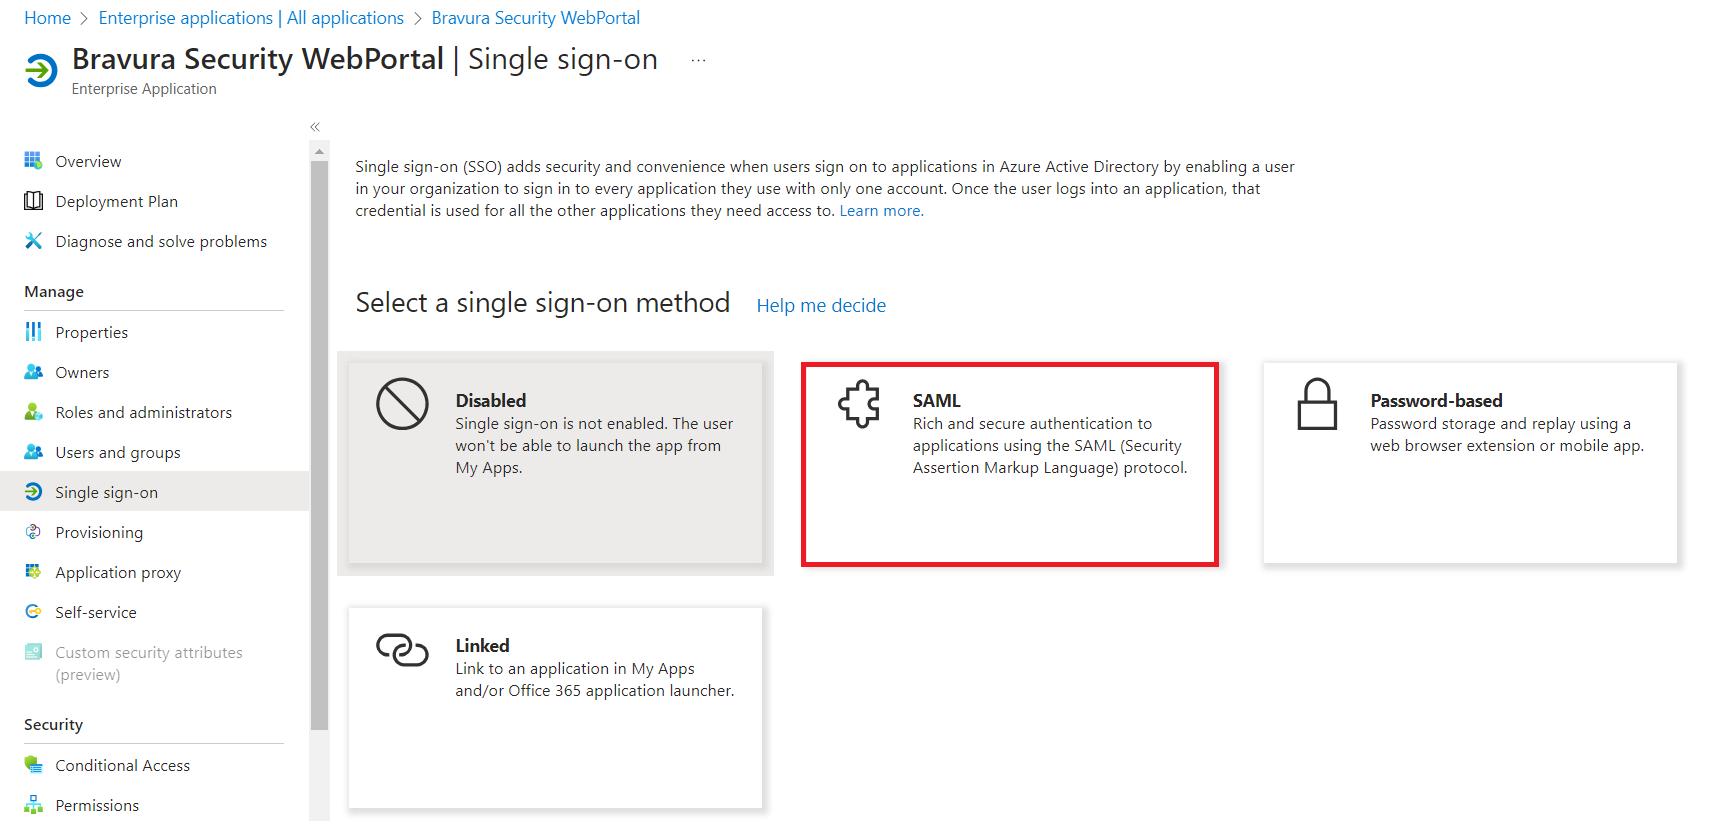
Select SAML.
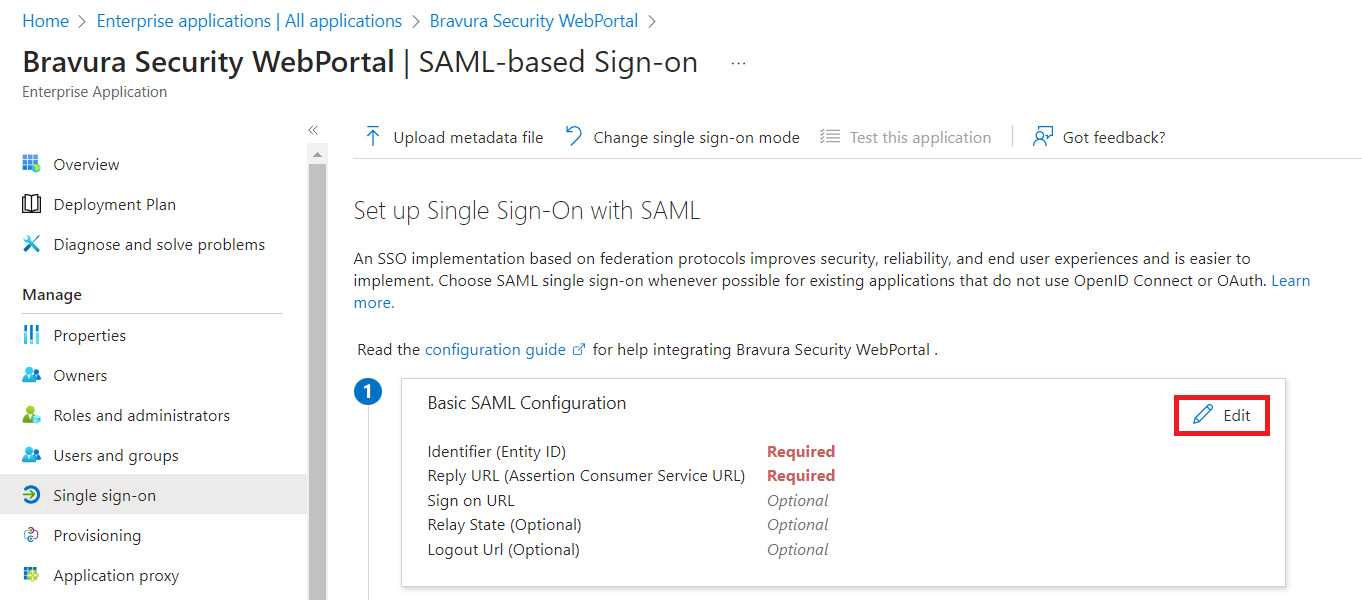
For , click Edit.
In the action pane on the right:
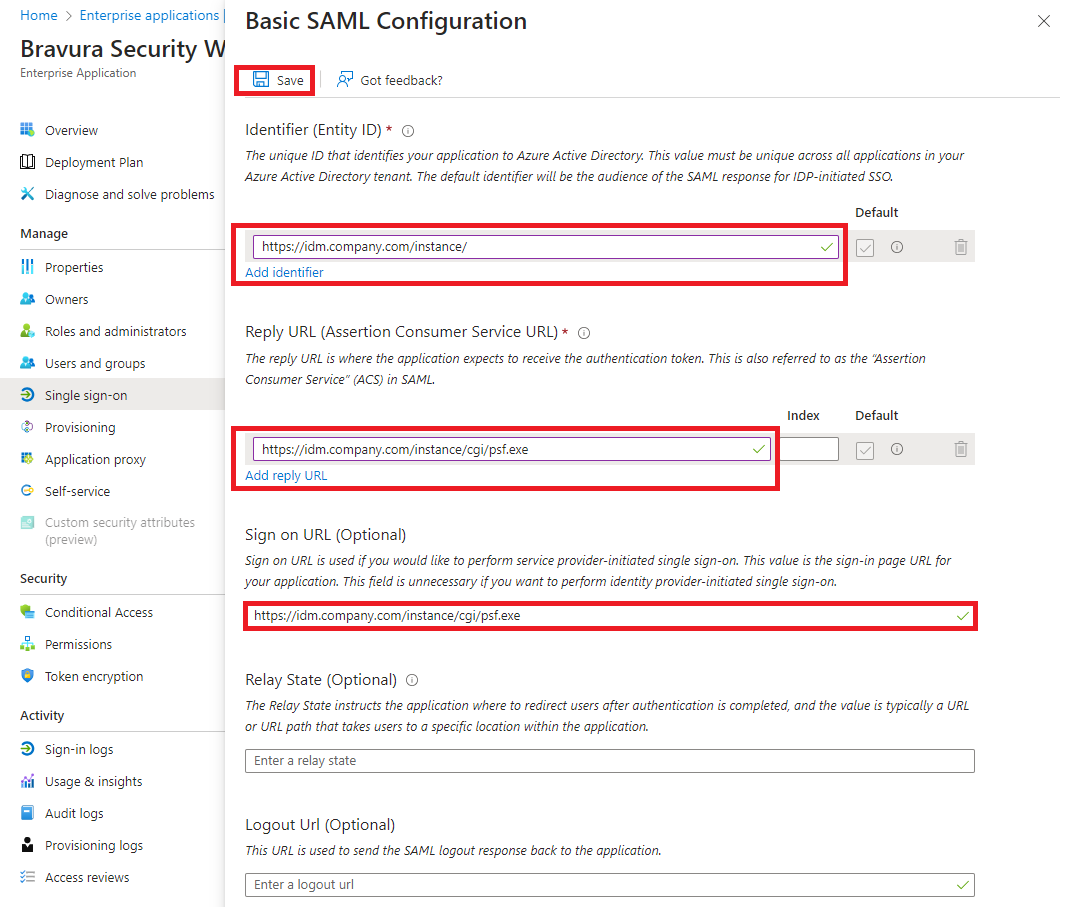
Click Add identifier and provide the Entity ID for the Bravura Security Fabric SP, in the format
https://<bravura-fabric-server>/<instancename>/For example
https://idm.company.com/instance/Click Add reply URL and provide the Reply URL for the Bravura Security Fabric SP, in the format
https://<bravura-fabric-server>/<instancename>/cgi/psf.exeFor example
https://idm.company.com/instance/cgi/psf.exeProvide the Sign on URL for the Bravura Security Fabric SP, in the format
https://<bravura-fabric-server>/<instancename>/cgi/psf.exeFor example
https://idm.company.com/instance/cgi/psf.exeClick Save.
The process may take a few moments.
Exit out of the screen, by clicking the X button on the top right.
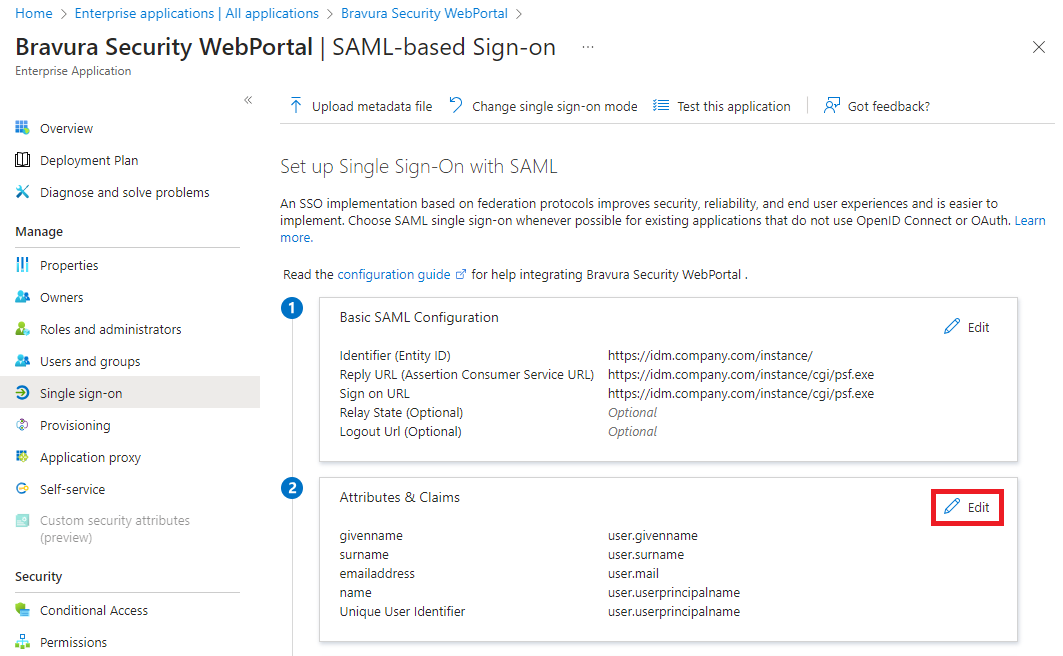
For , click Edit.
In the action pane on the right, provide the Unique User Identifier (Name ID).
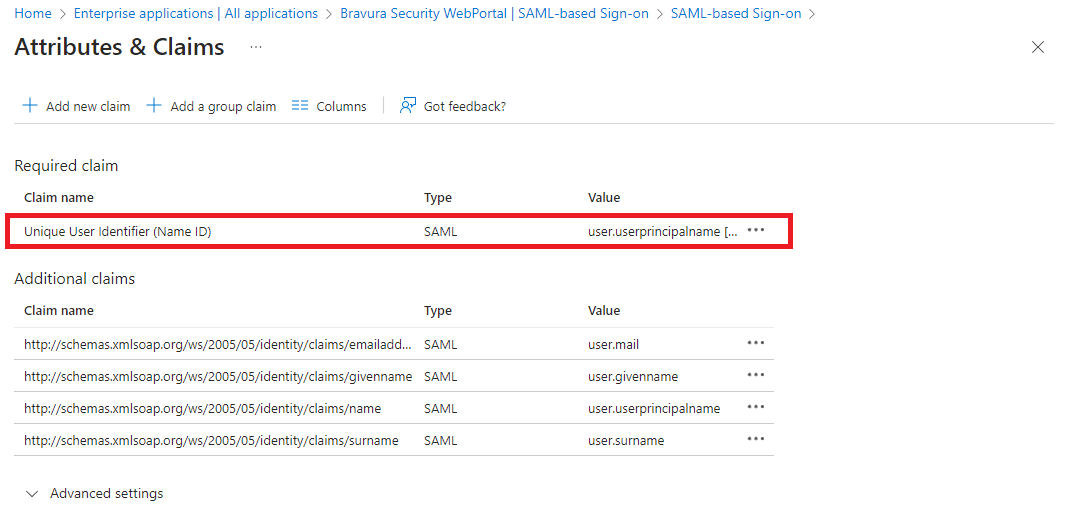
In order for Azure to authenticate Bravura Security Fabric users, it needs to have a means of associating Bravura Security Fabric users to existing Azure users. This is done via attribute mapping, where Azure will compare the two profiles’ attributes to see if they match. You must choose an attribute which can be mapped to Bravura Security Fabric user profiles.
The attribute mapping between Azure and Bravura Security Fabric must be 1:1. For example, if the profile ID of a user on Bravura Security Fabric is "JDoe", the unique user indentifer on Azure must be an attribute that matches "JDoe" exactly.
Exit out of the screen by clicking the X button on the top right.
For , click Edit.
In the action pane on the right:
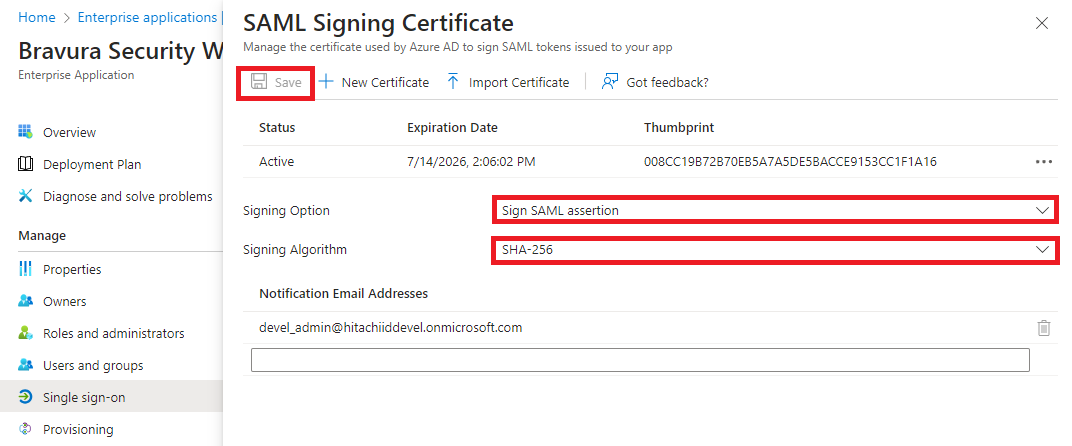
Choose the Signing Option.
"Sign SAML response" or "Sign SAML assertion" are supported options, but not " Sign SAML response and assertion".
Choose the Signing Algorithm. Available options are SHA-256 or SHA-1.
If changes were made, click Save.
Exit out of the screen by clicking the X button on the top right.
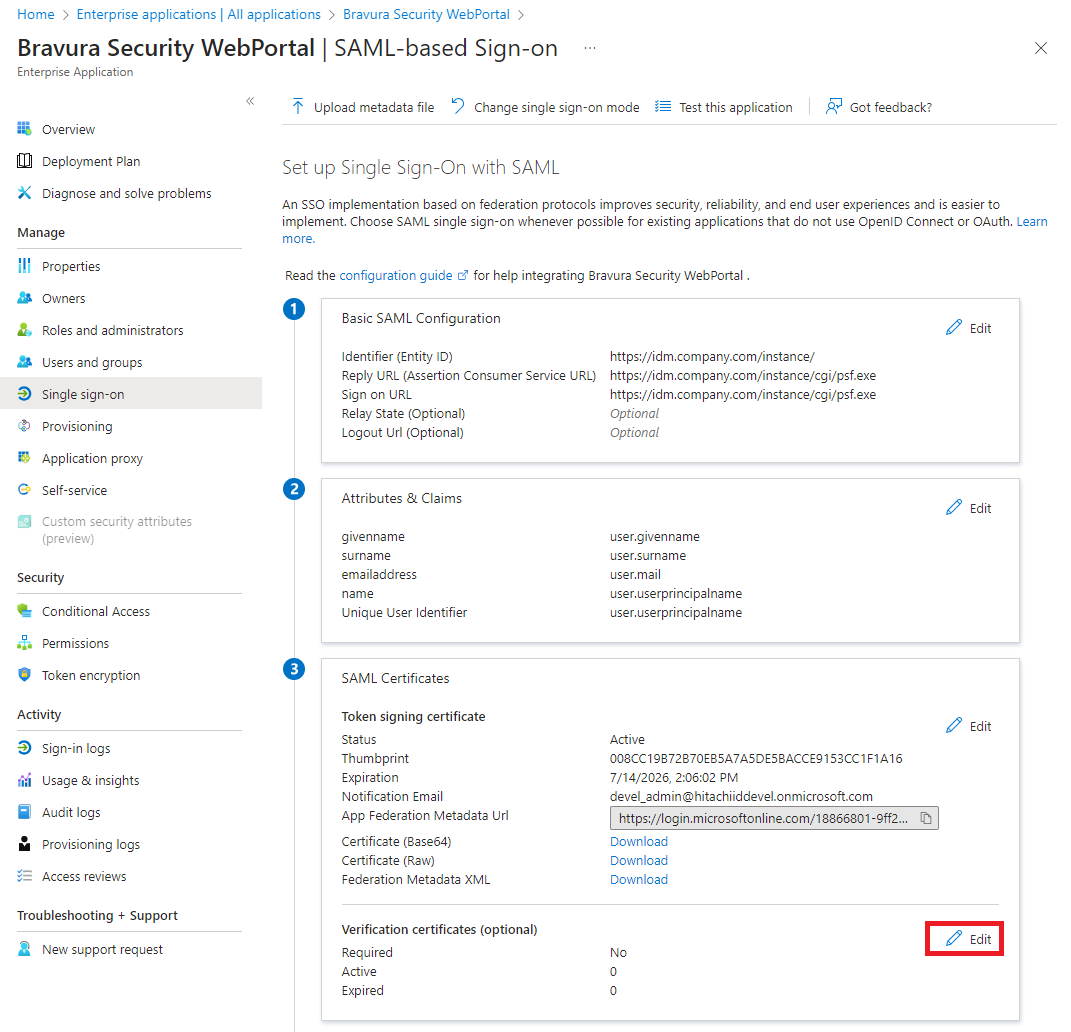
For , click Edit.
In the action pane on the right:
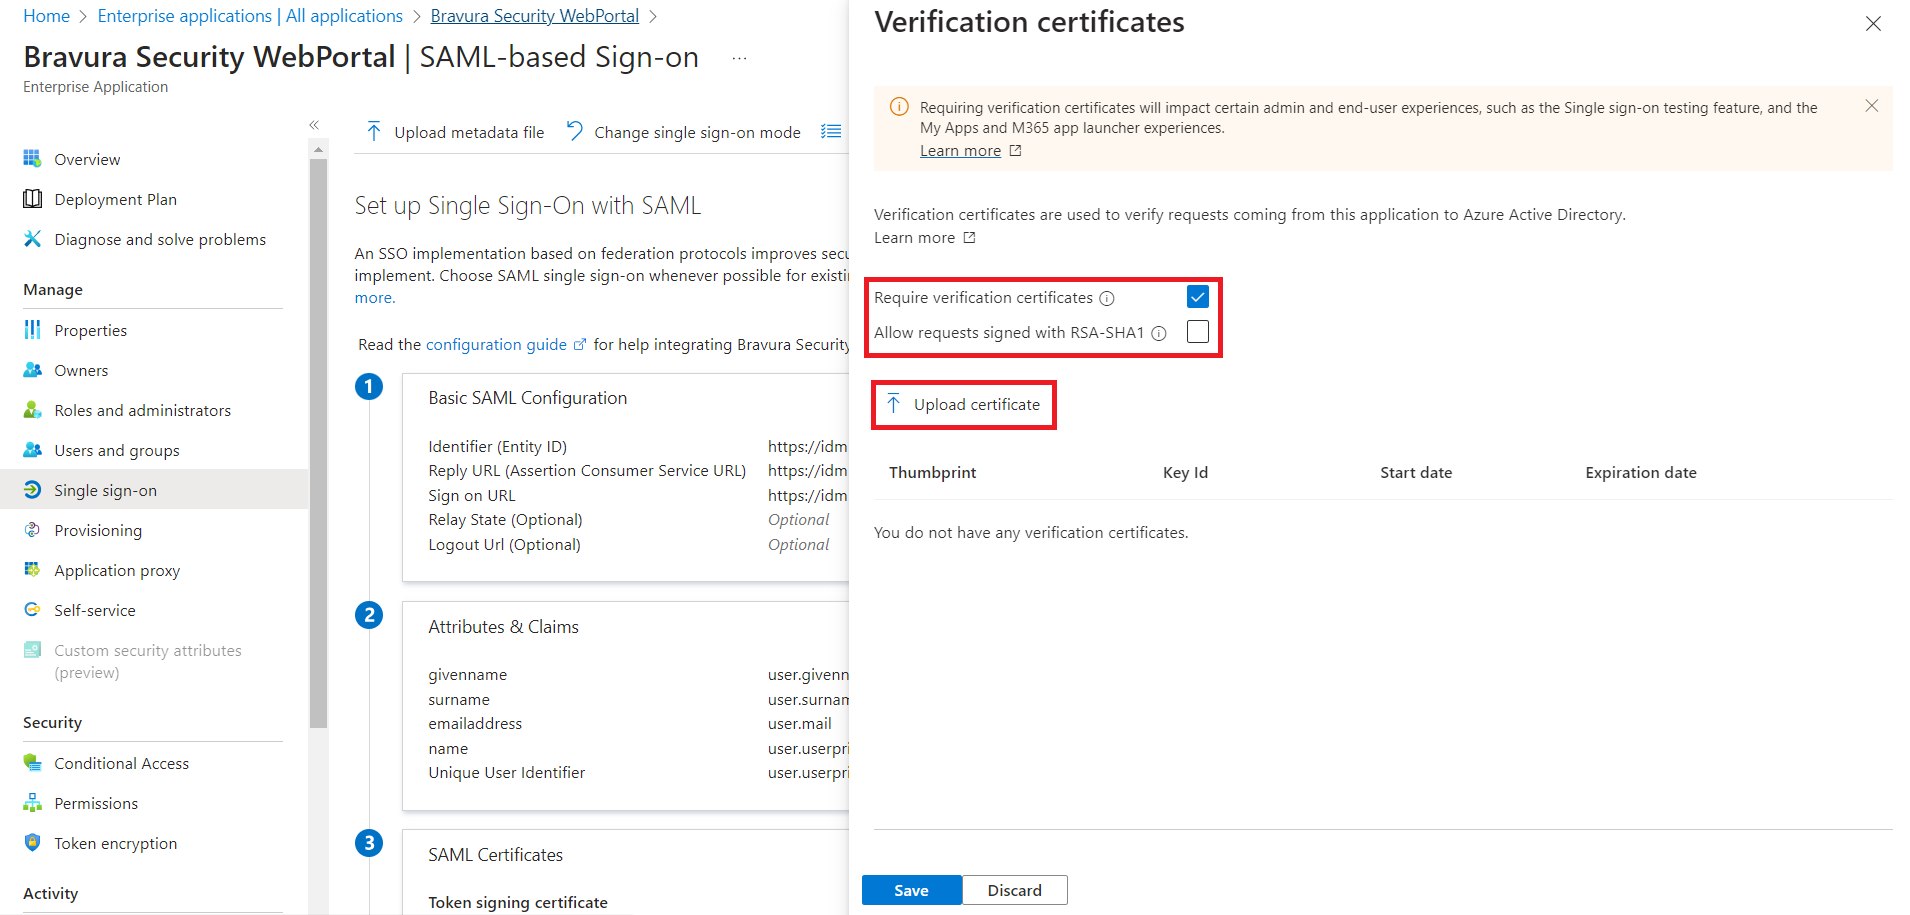
Choose whether to Require verification certificates. If you select this, you will need to upload the certificate from Bravura Security Fabric :
Click Upload certificate.
Choose the public.cer certificate, located in <instancedir>\sp.
Click OK.
Choose whether to Allow requests signed with RSA-SHA1.
Click Save.
Exit out of the Verification certificates screen by clicking the X button on the top right.
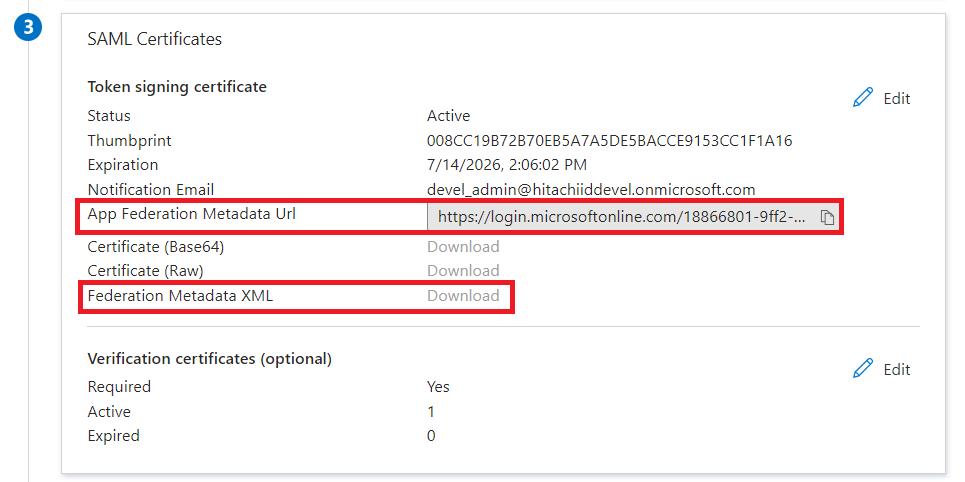
Download the Federation Metadata XML; this will be used to configure the SAML_SP authentication chain later.
If the option is greyed out, you can retrieve the metadata by going to the URL provided in App Federation Metadata Url and saving the metadata from there.
Next:
Set up Bravura Security Fabric to authenticate with the IdP
See also
Azure Active Directory in the Connector Pack documentation for details on how to add an Azure target.