Saved searches
If you have a lot of records to search through, and you complete the same search regularly, you may find it useful to save your own filters as a saved search and re-use it.
There are many cases where users can do a search, save it, then re-use it either to find stuff again quickly or in terms of controlling other business logic, such as being able to easily find:
Target systems of a certain type
Subordinates of a user
Users in a certain department
Users of a certain team
Types of saved search
Saved searches can be:
My Searches : Users can create saved searches from the user interface. My saved searches cannot be shared across users.
Searches : Product administrators can use plugin to create saved searches. Searches can be shared for all users.
Saved search logic
Saved searches are shared across all engines that derive from the same base engine; for example, saved searches for accounts are shared across all engines that derive from the account base engine class.
Saved search works with advanced search. Any search engine that supports advanced search will support saved searches except for some (older style) advanced search pages in the Manage reports (RPT) module. In addition, saved searches that are shared across engines will be disabled if the criteria within the saved search are missing in the engine; for example, if one account engine can search on First Name and another cannot, then any saved search containing First Name will be disabled on the second engine. This functionality works the same for criteria that have been removed from the system entirely; for example, profile attributes and resource attributes.
The pre-defined label ”Everything” is the default for all search engines that support saved searches. When a user selects another saved search and then switches back to ”Everything”, all results will be returned to the page.

Creating and deleting My Searches
To save an advanced search query:
On the object list page, click the advanced search icon
 next to the Search button.
Enter your search criteria.
See Advanced searching for details.
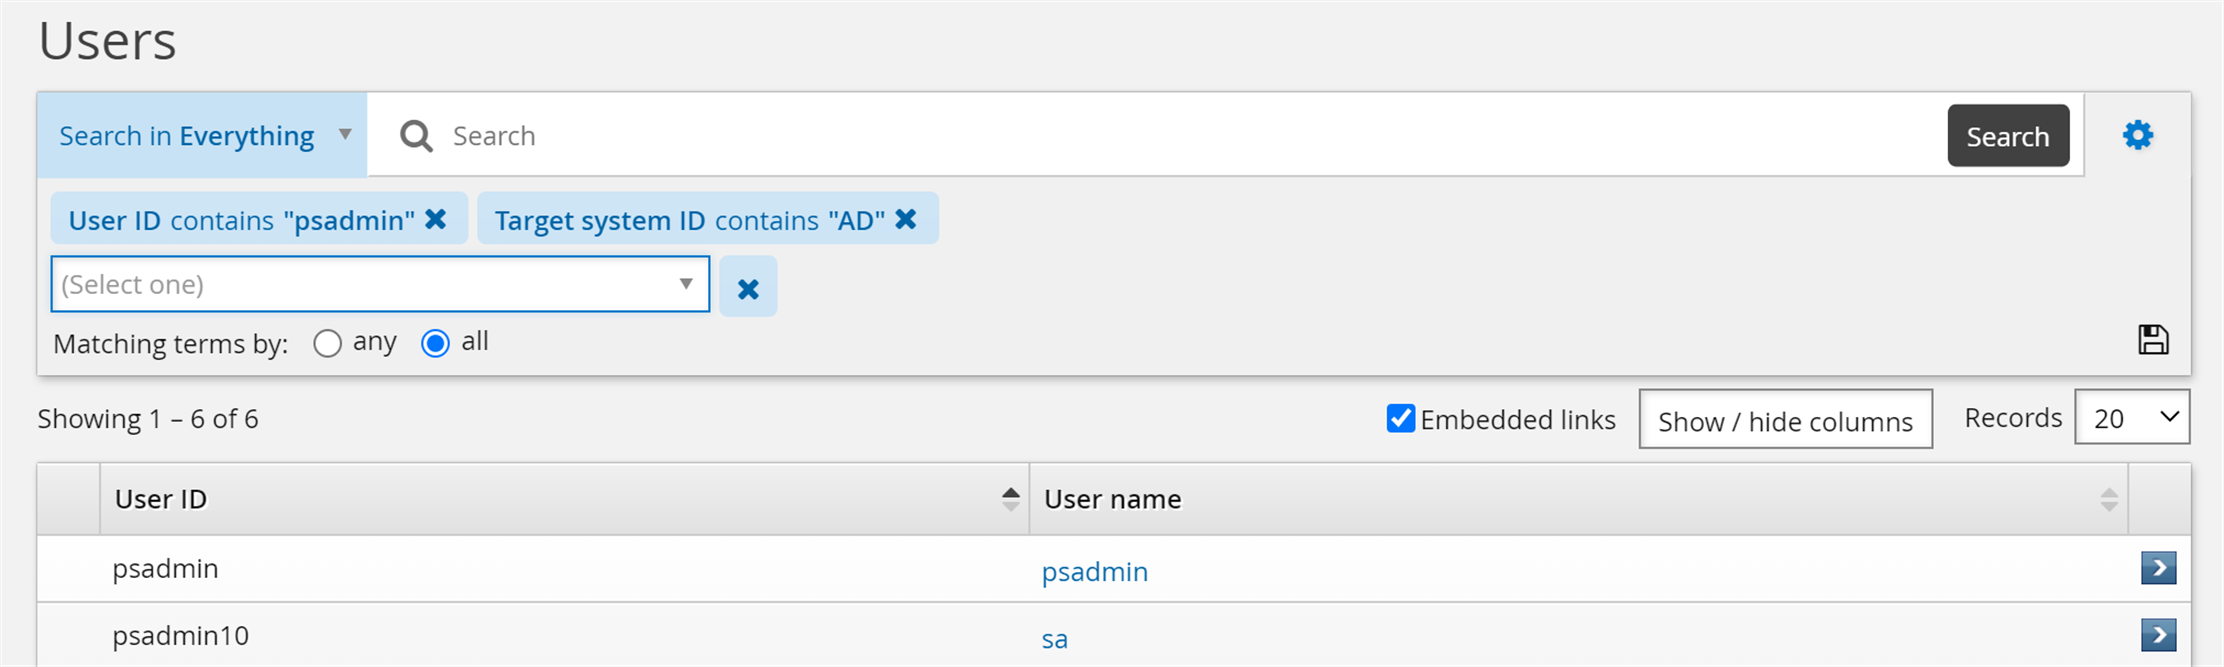
Click the ”Add condition” icon
 .
.Click the ”Save search”
 icon.
icon.Enter a name for the new search.
Click Create.
Once it is saved, you will see it from the saved search drop-down list in the My Searches section.
You can delete your saved search at any time by clicking the saved search drop-down list and clicking the ”trash can” icon  on the right of the saved search. You will be prompted to confirm the deletion.

Creating and deleting Searches
Product administrators can use a plugin program to add or remove saved searches for users, based on the type of search engine. See Configure saved search plugin for details on how to write and configure this plugin.
Example: General usage of saved search
The following examples demonstrate how users can create a saved search, delete a saved search as well as add more filters to an existing saved search and save as a new saved search.
Create a saved search
To create a saved search:
As an end user, from the main menu , click View and update profile under Other users .
On the page, click the advanced search icon
next to the Search button.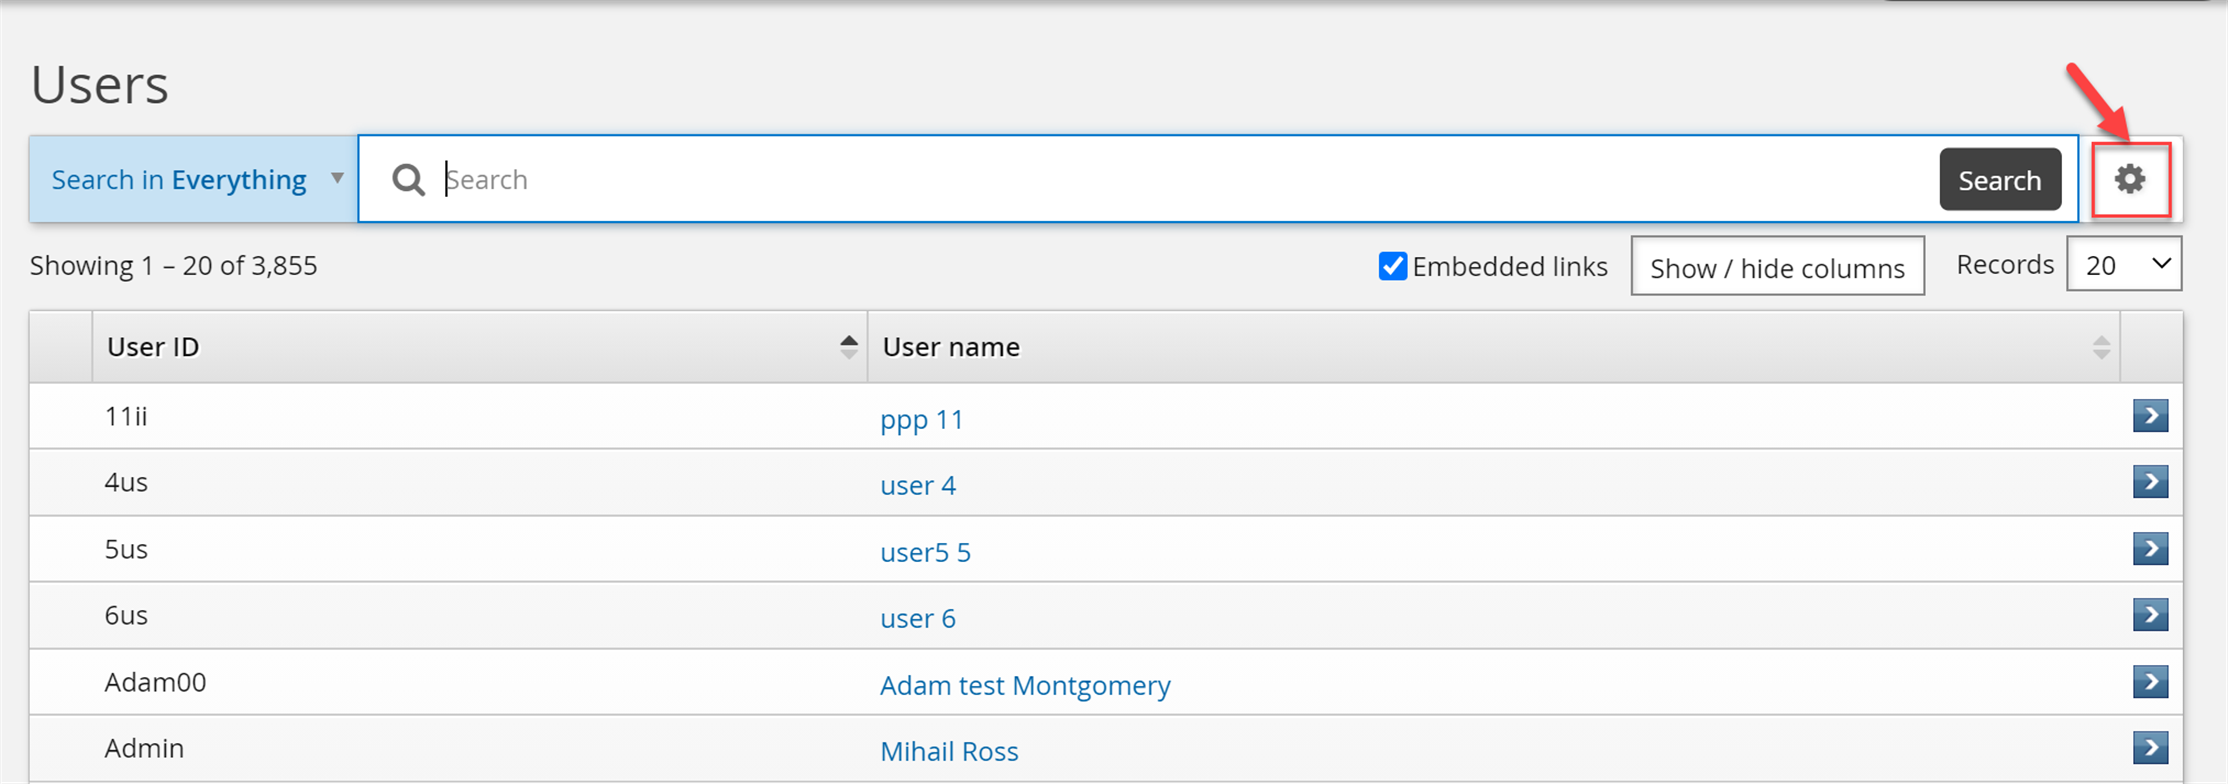
Create some search filters.
Click Save search and enter a name for saved search.
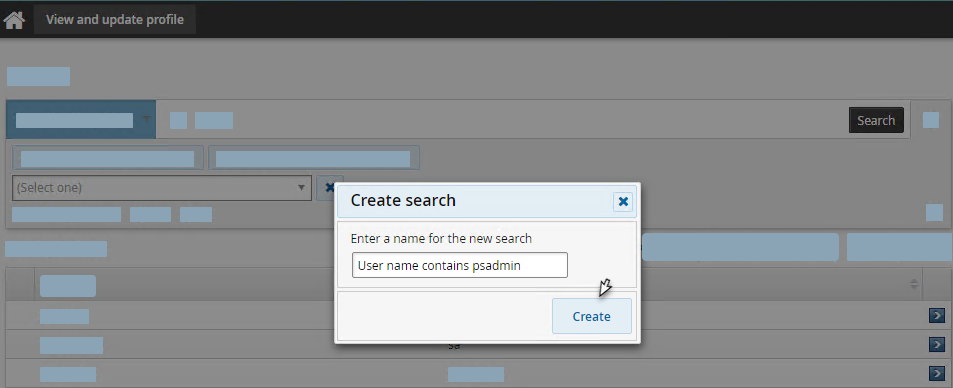
Click Create.
The saved search named User name contains psadmin is created.
Delete a saved search
To delete a saved search:
As an end user, from the main menu , click View and update profile under Other users.
Select the drop-down list and click the ”trash can” icon
.
Click the OK button.
The save search is deleted.
Modify a saved search
To add more filters to an existing saved search and save as a new saved search:
As an end user, from the main menu click View and update profile under Other users.
Select a saved search.
Click the advanced search icon
.Add more filters to the search.

Click Save search.
Click Save as and enter a name for saved search.
Click Create.
To add more filters to an existing saved search and save as current saved search:
As an end user, from the main menu , click View and update profile under Other users.
Select a saved search.
Click the advanced search icon
.Add more filters to the search.
Click Save search.
Click Update.
To create a saved search and override an existing one:
As an end user, from the main menu click View and update profile under Other users.
On the page, click the advanced search icon
next to the Search button.Create some search filters.
Click Save search and enter the name of a existing saved search which you want to override.
Click Create.
Click Yes.
Configuration notes
Below are the important points when creating saved searches:
Plugin saved searches cannot be deleted from the UI (No trash can icon displays).
All saved searches have an ID (hidden) and a label (shown in drop-down list).
All saved searches must have unique IDs and labels. My Searches have unique, generated ”guid-like” IDs. Plugin saved search (Searches) IDs are defined by the plugin creator.
Plugin saved searches override my searches. When you have both a plugin and a my search with the same label, my search is not shown.
Characters
<,>,/,&,"and'are forbidden in plugin saved search IDs as they are significant characters in XML and/or HTML.There is a hard limit of five criteria for each saved search. Extra criteria are simply dropped with a log warning.
Duplicate plugin labels are detected and rejected with a logged warning.
Plugin saved search labels are not case sensitive. Labels that are identical except for capitalization will be considered duplicates, and will be skipped and logged with warnings.
Label clashes between my searches and plugin saved searches are prevented. You cannot create a saved search with a label that already exists among plugin saved searches. On the contrary, you can create a plugin saved search with a label that already exists among my searches.
Saved searches are ordered alphabetically.